
Timetables
This feature helps create a timetable for Exams and Lectures.
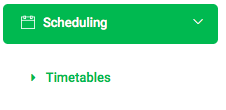
✑ From the OSIS sidebar, Click on the Timetables link under Scheduling.
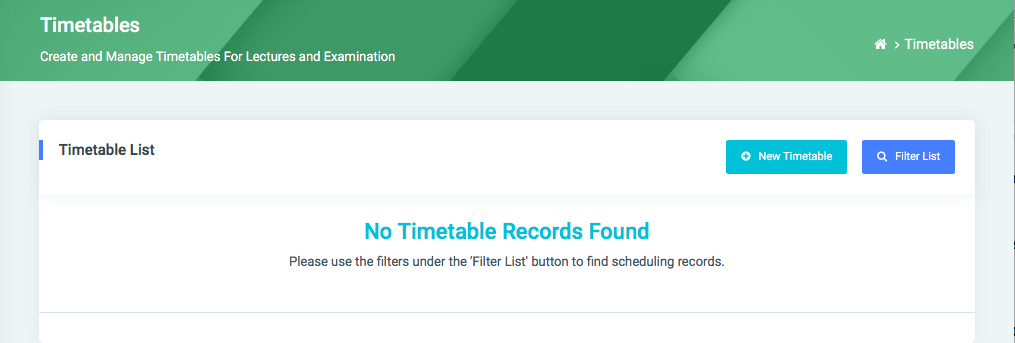
On the Timetables page, there are two buttons: New Timetables and Filter List.
✑ To create a new Timetable, click on the New Timetables button. This opens a modal with the following fields:
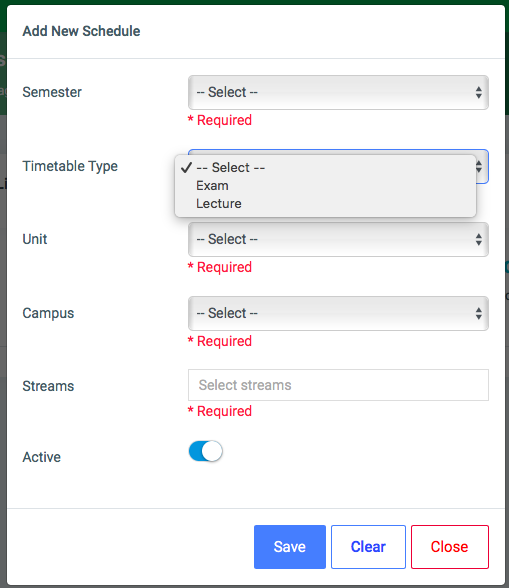
- Semester: This is a dropdown list of all semesters available in OSIS.
- Timetable Type: Select from the dropdown the type of timetable. This can be a timetable for Lectures or Exams.
- Unit: Select from the dropdown list, the unit.
- Campus: This is a dropdown list of all campuses available in OSIS.
- Streams: Click on the text field to dropdown all streams available in OSIS. Select the stream required from the dropdown. NB: The user can add multiple streams.
- Active: check the checkbox to make active.
✑ Click on the Save button to confirm your actions.
✑ Click on Clear to clear all fields.
✑ Click on Close to close the modal.
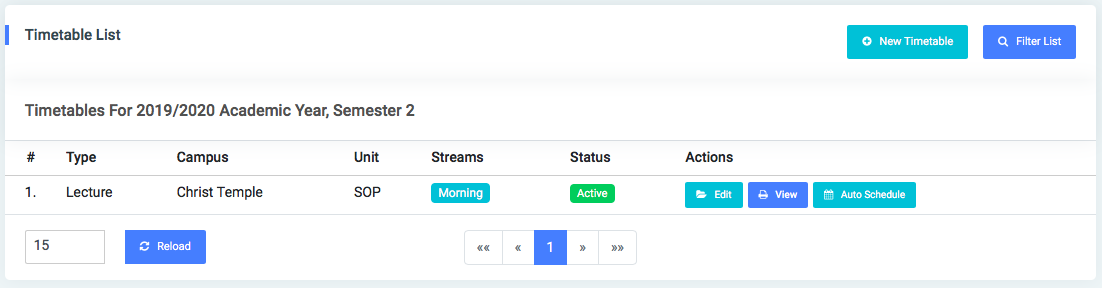
For each created timetable, users can edit, view, and Auto-Schedule.
☛ Scheduling becomes easy when it is automatically generated. To make this possible,
- Ensure that courses are available. Check Manage Courses for more details.
- Ensure the venues are available. Check Manage Venues for more details.
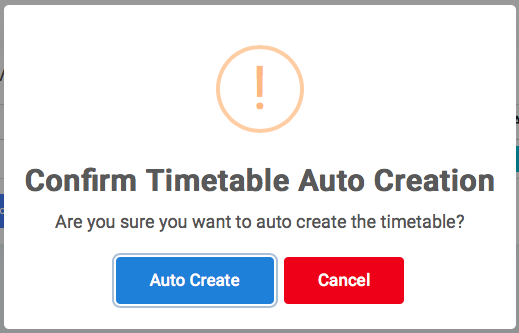
✑ To automatically schedule the timetable, click on the Auto Schedule button.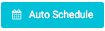 . This opens a popup for the user to click on the Auto Create button to confirm actions.
✑ To edit a timetable, click on the Edit button.
Change the old entries from the Edit Schedule form and click on the Save button.
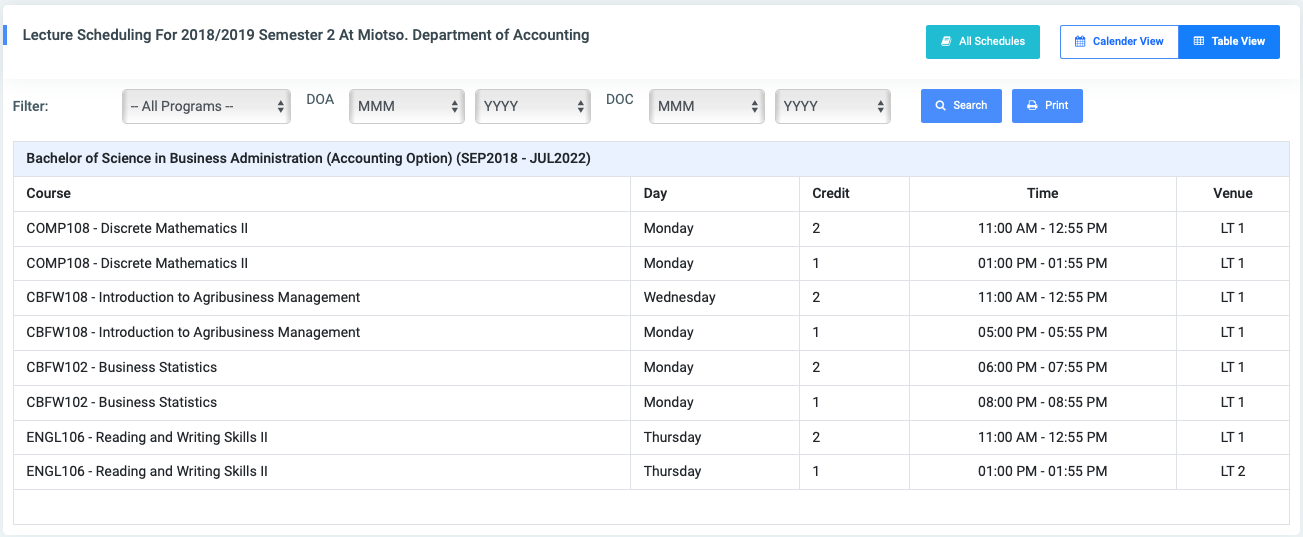
✑ To view timetable details, click on the View button. This opens the Lecture Timetable Placements page with the following details.
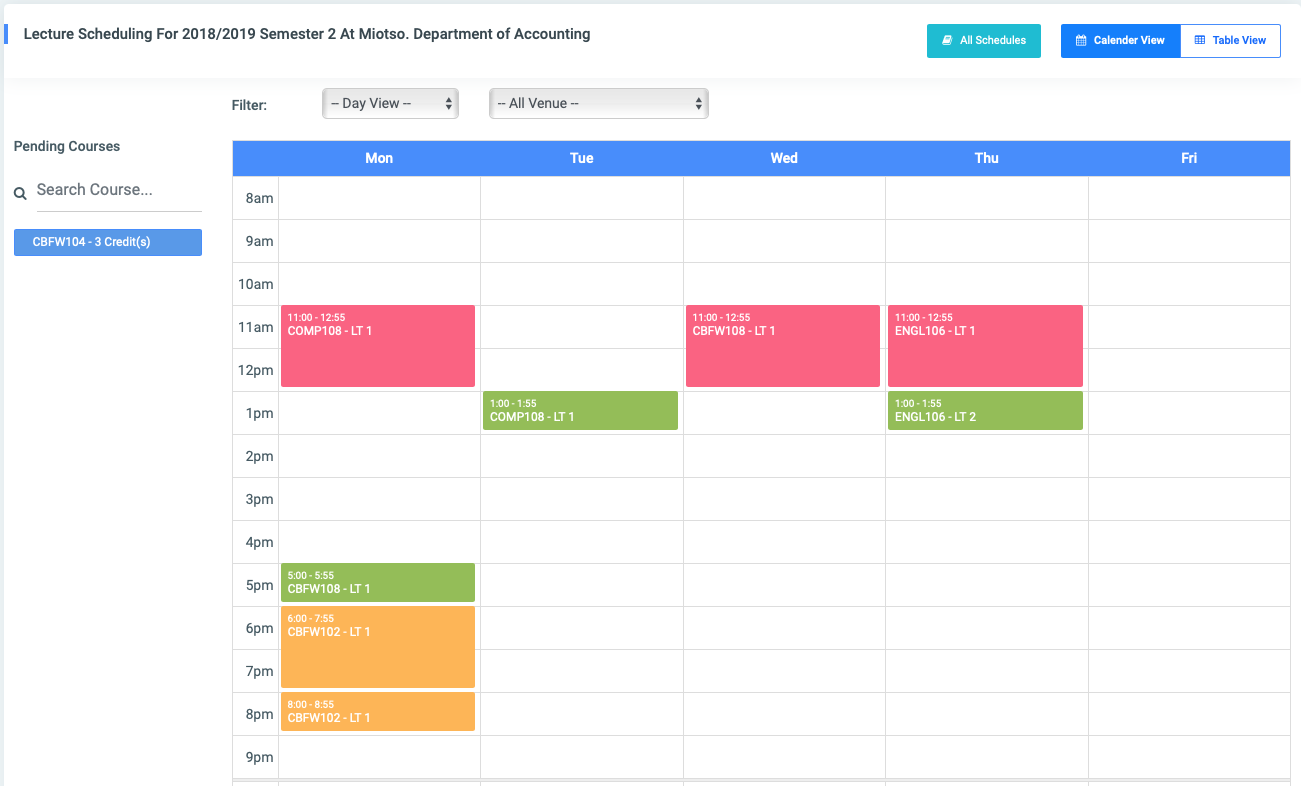
- All Schedules: Click on this button to move back to view all list of timetables created.
- Calendar View: Click this button to display the timetable in a calendar form.
- Table View: Click this button to display the timetable in a tabular form.
- Filter: The filter has the following dropdowns;
- Day View: This helps display all courses in a daily view. Select Monday, Tuesday, Wednesday, Thursday, Friday from the dropdown to show all courses scheduled per the selected day.
- All Venue: This is a list of all venues available in OSIS. Check Manage Venues for more details.
- Pending Courses: This field displays all courses that have not been scheduled yet. To schedule for any pending course, DRAG that course onto the Calendar interface.

Fill in the details and click on Validate And Save to confirm actions.
✑ Click on the Reload button to refresh timetable fields.
✑ To find a particular timetable, click on the Filter List button. The Filter Timetables modal has the following fields;
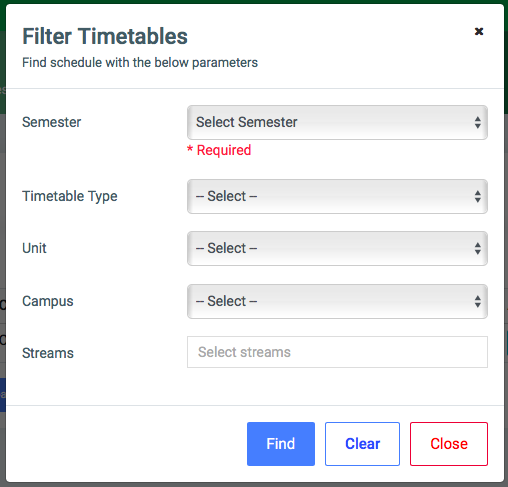
- Semester: This is a dropdown list of all semesters available in OSIS.
- Timetable Type: Select from the dropdown the type of timetable. This can be a timetable for Lectures or Exams.
- Unit: Select from the dropdown list, the unit.
- Campus: This is a dropdown list of all campuses available in OSIS.
- Streams: Click on the text field to dropdown all streams available in OSIS. Select the stream required from the dropdown. NB: The user can add multiple streams.
☛ One field of Filter Timetables is required. Fill in as many as can help in narrowing down and click the Find button. Clicking the Find button with required entries will show all timetable lists for the field(Semester).
✑ Click on the Find button to confirm your actions.
✑ Click on Clear to clear all fields.
✑ Click on Close to close the modal.