
Contacts & identities
✑ Click on the Contacts & identities tab.
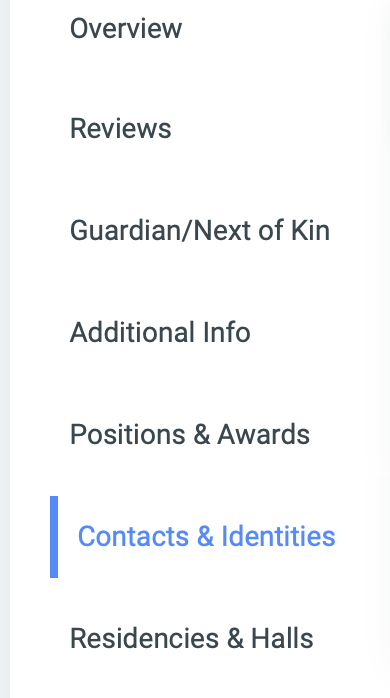
Contacts & identities tab has two(2) different display fields.

A. Contacts: This is where students’ contact information is configured.

✑ To add a new contact click on the Add Contact button. The Contact Editor has the following fields;

- Contact Type: This a dropdown showing a list of contact types. Eg. Email, Facebook, Mobile, etc.
- Contact info: This information can be a text of digits based on the Contact Type.
✑ Click on Save Changes to confirm actions.
For each added Contact, the user can Edit and Delete them.
✑ To Edit Contact, click on the Edit button icon. 
Change the old entries from the Contact Editor form and click on the Save Changes button.
✑ To Delete Contact, click on the Delete button icon. 
✑ Click on the Delete Contact button from the modal popup to confirm your actions.
B. Identities: This is where officially accepted documents that identify students are recorded.

✑ To add a new identity to OSIS, click on the Add Identity button. The Identity Editor has the following fields;

- Identity Type: This a dropdown showing type of Identities. Eg. National ID, Driver Licence.
- ID Number: Input the accepted number or value from the selected Identity Type.
- Expiration Date: Enter the date the ID will expire.
- ID Scan Copy: Add a soft copy of the ID by clicking Choose File. Navigate and select the soft copy of the ID.
✑ Click on Save Changes to confirm actions.
For each added Identity, the user can Edit and Delete them.
✑ To Edit Identity, click on the Edit button icon.
Change the old entries from the Identity Editor form and click on the Save Changes button.
✑ To Delete Identity, click on the Delete button icon.
✑ Click on the Delete Identity button from the modal popup to confirm your actions.