
Manage SIP Users
This feature helps the user create student accounts for their Students’ Information Portal.
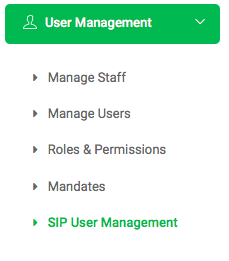
✑ From the OSIS sidebar, Click on the SIP User Management link User Management.
On the SIP User Management page, there are three(3) buttons namely, Add Account, Add Batch and Find SIP user.

✑ To add a new student to the Student Information Portal, click on the Add Account button. The Add Account modal has the following fields:

- Student: Enter the student’s registration number.
✑ Click on Save Changes to confirm changes.

✑ To add a batch of students to the Student Information Portal(SIP), click on the Add Batch button. This opens a modal with the following fields:

- Program: This is the list all of programs in the institution.
- DOA: This has two dropdowns: MMM for months and YYYY for years. Click and select the month and year of the admission date of the student batch.
- DOC: This has two dropdowns: MMM for months and YYYY for years. Click and select the month and year of the completion date of the student batch.
- Level(s): This is the list of all levels available in the institution.
- Stream(s): This is the list of all streams available in the institution.
- ☛ Student accounts will have a default password which is their last name, all lowercase e.g. “smith”, and they must login with their email address.
- Get Student Count: This field is seen only after selecting the program and or any of the optional fields. This displays the total count of all students in that batch.
✑ Click on the Add Batch button to confirm actions.

Clicking on the Show List button will display details of the created accounts

✑ To search for a particular SIP account, Click on the Find Account button and fill in the details for that student by:

- Student Reg No:
- Email:
- Two Factor:
- Status: Select if Active or Dormant.
✑ Click on the Find Account button to confirm your actions.
✑ Click on Clear to clear all fields,
✑ Click on Close to close the modal.
☛ All Find Account fields are optional. Fill in as many as can help in narrowing down and click the Find Account button. Clicking the Find Account button with no entries will show all existing students’ accounts in SIP.
Each account detail is editable and can be deleted. It comes with an Edit button and a Delete icon button for that purpose.
✑ To view details of the students’ account click on the View button. This also comes with an edit button to edit user details.
✑ To edit a student’s account, click on the Edit button. 

Change the old entries from the Edit Account form and click on the Save Changes button.
✑ To Delete a user account, click on the Delete button icon. 
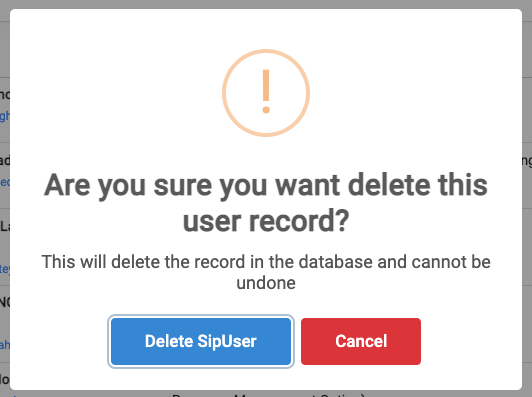
✑ Click on the Delete SipUser button from the modal popup to confirm your actions.