General Report Introduction
The General Report module provides a dynamic form that enables users of the system to generate various reports from the other modules of OSIS such as assessment, registration, and admissions.
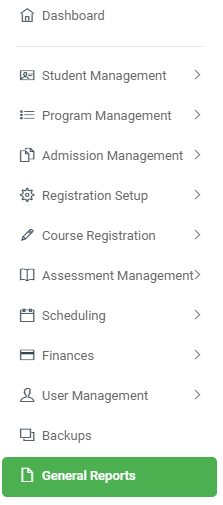
✑ From the OSIS sidebar, click on General Reports to automatically show the popup of the General Report Form, or click on the Find Report Form button to show the popup.
The General Report Form has several basic search fields to help users generate reports from the modules they prefer. The inputs are as follows:
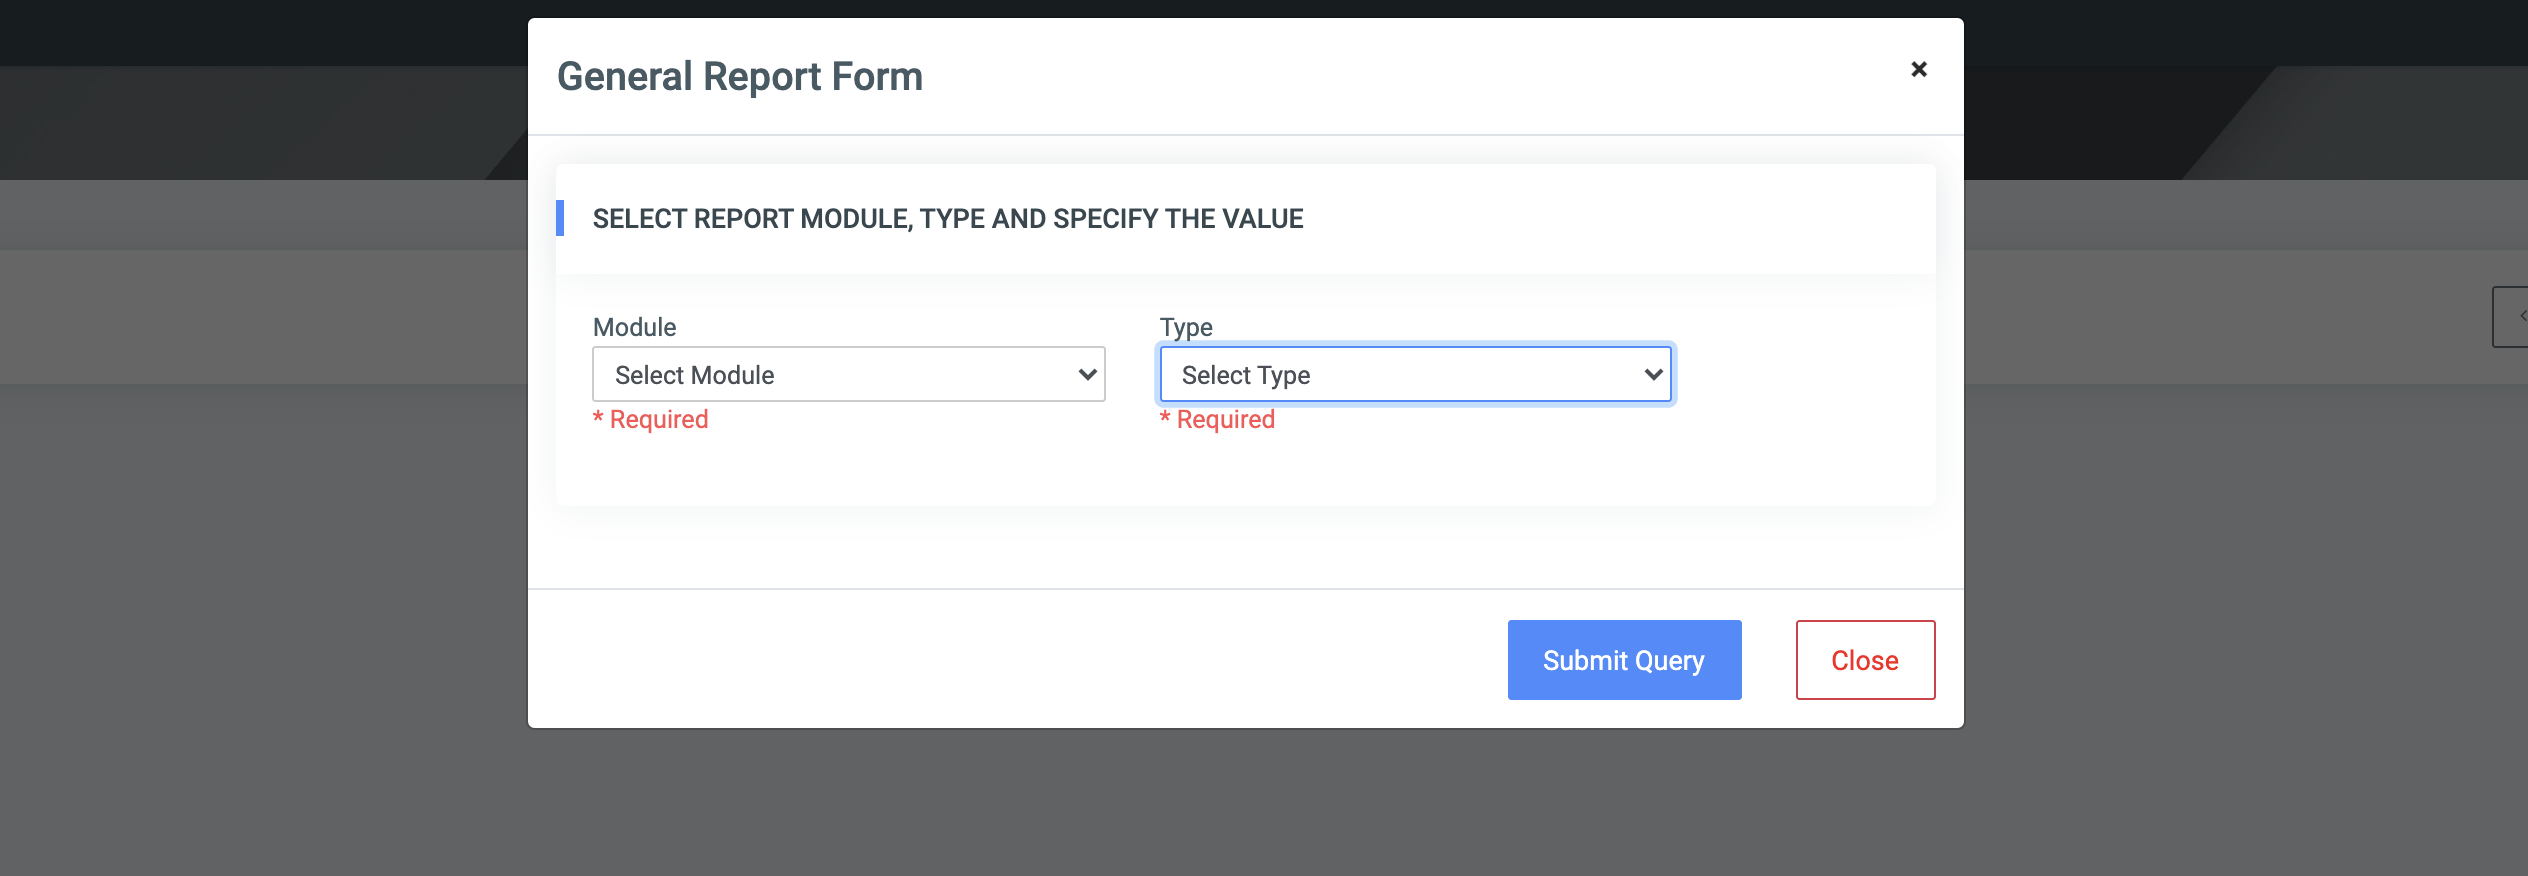
- Modules: This provides a dropdown menu for users to select the specific modules they want to generate the report from. Examples: Assessment, Registration, Student Management, etc.
- Type: This also provides a dropdown menu listing all the available report types under the selected module. Eg. under the Assessment module, users can select the Unsubmitted Sheet report type.
- Value: The value field enables the user to define the exact period, DOC, semester, program, etc based on the type of report selected. There can be multiple such inputs for some reports.
☛ To generate a report,
- Make sure all the required fields of that report are filled in/selected.

2. Click on the SUBMIT QUERY button to get results. 
✑ Adhoc report feature
☛ The Adhoc report feature allows users to generate dynamic reports by writing sql queries directly in OSIS.
Steps
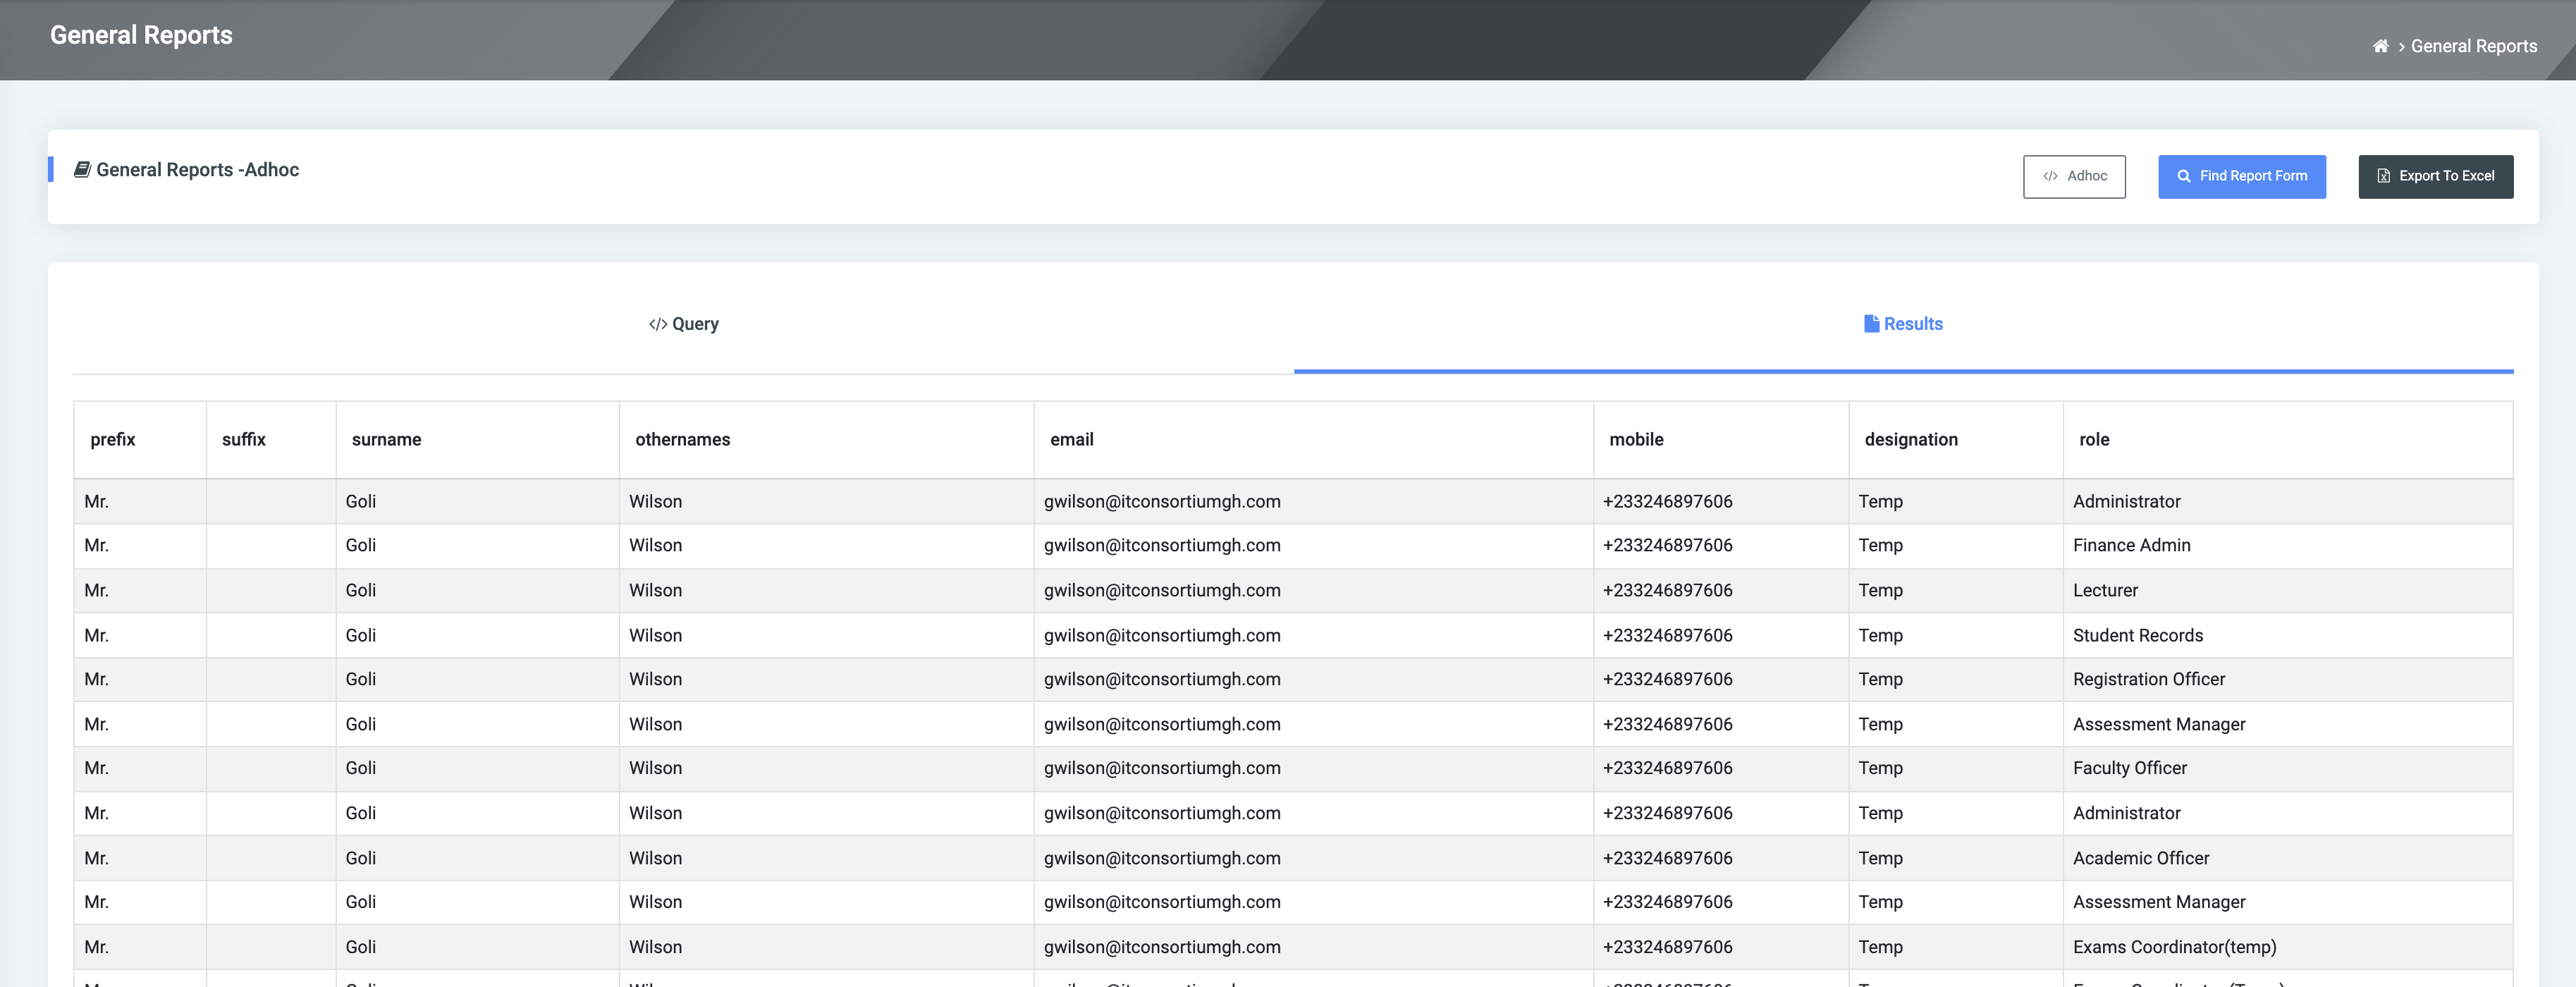
- Click “Adhoc”, the first of the buttons on the General Reports page to access the SQL feature of OSIS. The feature has two tabs namely, Query and Results.

- Query: This tab is further divided into two parts: a section for available tables and their columns, and the SQL Builder.

Tables: This is a list of tables to be queried. Double-click on a table to view its columns.

SQL Builder: The tool allows for queries to be written. Two buttons are positioned above the Query Builder. The first (Rules) indicates the rules governing the use of the builder. Click the Run button to execute the query.


- Results: The outcomes of queries run are displayed in the Results tab. These may be either records returned from the database or error messages thrown. Results may be exported to Excel by clicking the Export To Excel button at the top-right corner of the page.