Student Letters
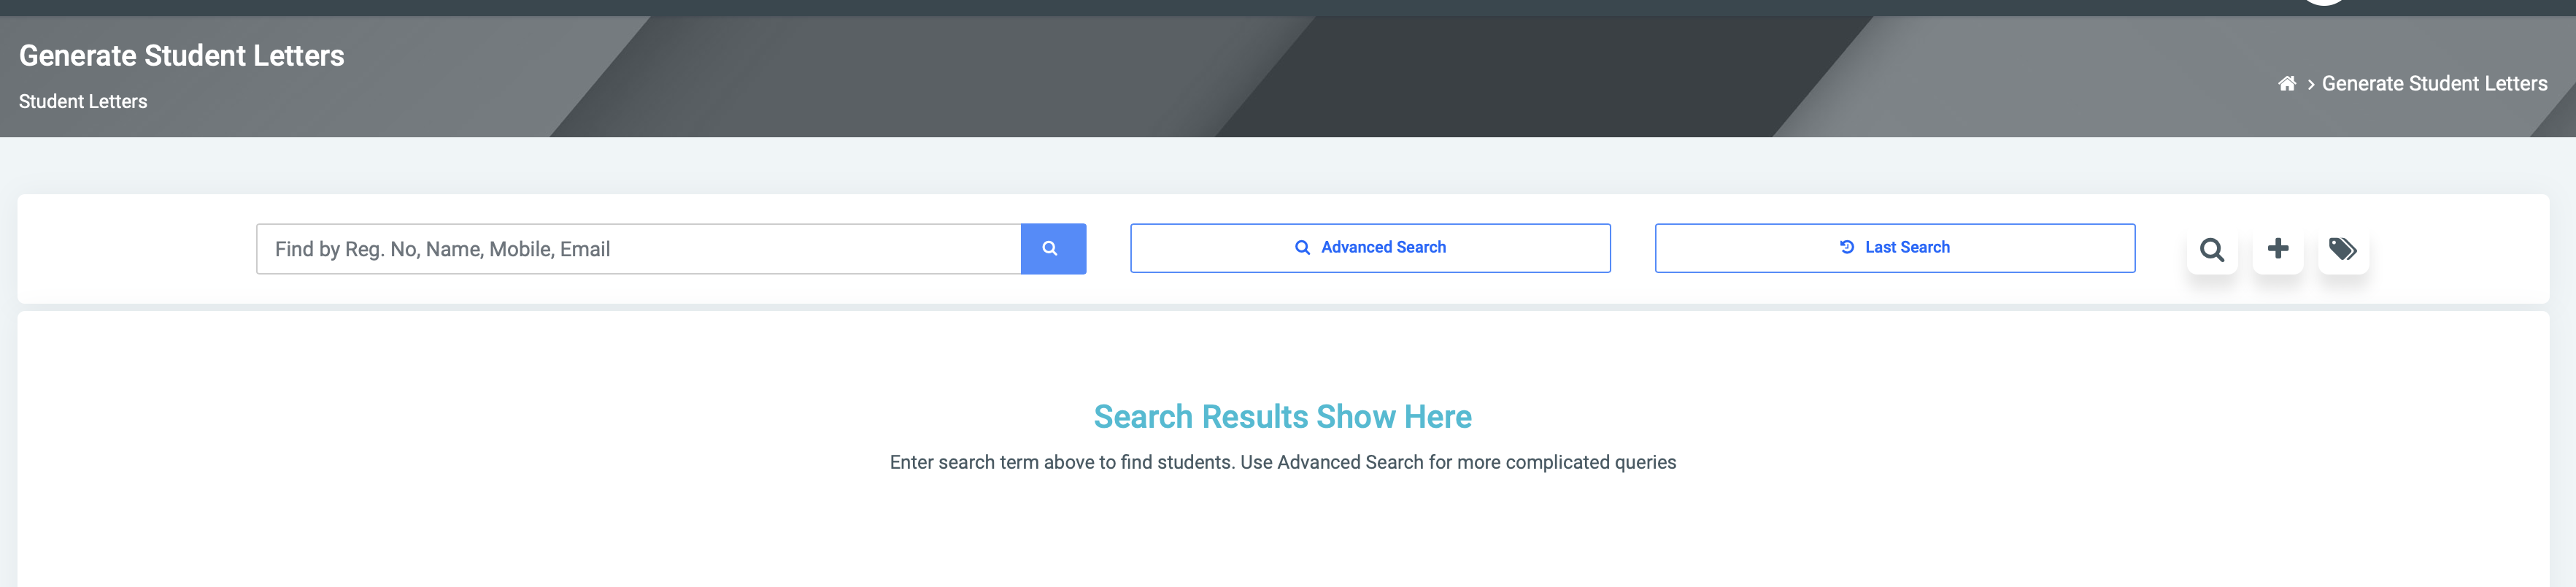
On the page, there are various actions a user can perform. Athe the top are various actions ie: Search, Advanced Search, Last Search, Find Letter, Add Template and Manage Tag
☛ For Search,
- After providing any of the requirements into the field, the student(s) related to that search are returned.
- Select the desired student.
✑ Search for students by Registration Number, Name, Mobile, or Email.
☛ Print Results – Click the Print Results button to print results from the search.
☛ Export to Excel – Export data returned from search to Excel
☛ Advanced Search
✑ Click on the Advanced Search button to do an advanced search
On the form, there are different fields parameters and options to make an advanced search
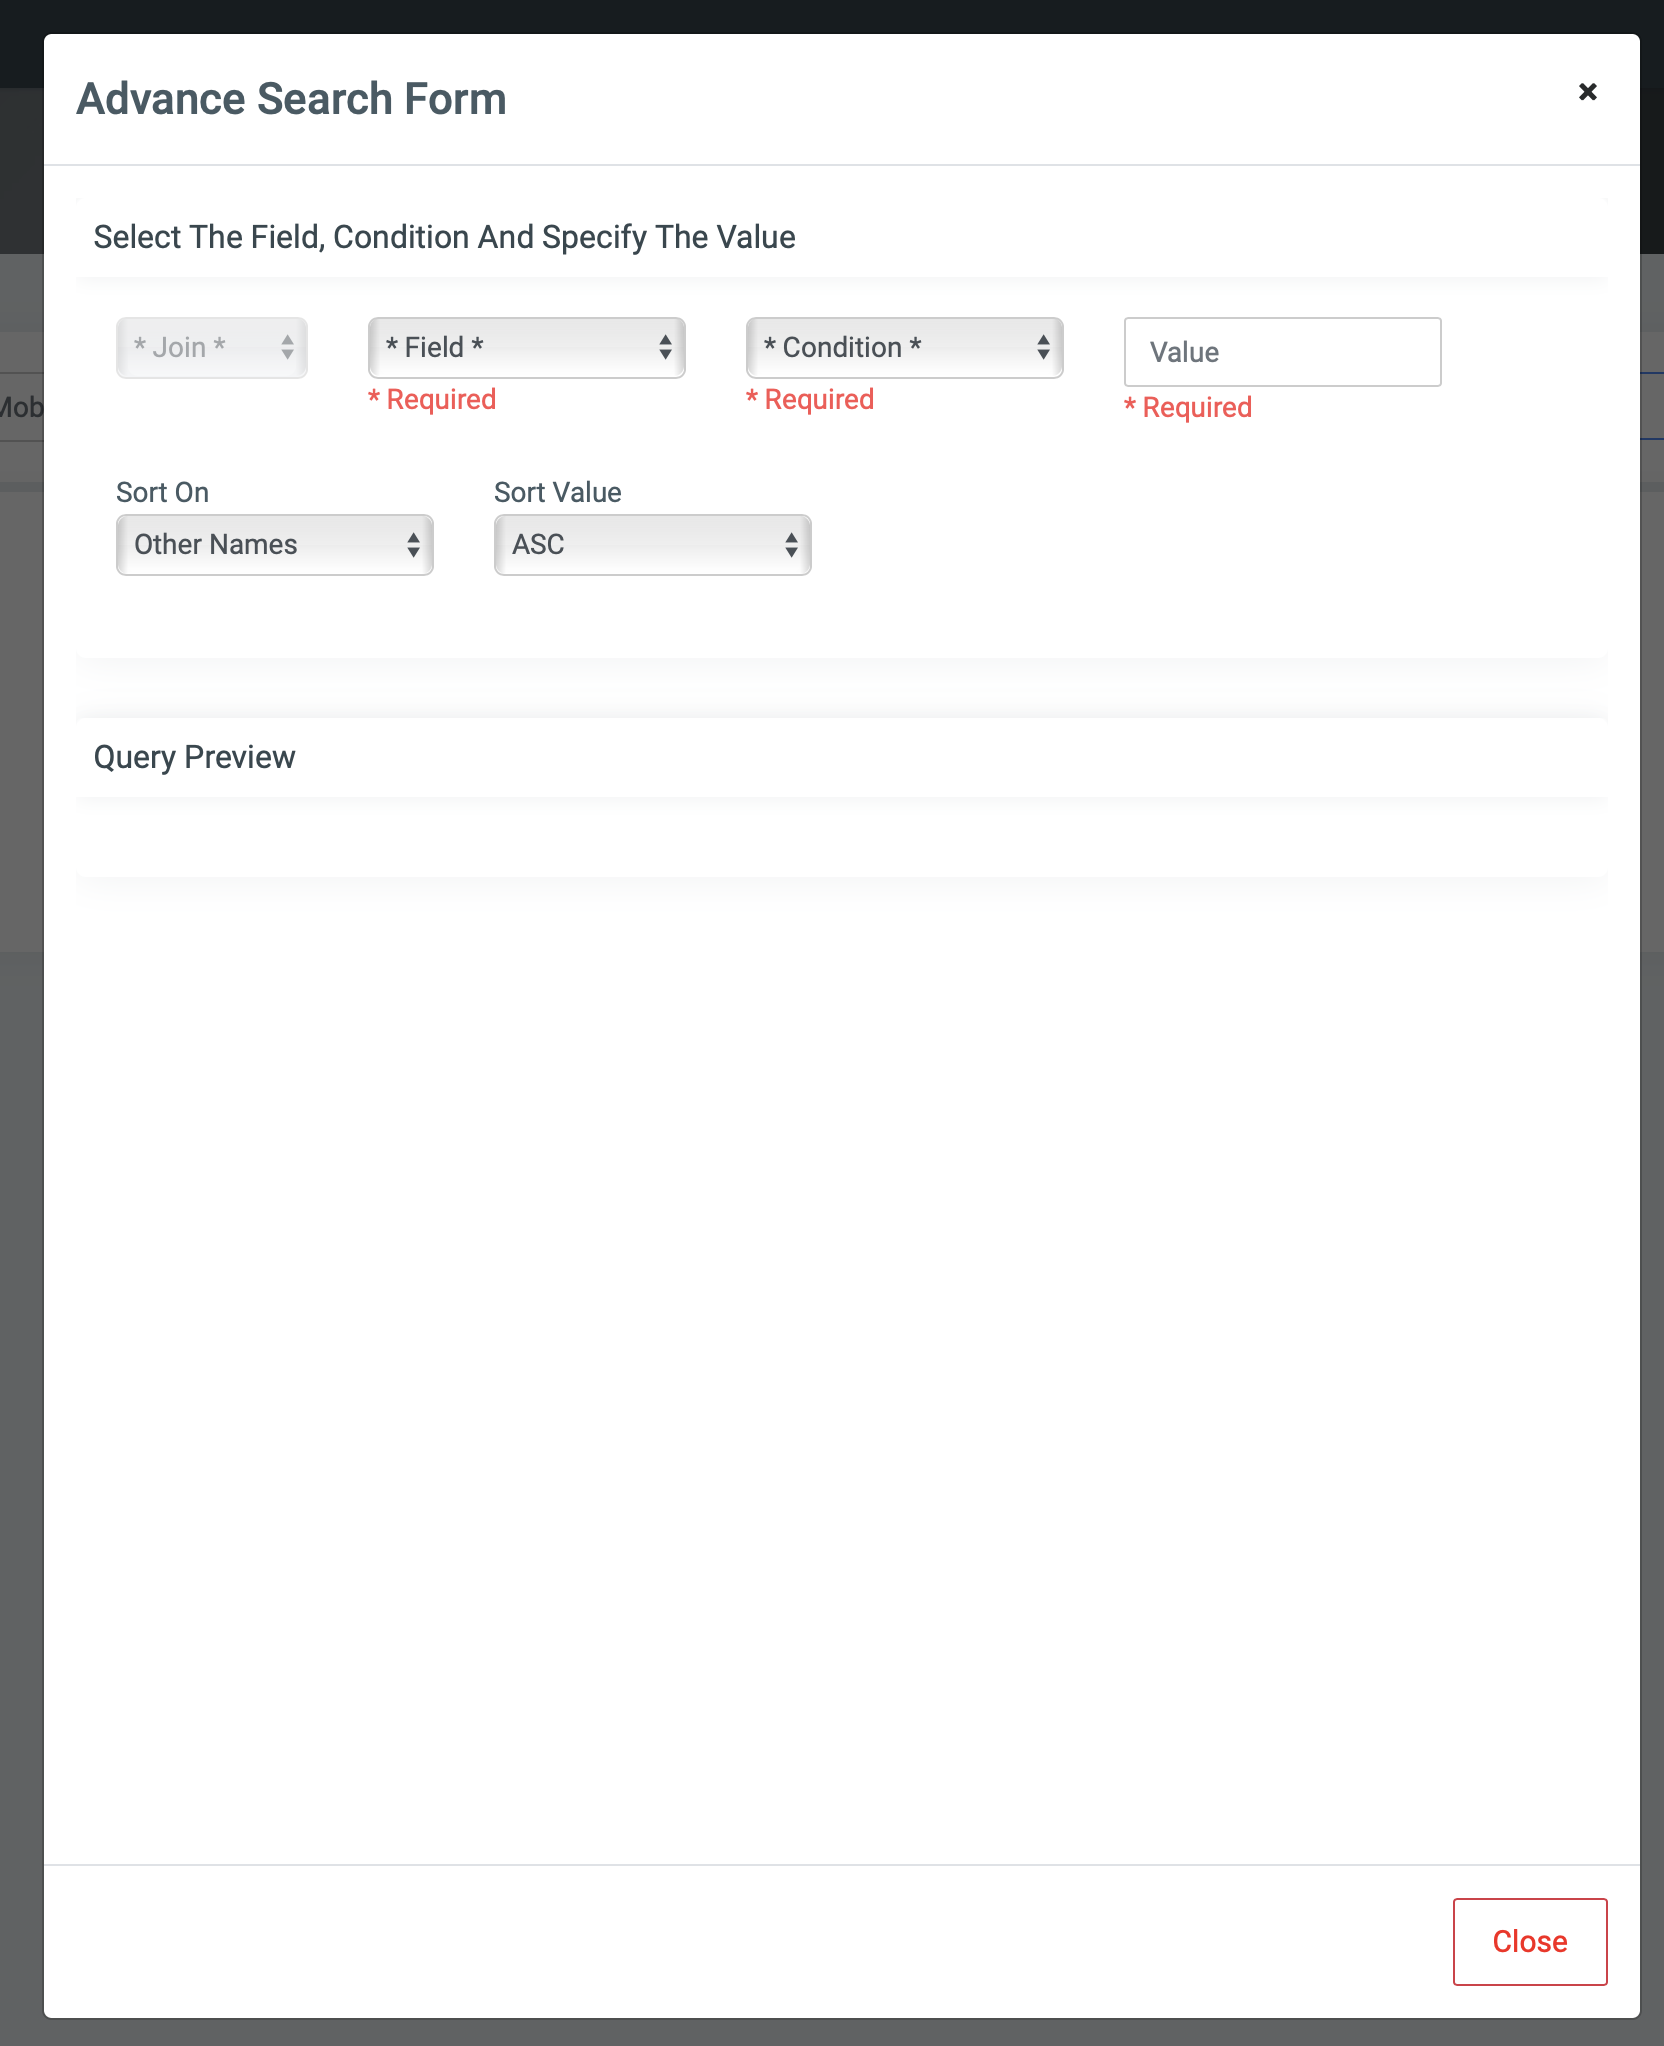
- These fields help make searches by Join, Field(required), Condition(required), and Value (required). You can sort on various parameters (Registration number, surname, other names, etc) and specify if it should be sorted by descending or ascending.
JOIN: Use joins to combine other Fields to narrow deep down your search. Users can select the following type of Joins;
AND: The AND operator displays a record if all the conditions separated by AND are TRUE.
OR: The OR operator displays a record if any of the conditions separated by OR is TRUE. Sort
ON: This provides a dropdown of all students’ Personal and Program information titles to sort from.Sort Value: The user can sort in ascending order(ASC) or descending order(DESC) of the selected Sort On.
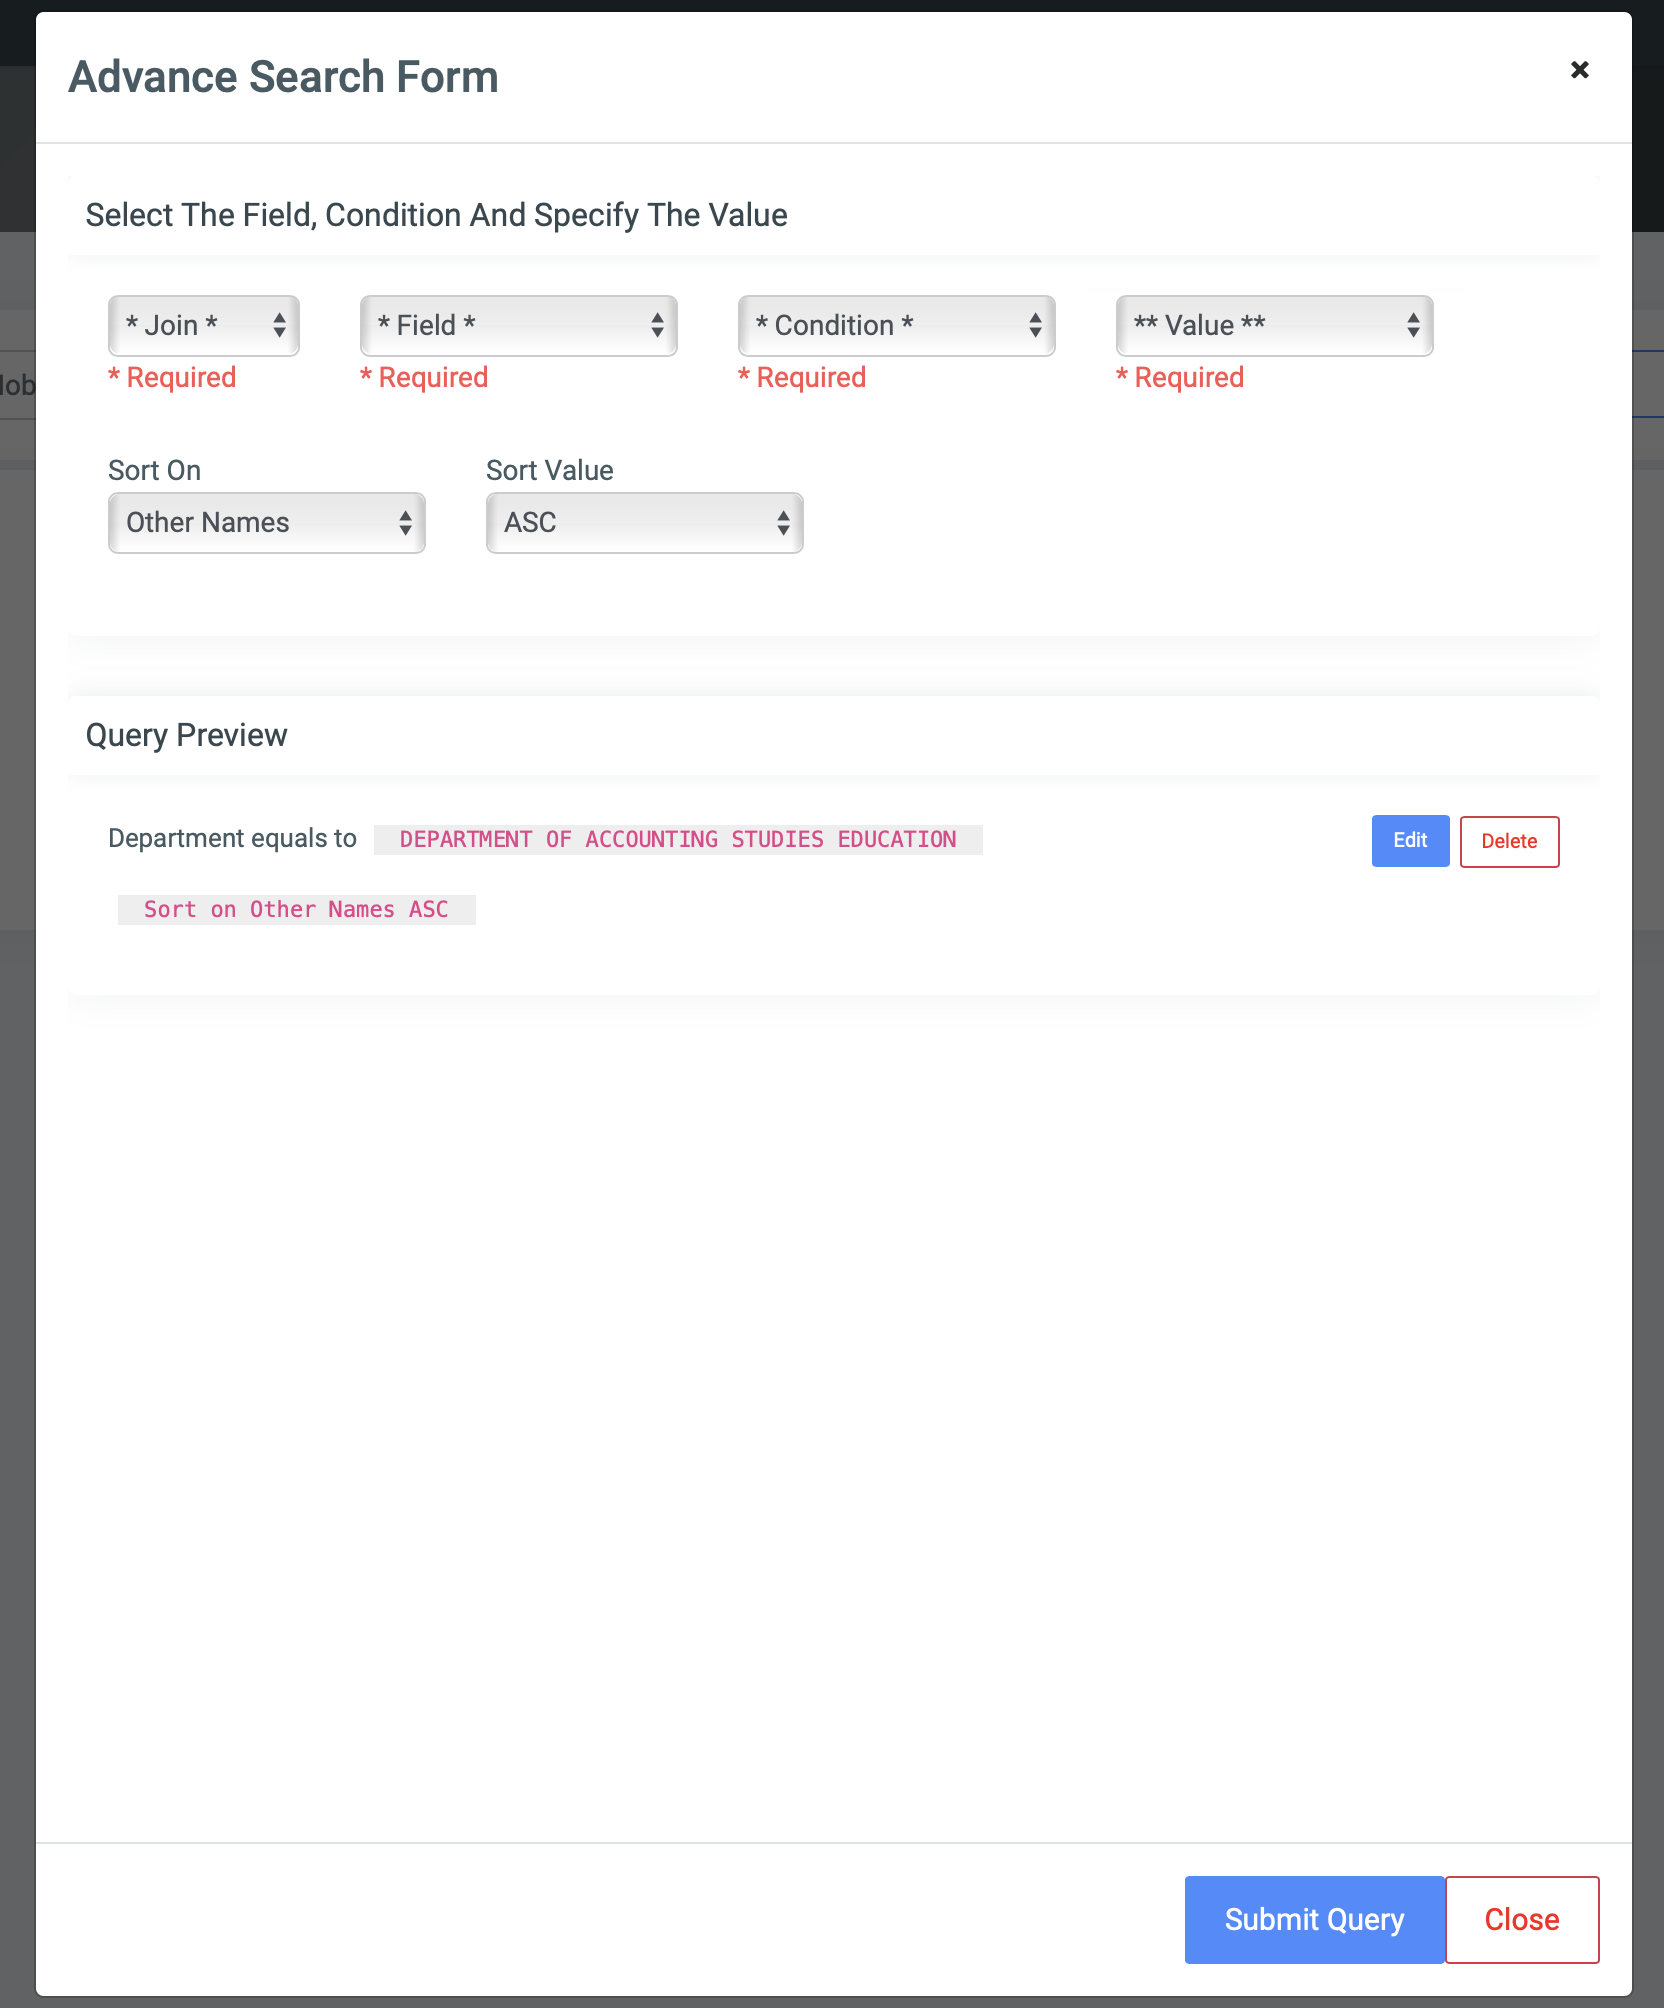
- Beneath, you can review the Query.
✑ Click on Submit Query to submit the query to get results or Close to close the Advanced Search Form
✑ Click the Last Search button which takes you to previous searches you did.
☛ Find Letter
This shows all Student Letter Templates and various actions that can be performed (Add Template and Preview Template)
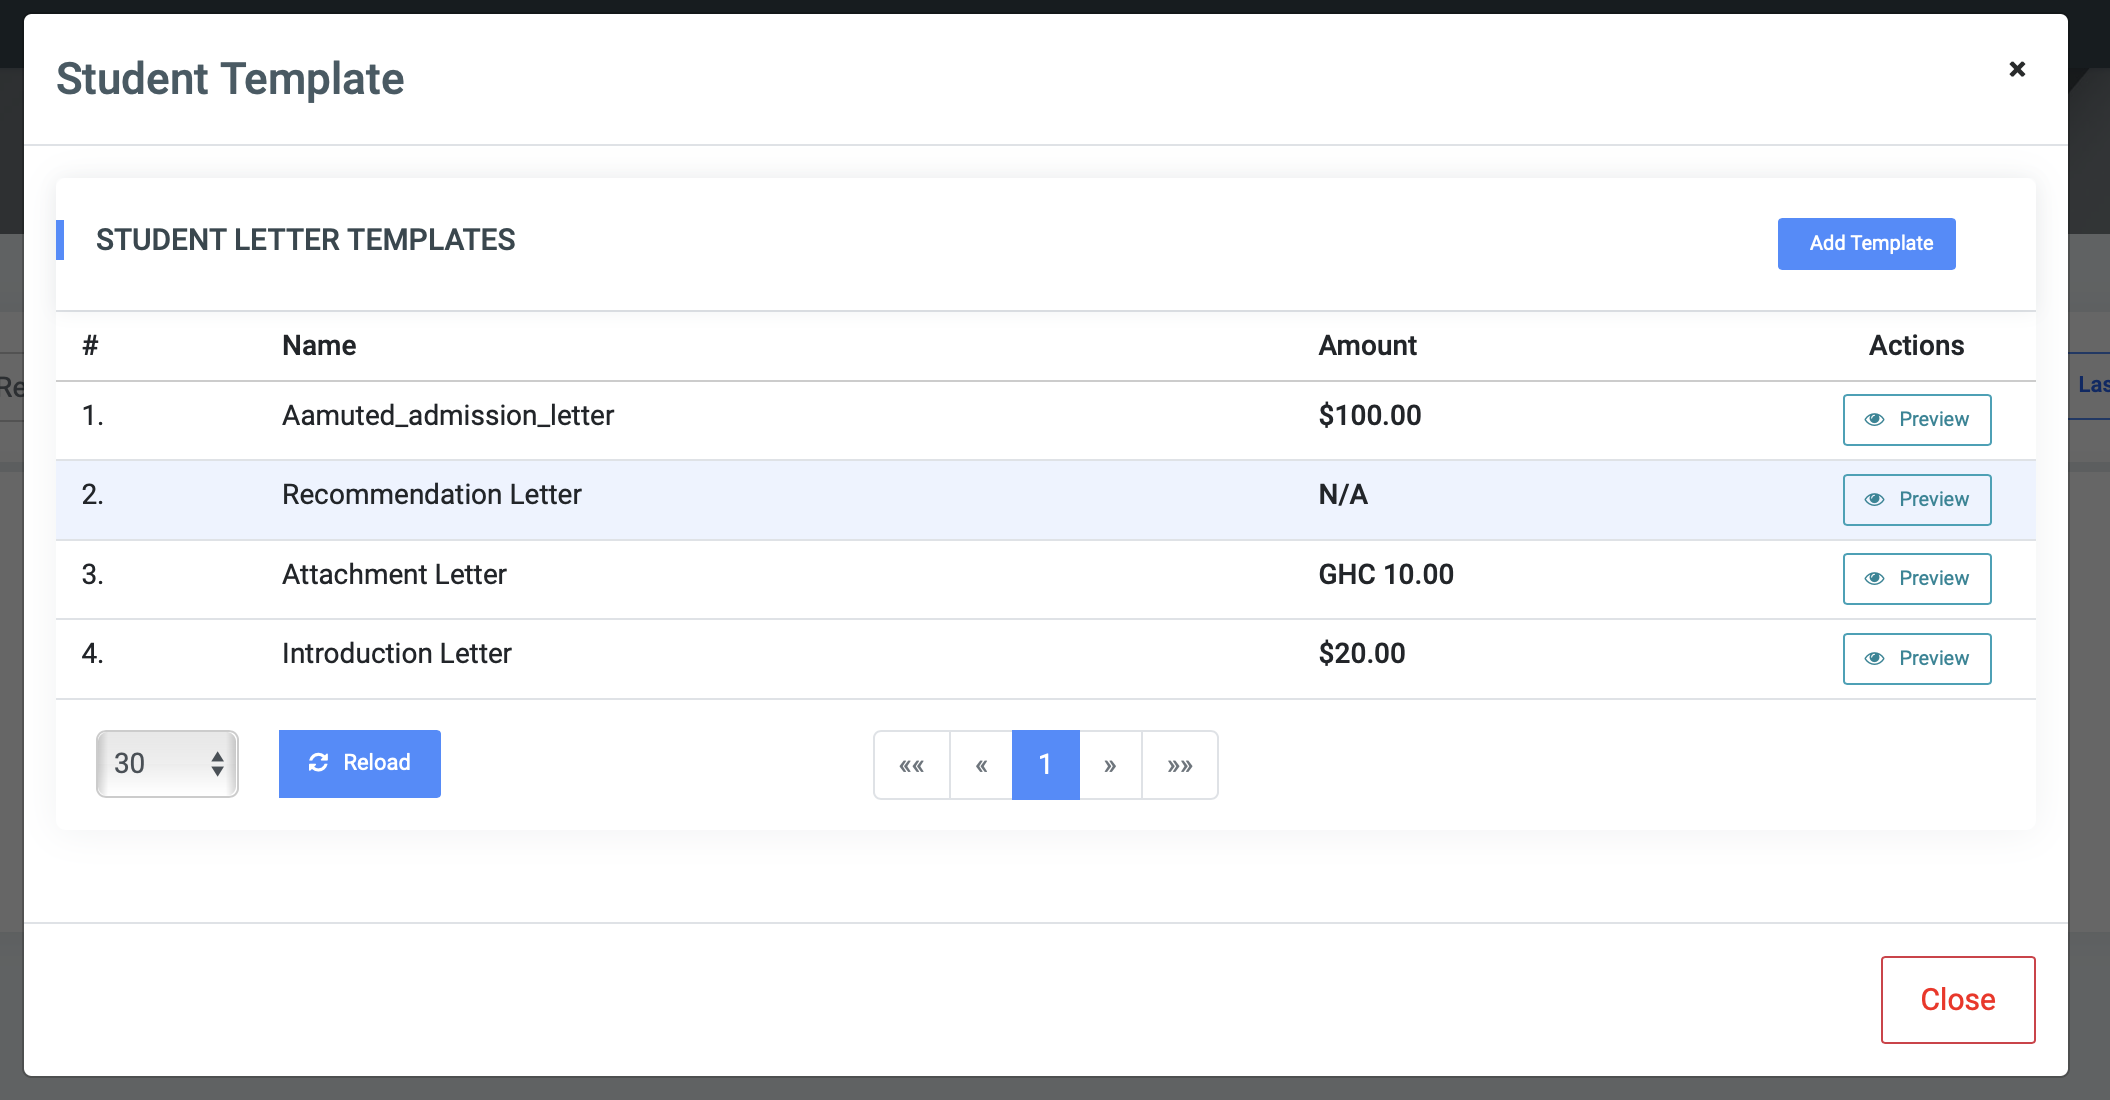
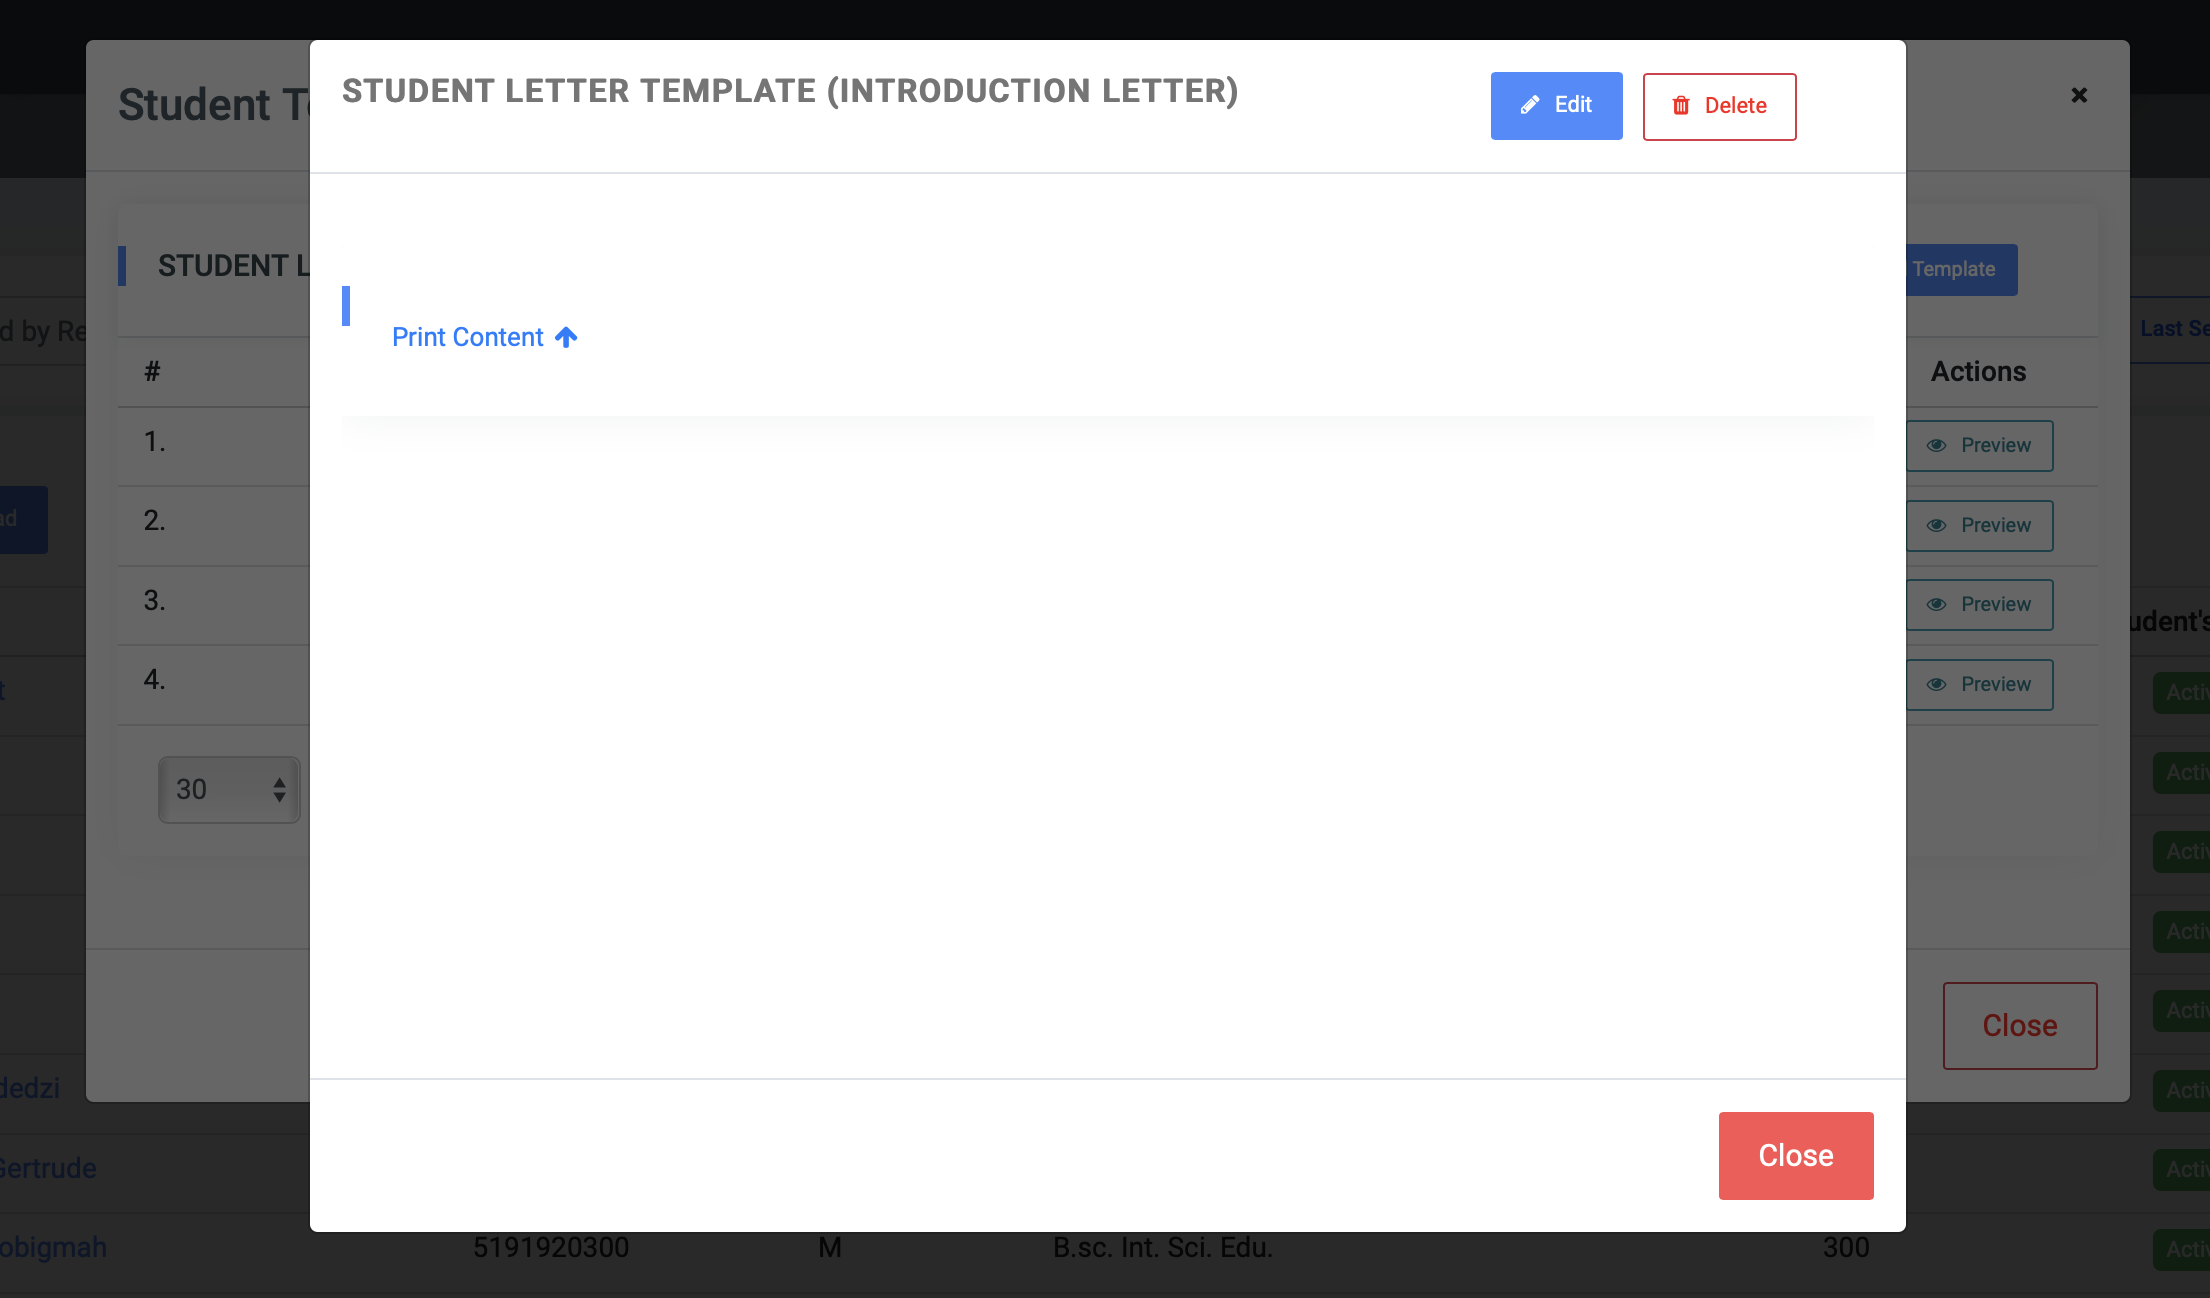
✑ Select Preview to view the specific template. Click the Edit button to edit the template, the Delete button to delete the template, and the Close button to close the page.
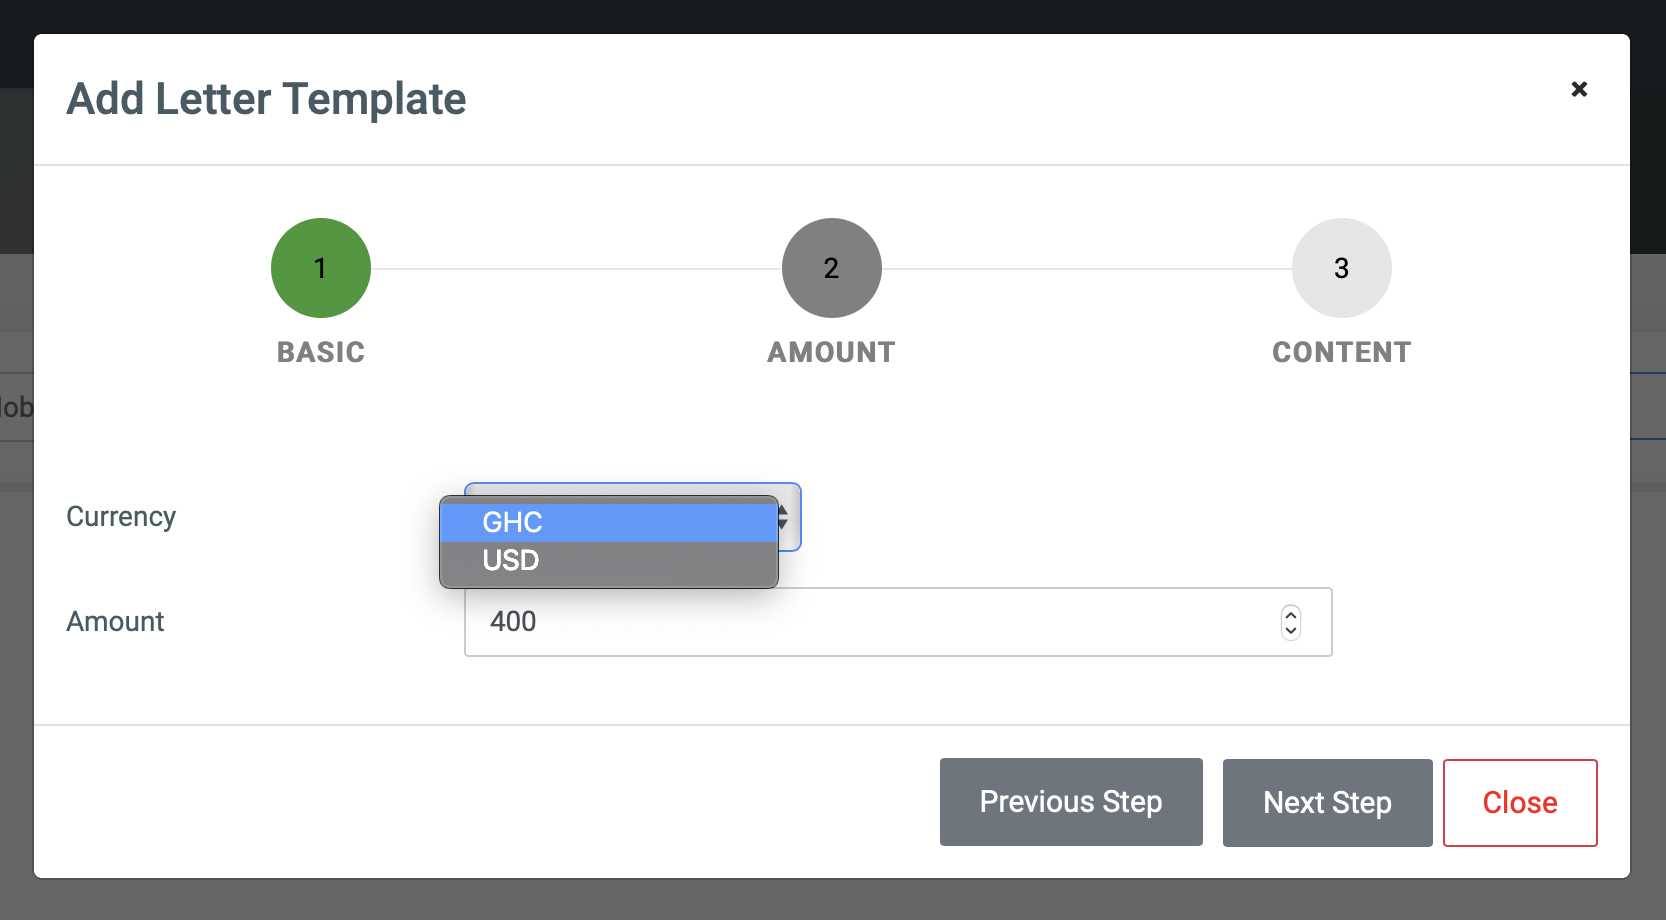
☛ Add Template
- Click on the Add Template button to add a new template.
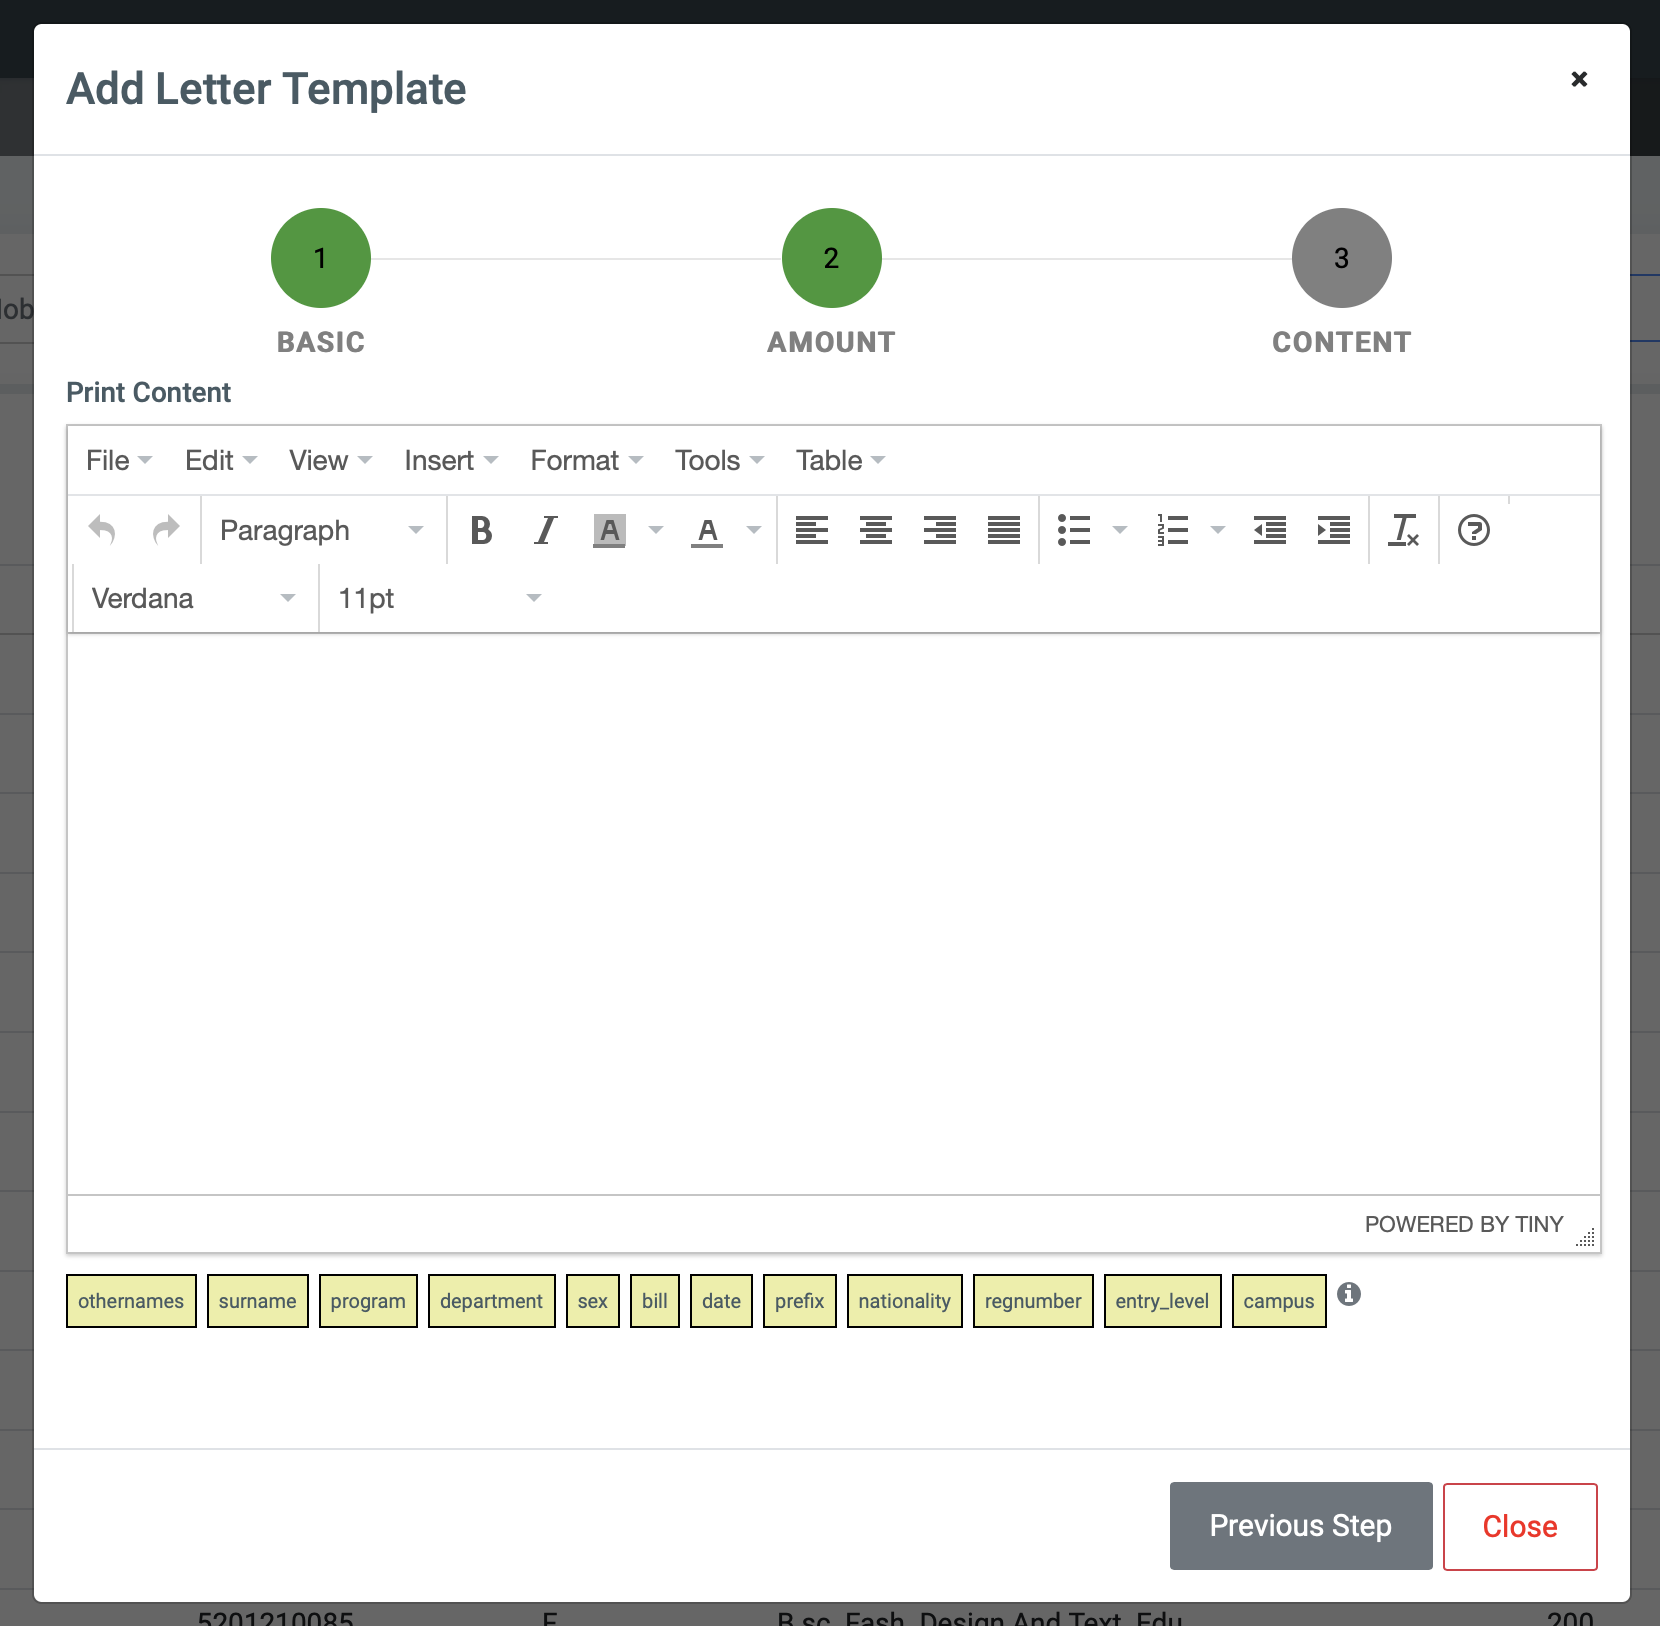
- There are three steps to adding a new template which is: Basic (Name), Amount(GHS/USD and Amount), and Content (the template contents)
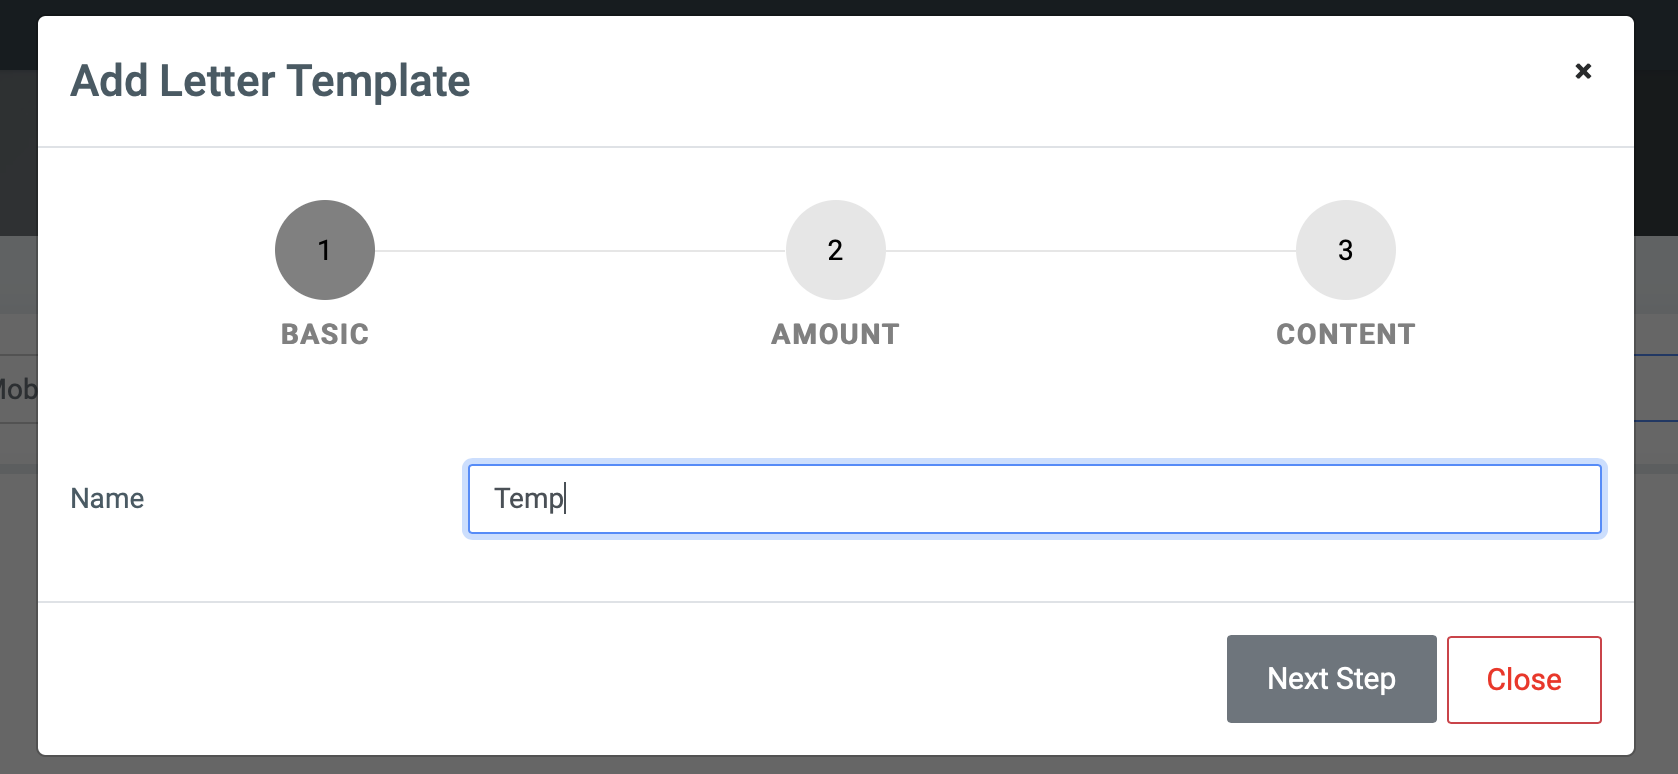
- Content comprises all the things that make up the template. Here, Create a template by adding texts. Tags can be dragged and dropped at the places where needed to pick their corresponding values from the system.
☛ Manage Tags
Manage Tags is needed when creating a template, click on the Manage Template Tag button. This will open a modal that enables users to Add tags, Edit, and Delete them.

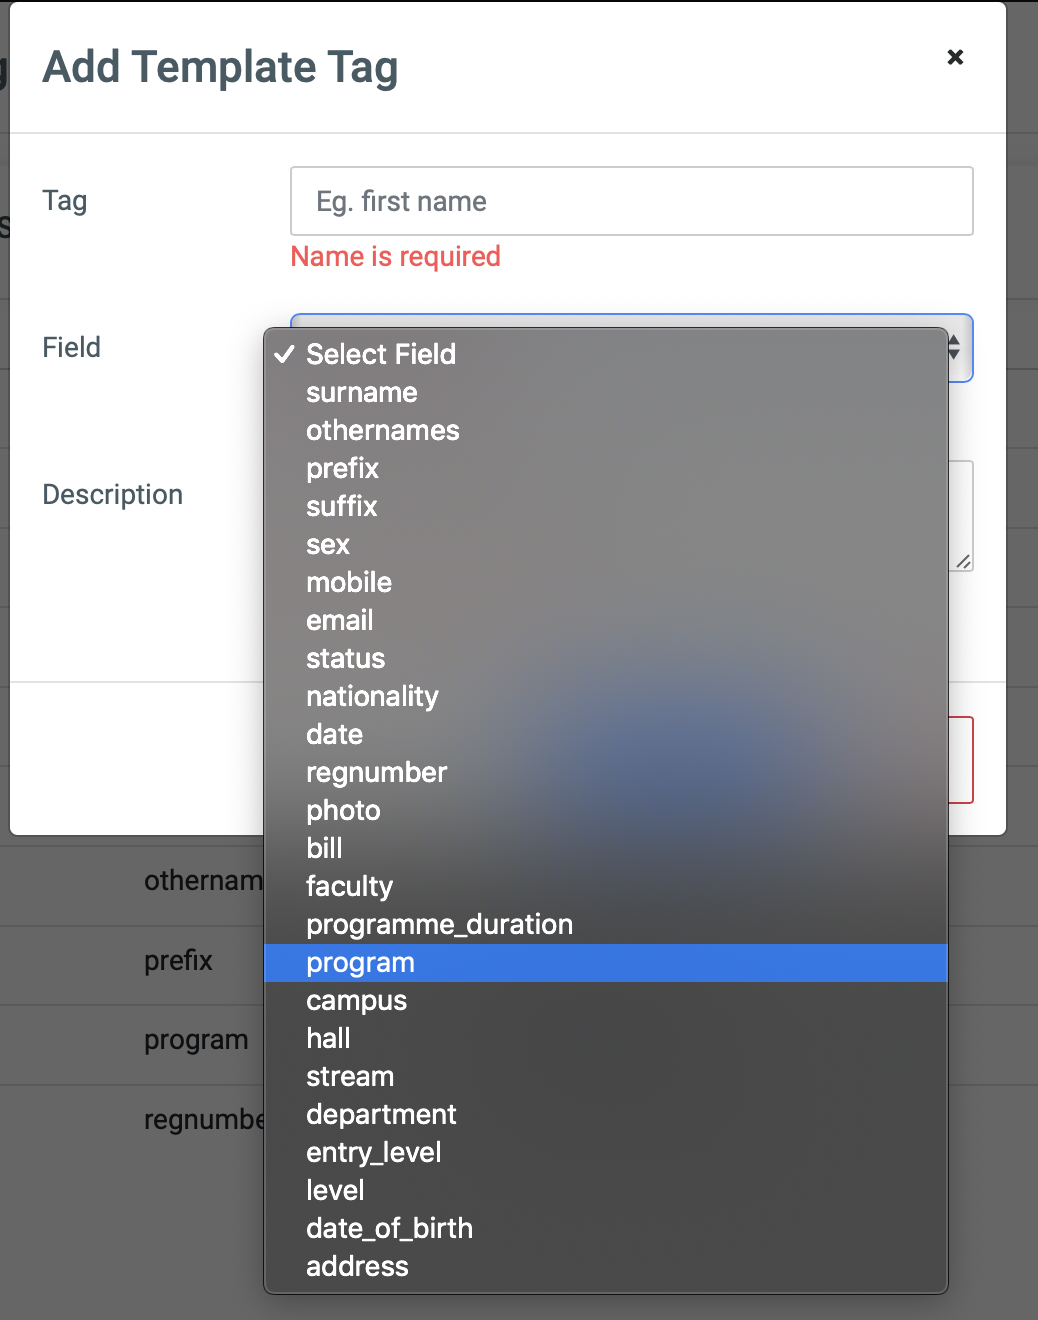
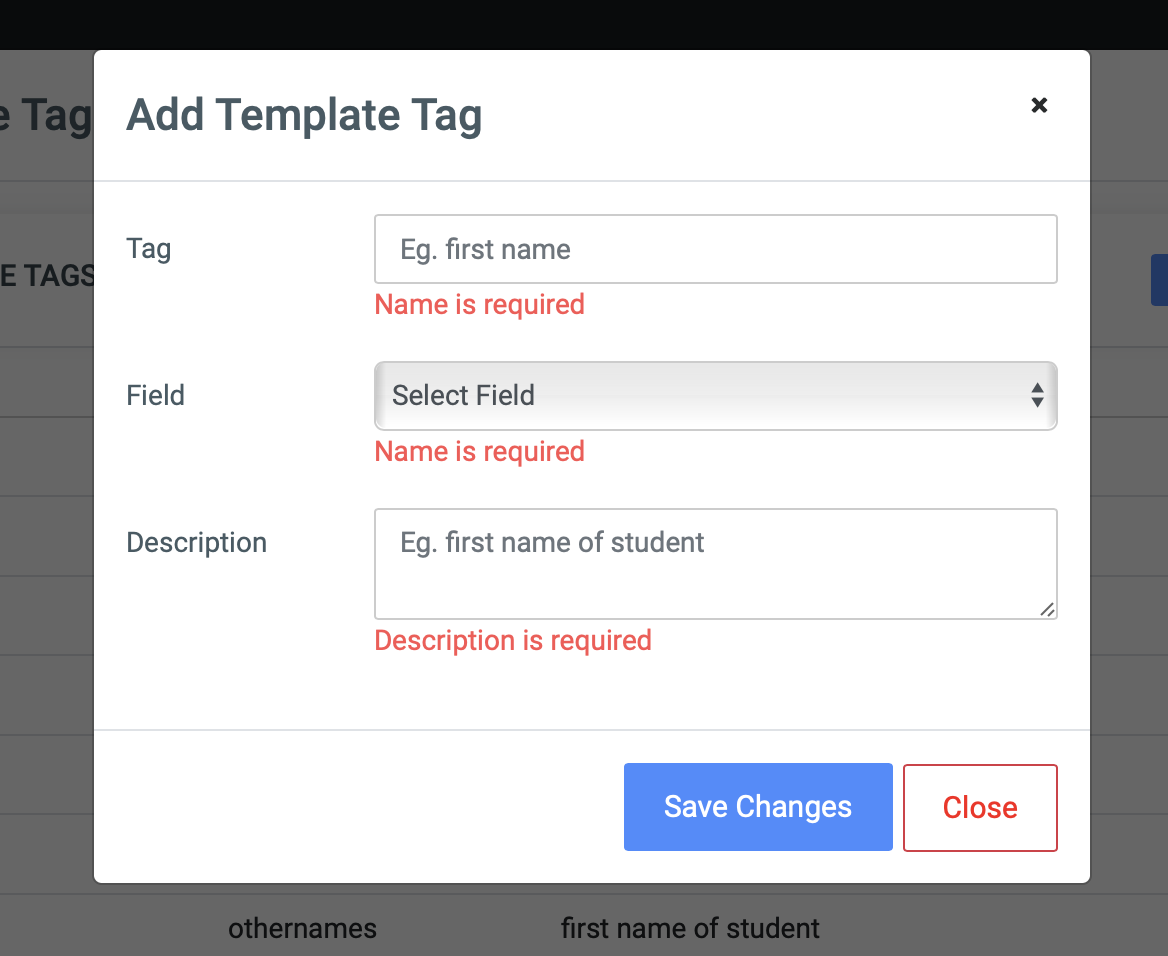
Add Template Tag
- Tag: Give the tag a name.
- Field: Select from the dropdown the field you want to associate with the tag. Eg. mobile(applicants mobile number), sex (applicants gender).
- Description: Provide a description of the tag