
Roles & Permissions
This feature allows the user to define a role with all its required permissions in OSIS.
✑ Depending on your Role Level, you will only see a limited set of roles you can create or manage.
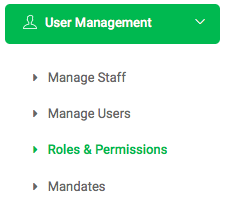
From the OSIS sidebar, Click on the Role & Permissions link under User Management.
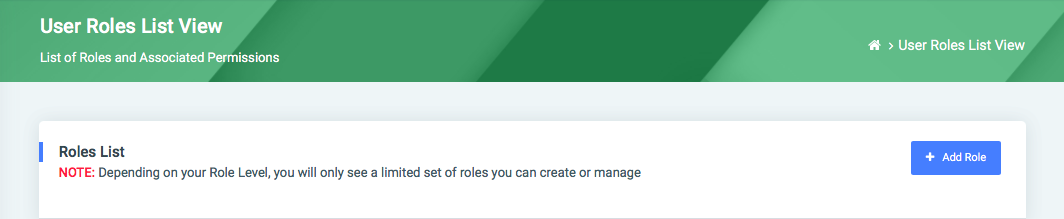
On the User Roles page, there is an Add Role button to add new roles to OSIS.
✑ Click on the Add Role button. The Add role modal has the following fields:
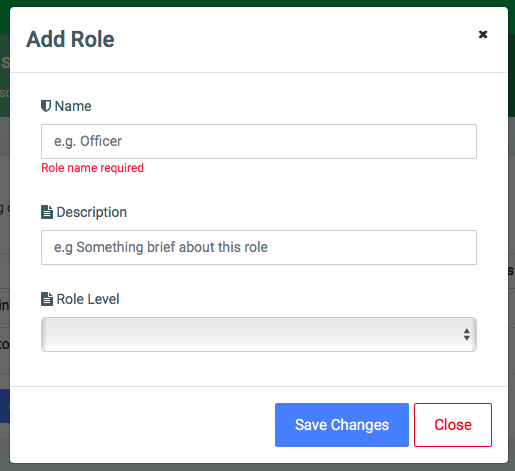
- Name: Enter the name of the role. Eg. Head Of Department (HOD).
- Description: Enter a brief description of the role entered.
- Role Level: This is dropdown to select which level, you what this role to be.
✑ Click on the Save Changes button to confirm actions.
Each added role, the user can assign Permissions, Edit and Delete them.

✑ To assign permission to a role, click on the Permissions button. This opens a modal listing of all the various modules in OSIS where permissions are applied.
☛ Check to allow or permit users. 
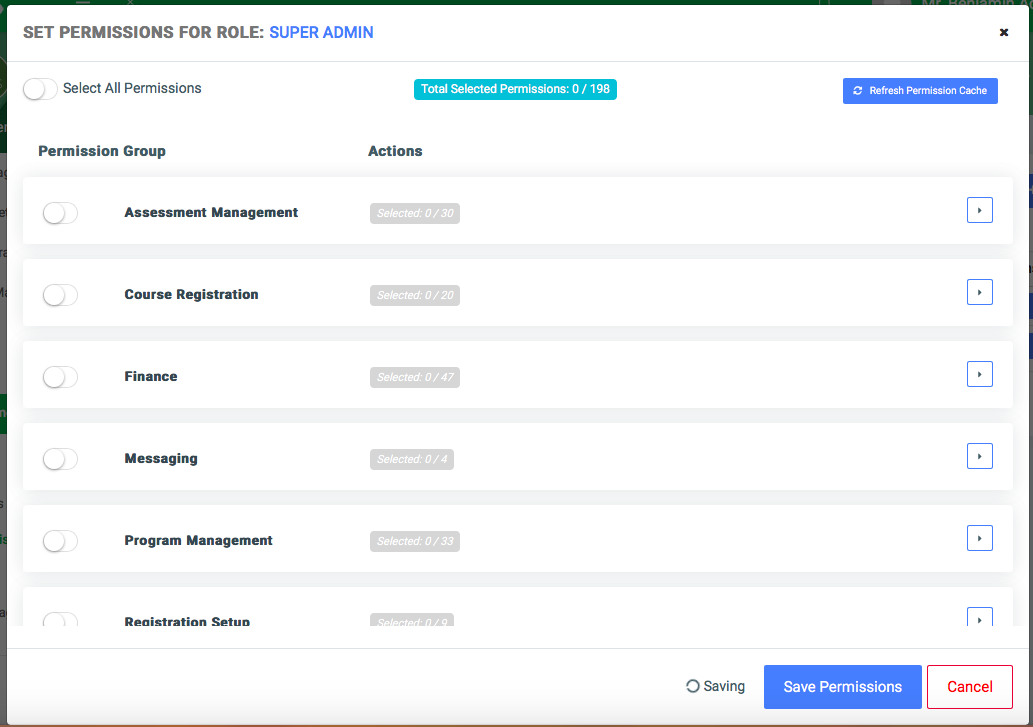
Below the header of the SET PERMISSIONS FOR ROLES, user can see the following:

- Select All Permissions: Check this to assign all permissions to the selected role. (Not recommended).
- Total Selected Permissions Label: This gives a count of all permissions selected for that role.
- Refresh Permission Cache: This reloads the permission fields.
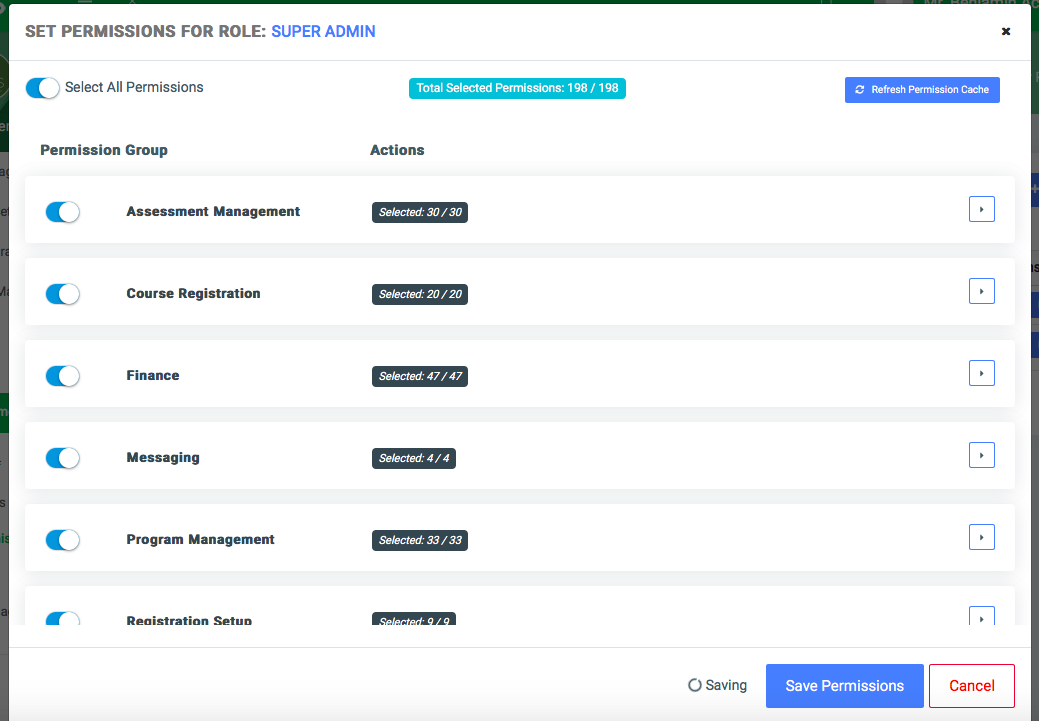
The permissions modal also has fields for Actions and Permission Group.
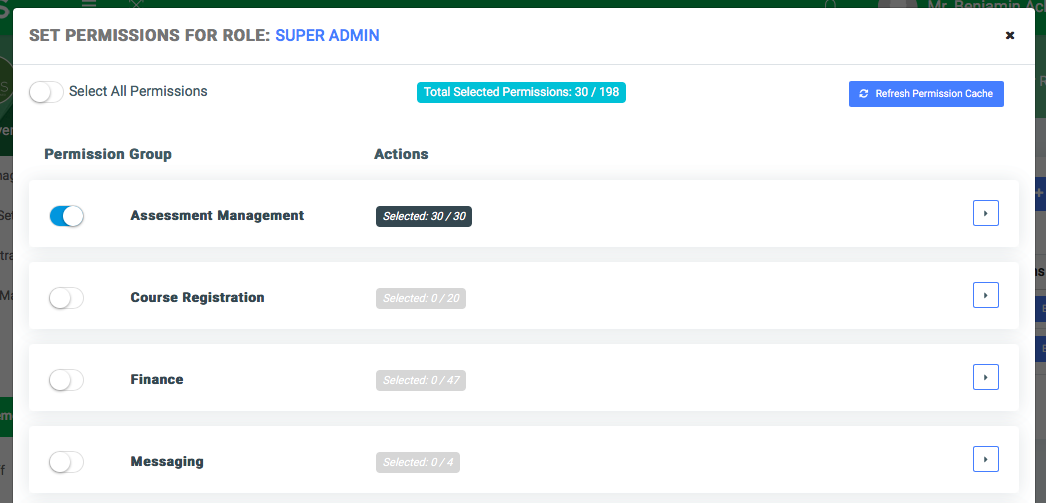
A. Action: This displays the total number of permissions selected over the total number of permissions available in that permission group.
B. Permission Group: This is a list of all the OSIS modules and their individual links with create, read, update, delete and Print permissions.
For each permission group, the user can check the checkbox from the left side of the tab to select all the permissions within that group.
✑ To select and check the individual permissions within a group, click on the dropdown button from the extreme right of the selected group.
This displays an open tab, listing all links under the selected module. For each link, the user can check the following actions.
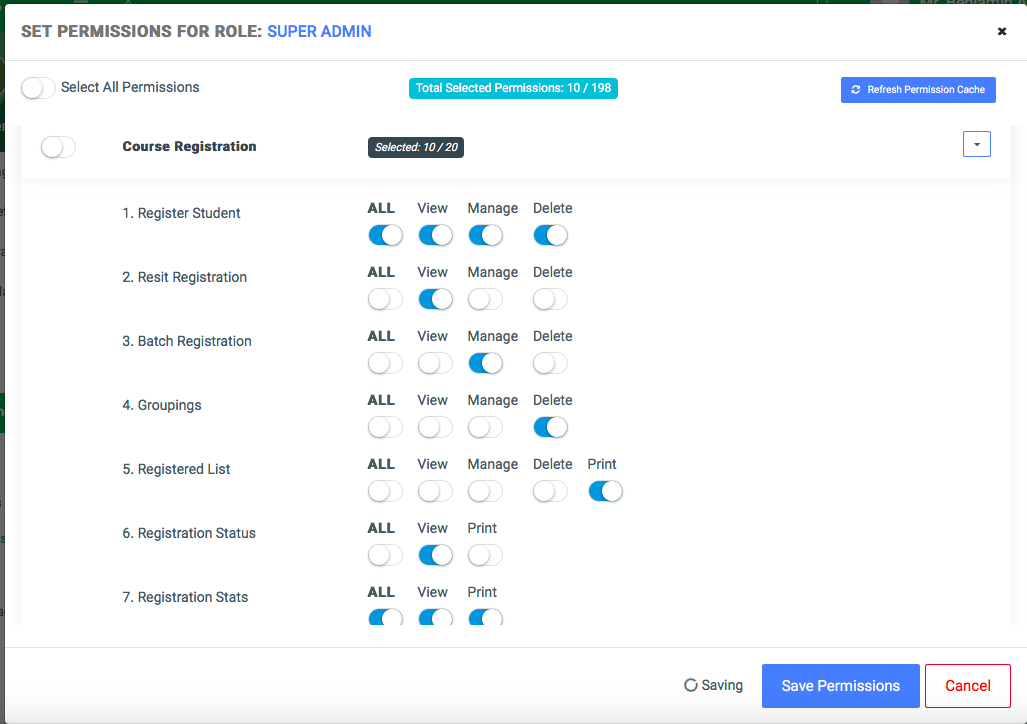
- All checkbox: Checking this allows the users to view, manage, delete and print if available.
- View checkbox: Checking this allows users to read-only.
- Manage checkbox: Checking this allows users to edit or update.
- Delete checkbox: Checking this allows users to delete.
- Print checkbox: Checking this allows all users to print if available.
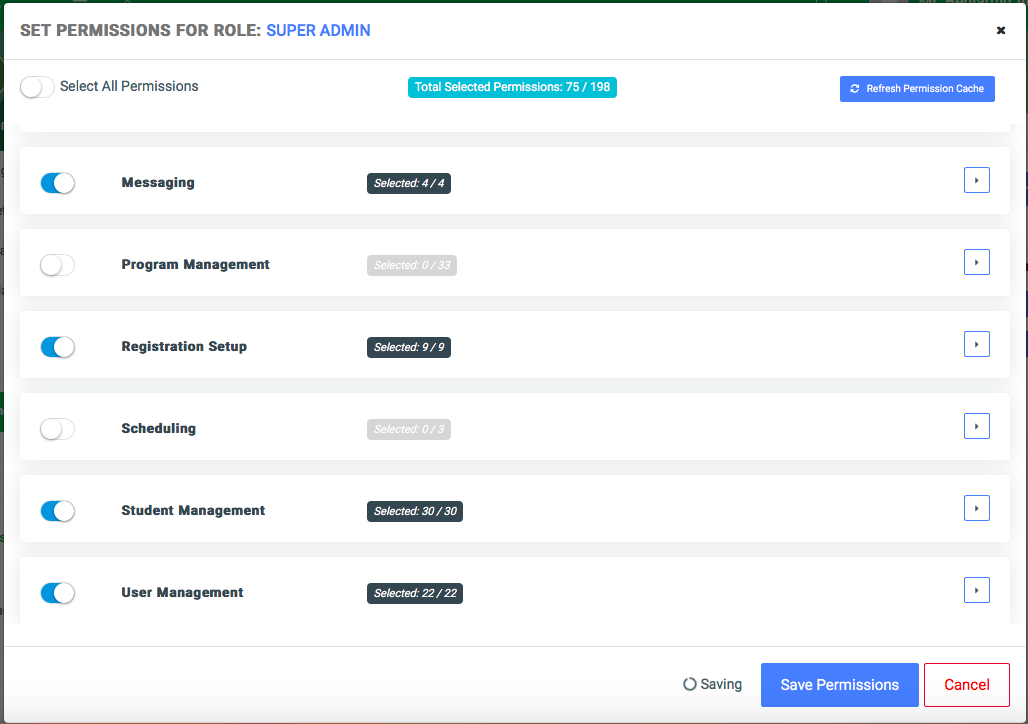
The following is the list of all modules with their permissions fields.
- Assessment Management permissions.
- Course Registration permissions.
- Finance permissions.
- Messaging permissions.
- Program Management permissions.
- Registration Setup permissions.
- Scheduling permissions.
- Student Management permissions.
- User Management permissions.
✑ Click on Save Permissions to confirm actions.
✑ To edit the added role, click on the Edit button. 
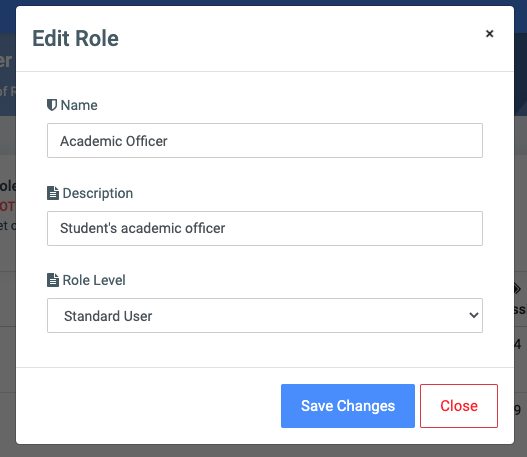
Change the old entries from the Edit Role form and click on the Save Changes button.
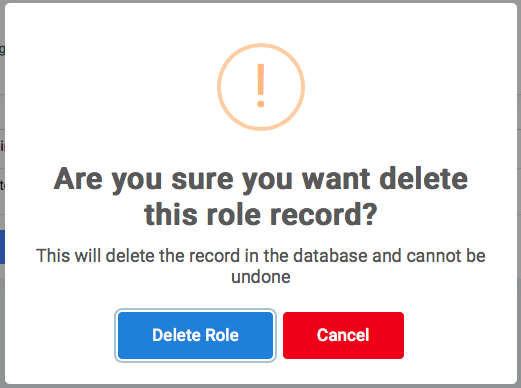
✑ To Delete the role, click on the Delete button icon. 
✑ Click on the Delete Role button from the modal popup to confirm your actions.
✑ Click on the Reload button to refresh the role fields.
Users can also add Permissions
✑ Click on the Add Permission button to add a new permission.

First select the group you want permission to apply to then, the feature and the action as well (e.g. view).
NB: The feature is dependent on the permission group.
The user also has the option to apply the mutually exclusive condition to the permission. That is; one role can’t have full access to all the actions within the permission.