Register Student
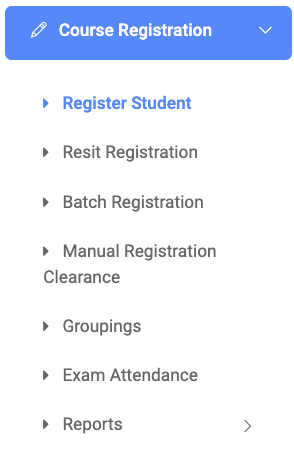
✑ From the OSIS sidebar, Click on the Register Student link under Course Registration.
The Register Student page has an Input textbox field with a search icon button, Advanced Search button, and Last Search button.
The input textbox field: This textbox allows the user to do a basic of the search of the following;
- Registration number: the student Reg. No.
- Name: The name of the students.
- Mobile: the students’ mobile number.
- Email: the students’ email.

Click on the search button icon to get results after entering any of the above.
Advanced Search: Click on the Advanced Search button to do a more narrow search to get particular information or a certain group of students with or without any uniqueness based on the following;
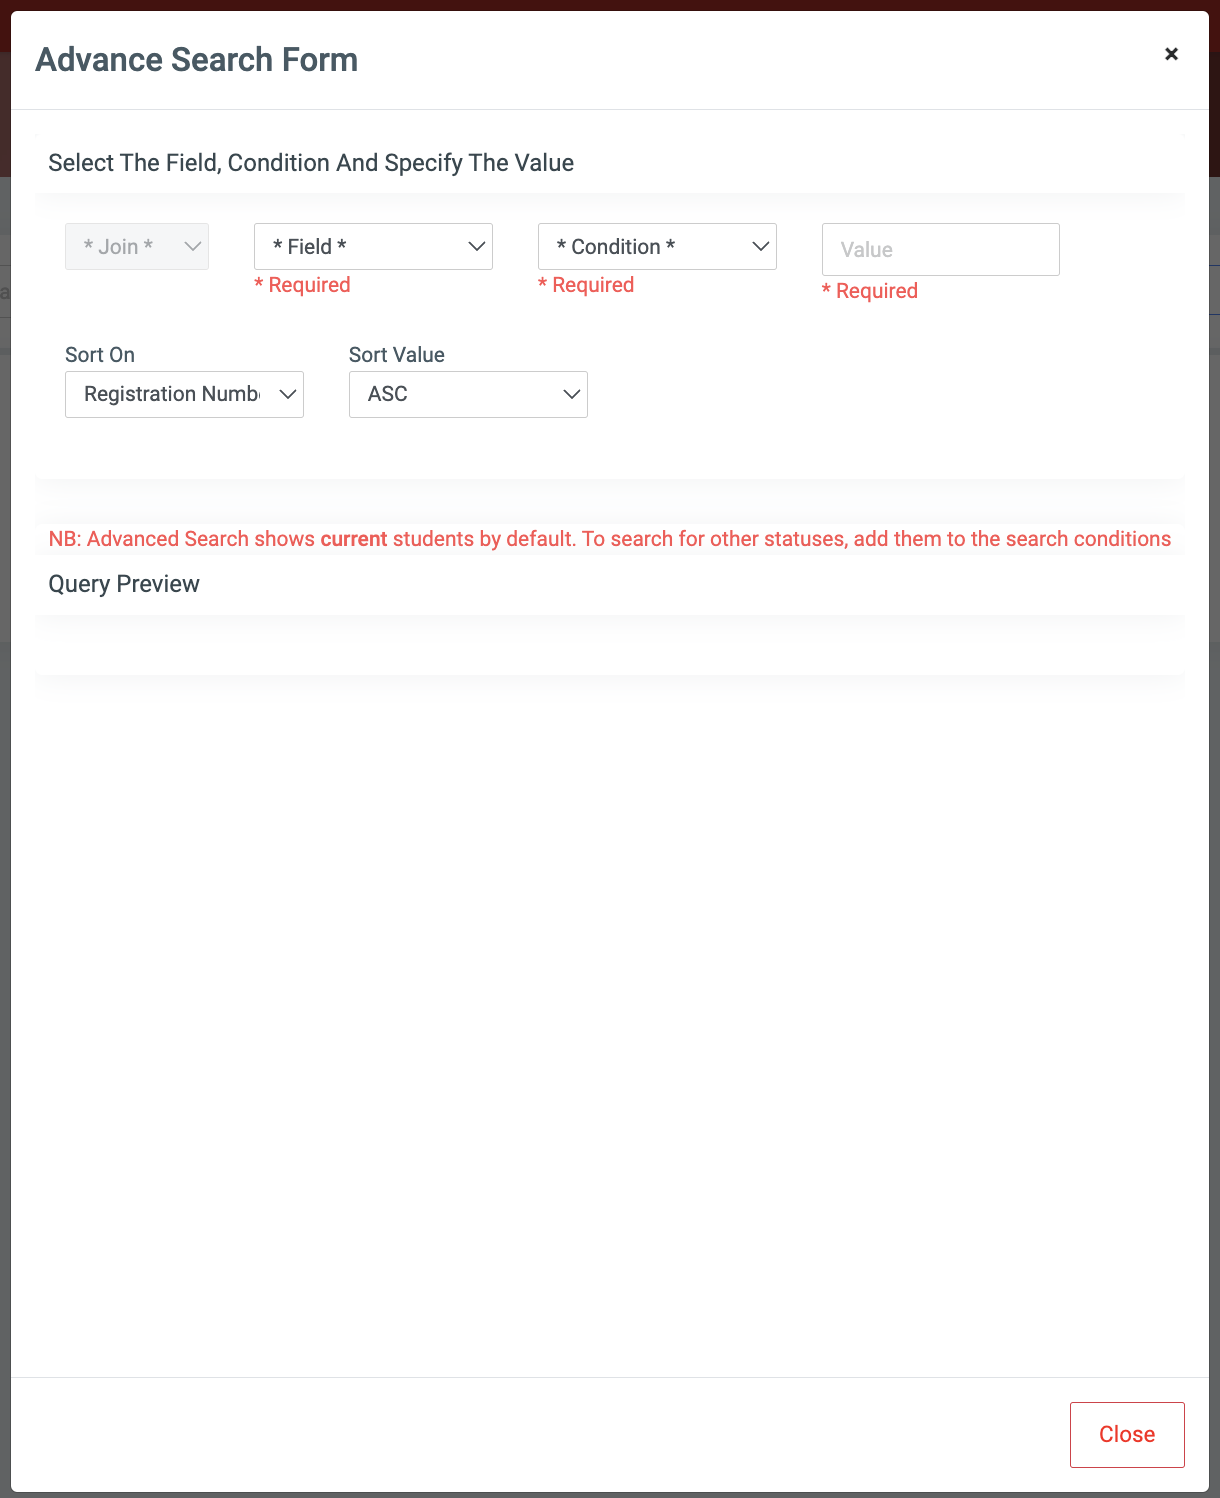
- Field: The field displays a dropdown of all students’ Personal and Program information titles to search from. Eg. Select Gender from the dropdown.
- Condition: the condition works dynamically based on the selected Field. Eg. Select equals to from the dropdown.
- Value: Select or type in the value you are looking for from the selected Field dropdown. Eg. select Male from the dropdown.
- Click on the round Plus button icon to show in the Query Preview.
- NB: You can click on the Submit Query button to get results or join more fields to narrow the search.
- Join: Use joins to combine other Fields to narrow deep down your search. Users can select the following types of Joins;
- AND: The AND operator displays a record if all the conditions separated by AND are TRUE.
- OR: The OR operator displays a record if any of the conditions separated by OR is TRUE.
- Sort On: This provides a dropdown of all students’ Personal and Program information titles to sort from.
- Sort Value: Users can sort in ascending order(ASC) or descending order(DESC) of the selected Sort On.
- Query Preview shows or displays the label of all selected Fields, Conditions, and Values of the user search query. Users can edit the query or delete it to start again.
Click on the Submit Query button to get results.
For each Query result of students, the user can view or see the following fields;

- Name: Name of student
- Reg. No.: Student Registration number.
- Gender: Student’s gender eg. Male(M) or Female(F).
- Program: The Program the student is offering eg. BSc banking and Finance.
- Level: The level of the student eg. 100.
- Student’s status: Students’ status eg. Active or Inactive.
- Action: This has a Register Courses button. Click on this button to register a student for a particular course(s).
After finding the student you want to register, click on the Register Courses button to register the student.
The Student Courses page has four main sections. Registration Schedule, Course Registration Requirement, Course List and Selected Course;
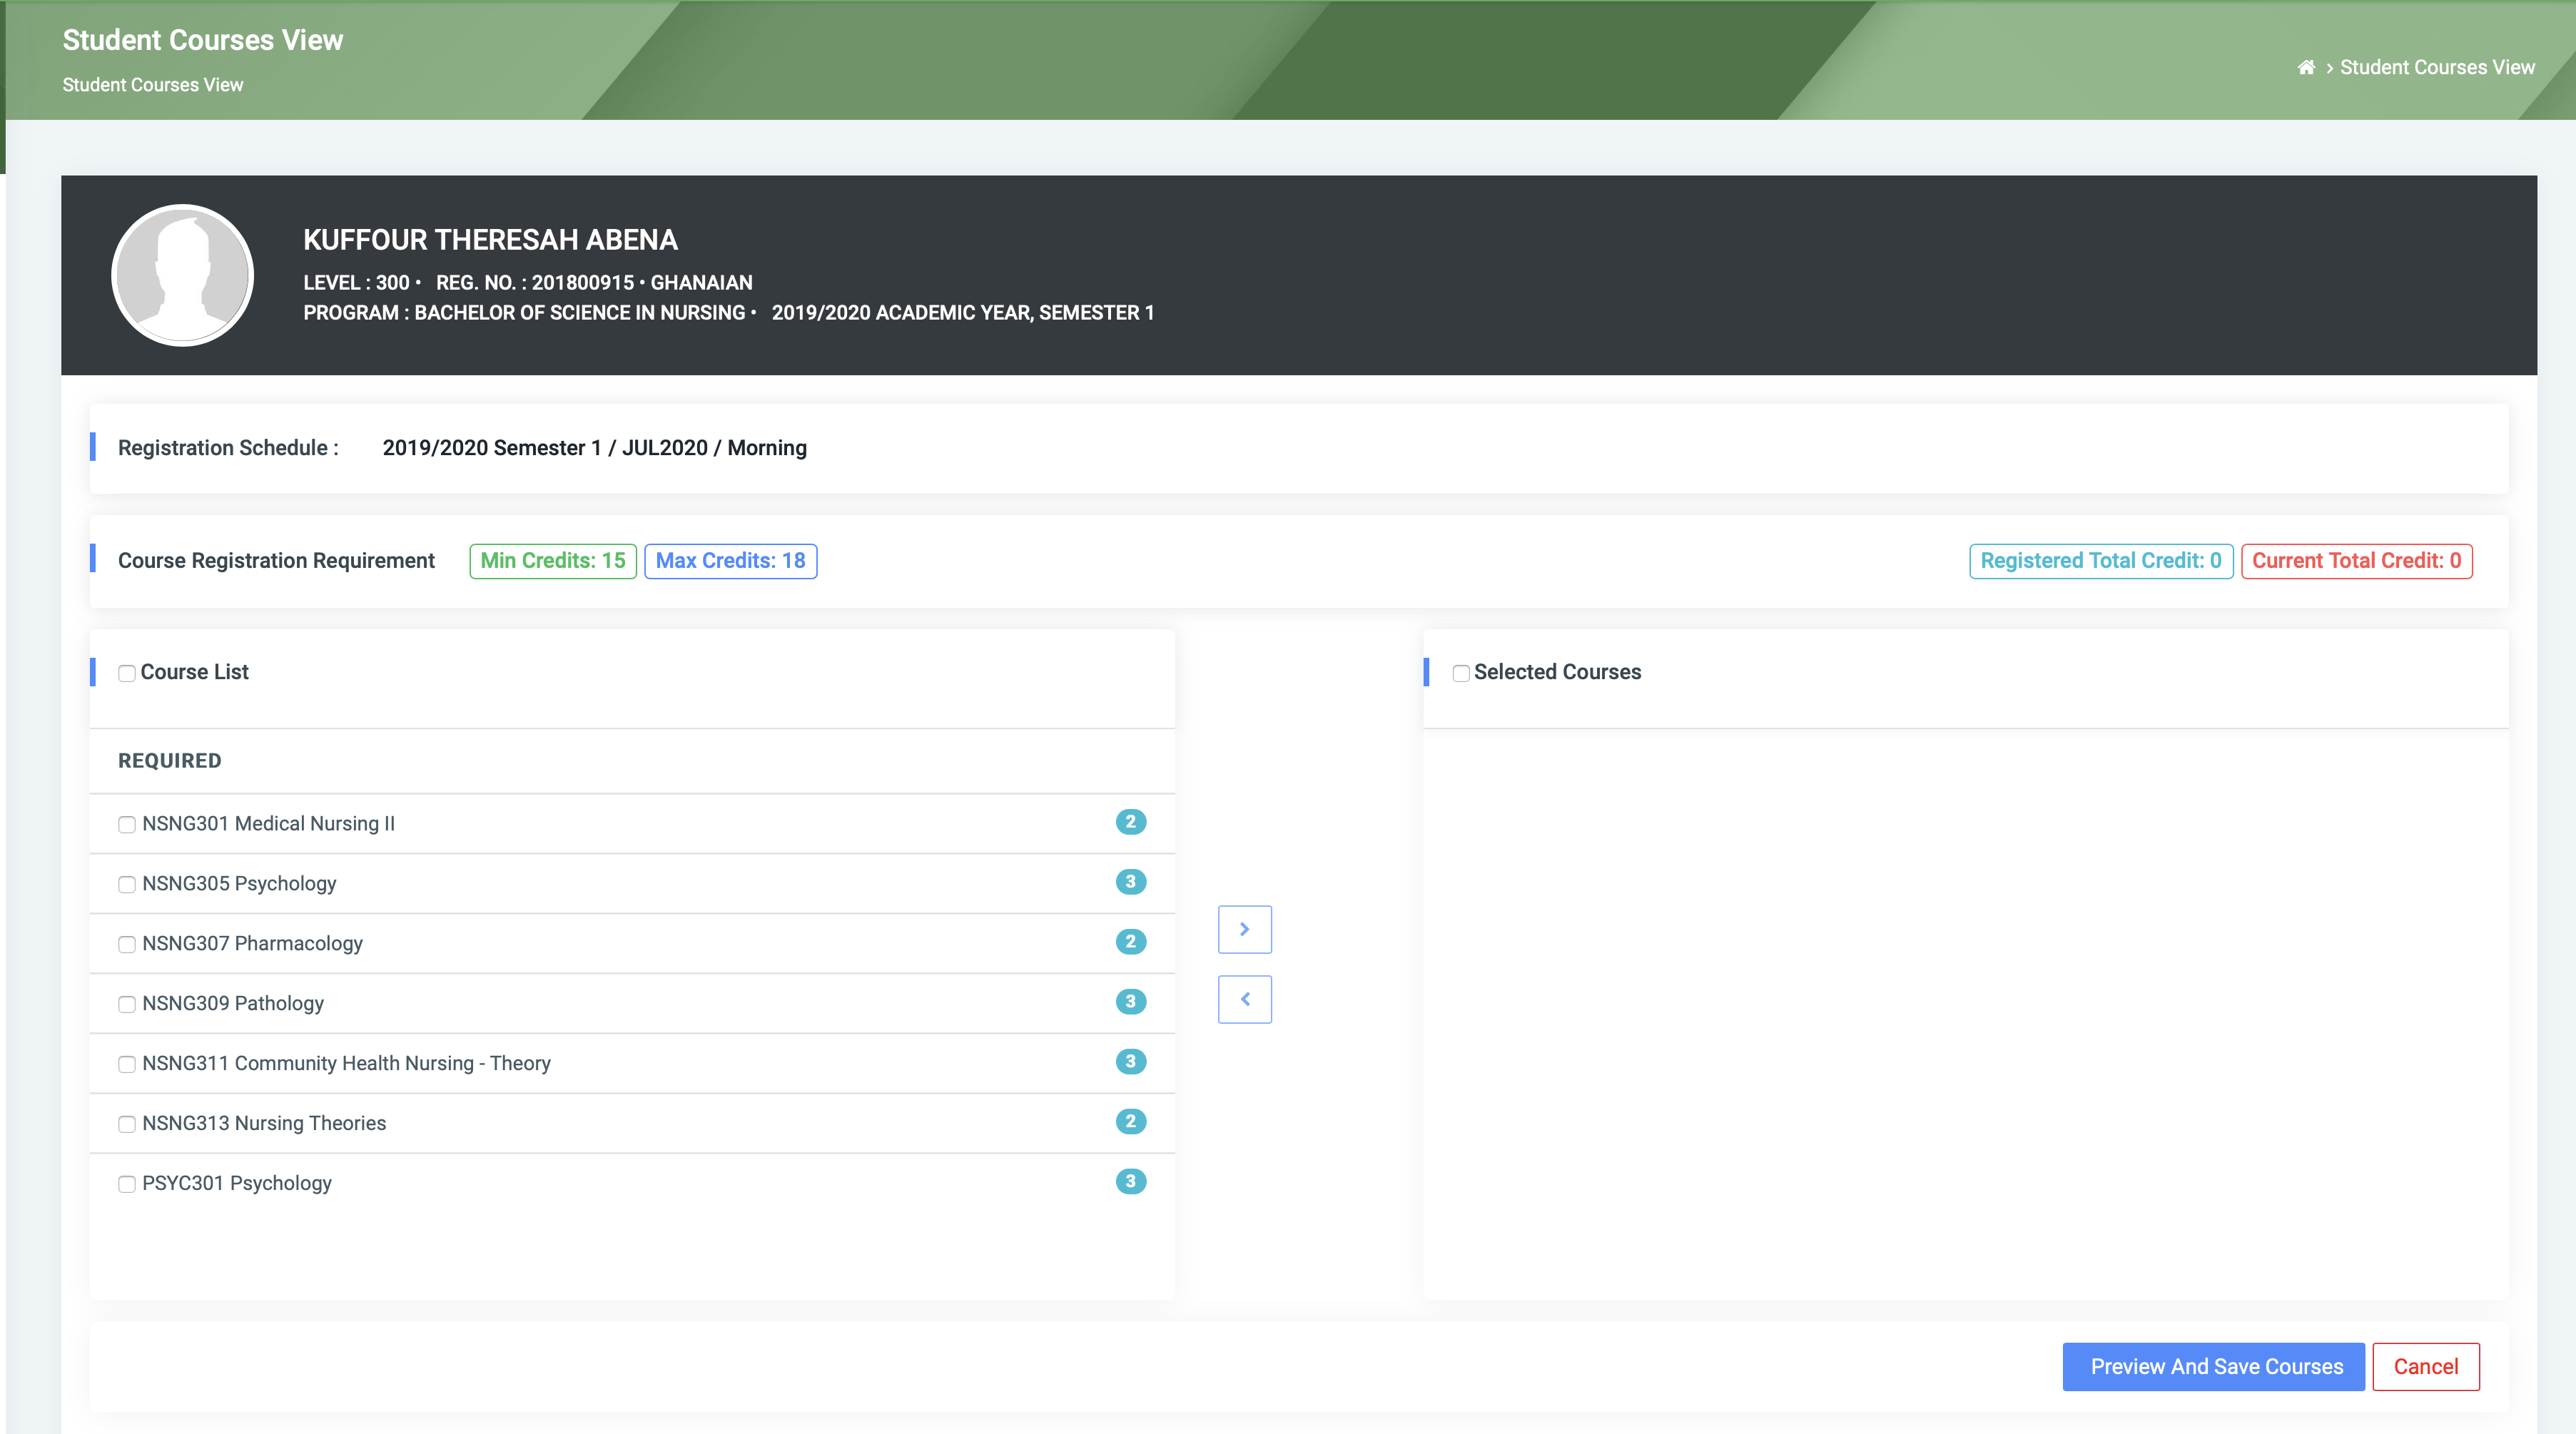
1. Registration Schedule: This displays information about the active Schedule in OSIS.

2. Course Registration Requirement: This displays information about all the course credits required in other to register successfully. The requirement labels are as follows;

- Min Credit: This is the Minimum credit required.
- Max Credit: This is the Maximum credit required.
This section will also display the summation of course credits as the user moves required courses to the Selected Courses section. The labels are as follows;
- Current Total Credit: This is the total credits of all courses that are present in the Selected Courses section.
- Registered Total Credit: This shows the total credit of all courses the student has registered for.
3. Course List: This shows a list of all courses available for the student to register.
✑ Click on the Course List checkbox to select all courses, then click on the Greater Hand Sign to move courses to Selected Courses.
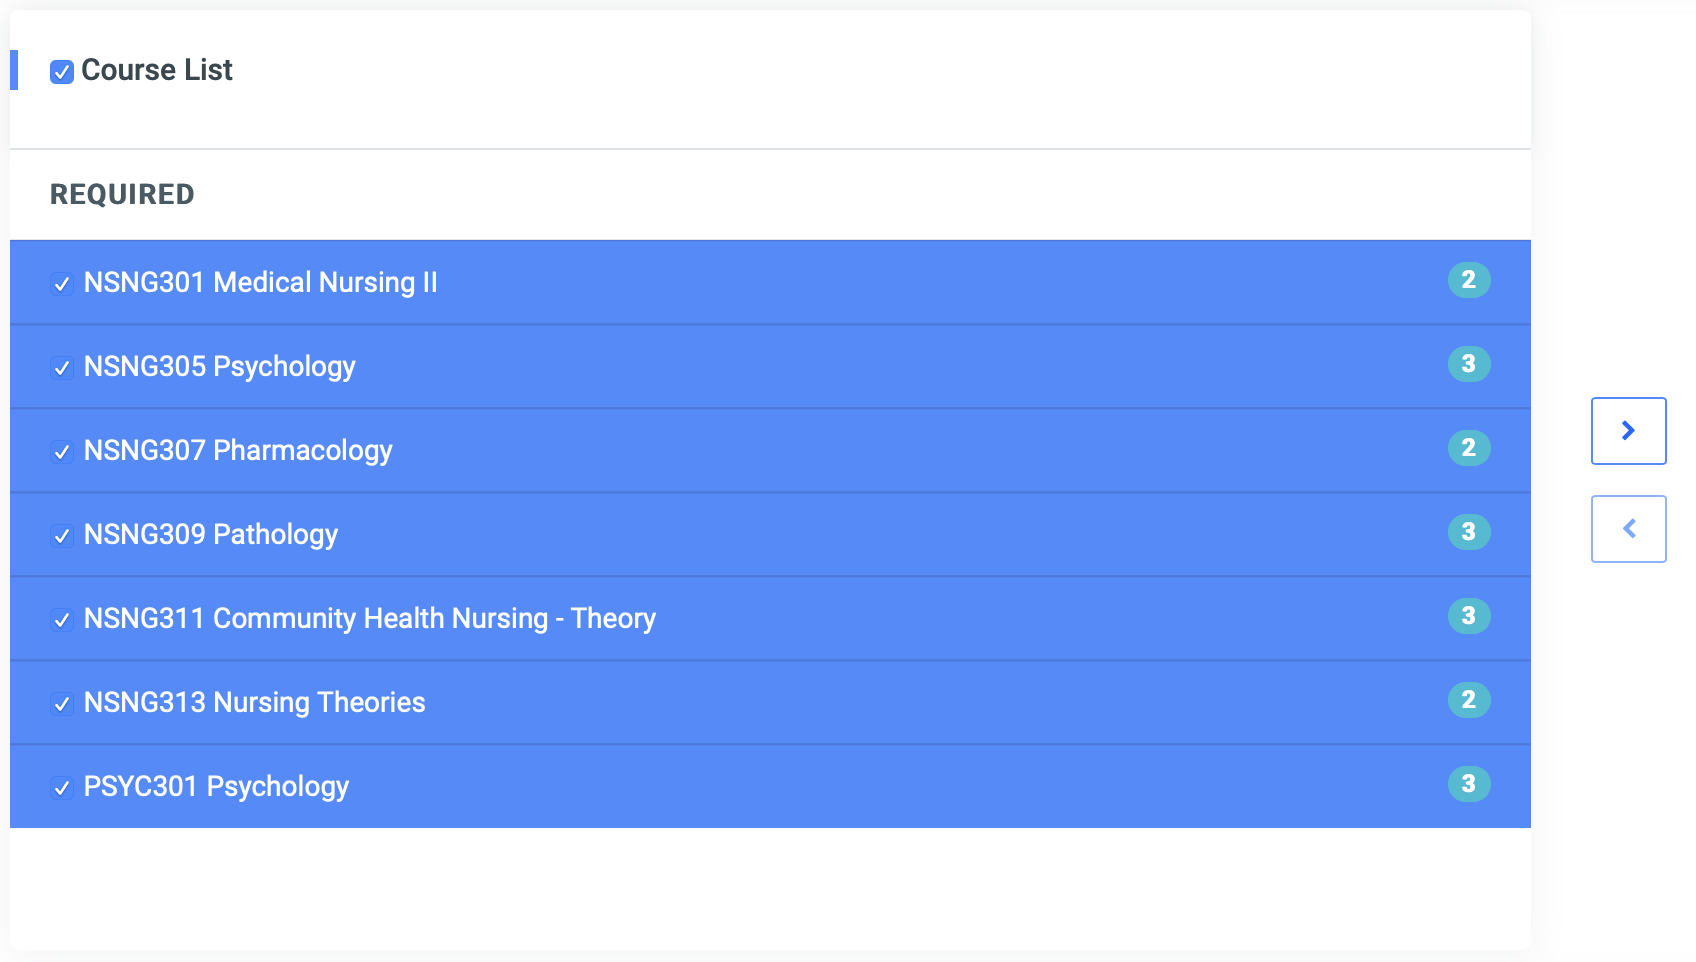
Users can also check the courses individually to move them.
4. Selected Course: This shows a list of all courses that have been moved from the Course List for registration.

✑ Click on Preview And Save Courses button after moving all required courses.
This opens a modal showing a preview of all selected courses with the following buttons to decide your actions.
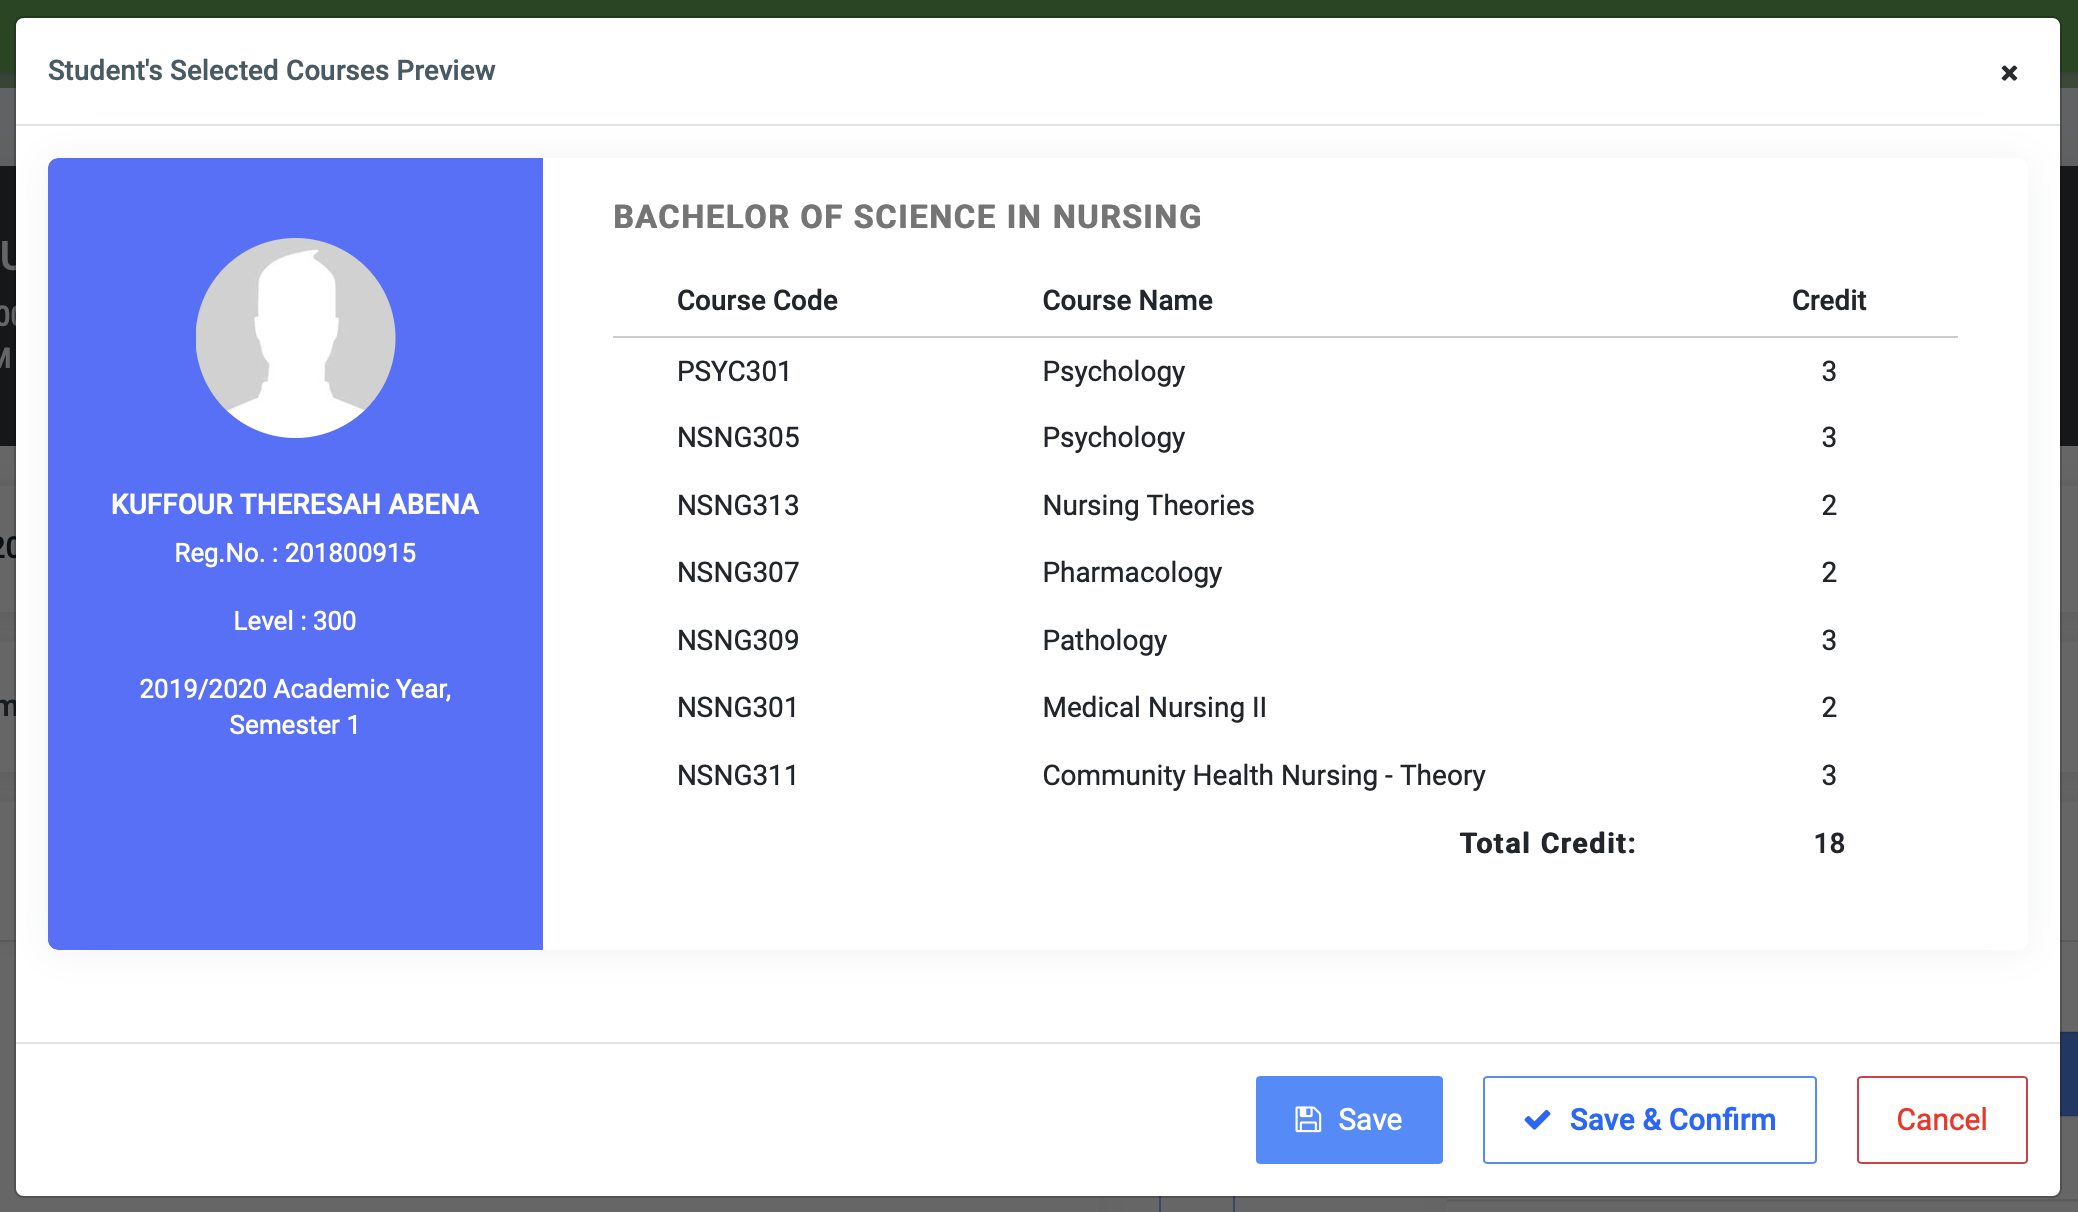
- Save button: Click on the Save button to save all student’s course selections without confirmation.
- NB: Using this button means the student can make changes to his course selection since he/she has not confirmed registration. The student must confirm within the schedule period to avoid payment penalties if applied.
- Save & Confirm button: Click on the Save & Confirm button to save all student’s course selections and also confirm registration.
- Cancel button: Click the Cancel button to go back to the course selection list.
