
Re-Print Receipt
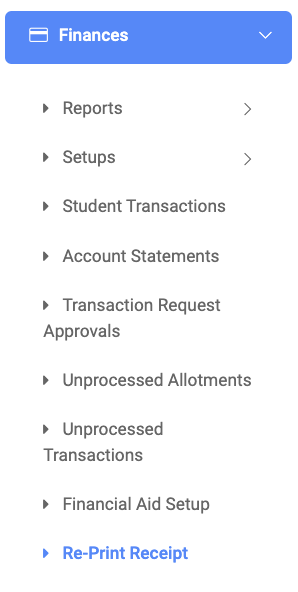
✑ From the OSIS sidebar, Click on the Re-Print Receipt link under Finance.
The search field for Receipt Generation is required. Fill in at least one field in the modal popup and click on Find Record to show the result.
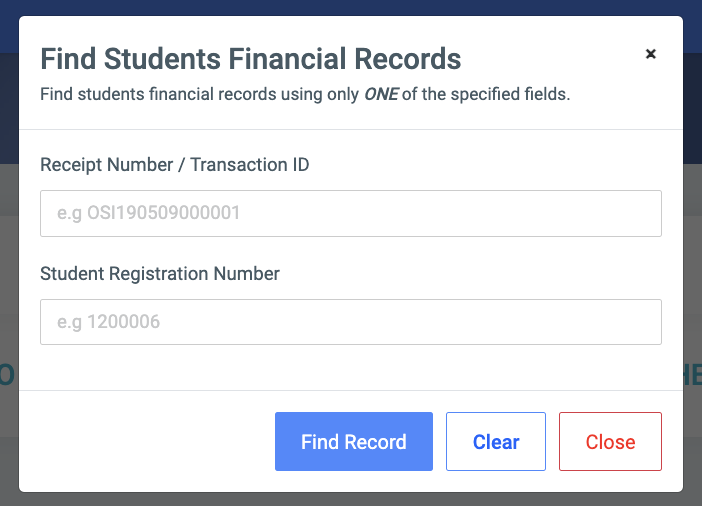
The fields are as follows;
- Receipt Number/ Transaction ID: Enter the receipt number or id of the student search for.
- Student Registration Number: Enter the student registration number.
NB: At least, one field is required for the request.
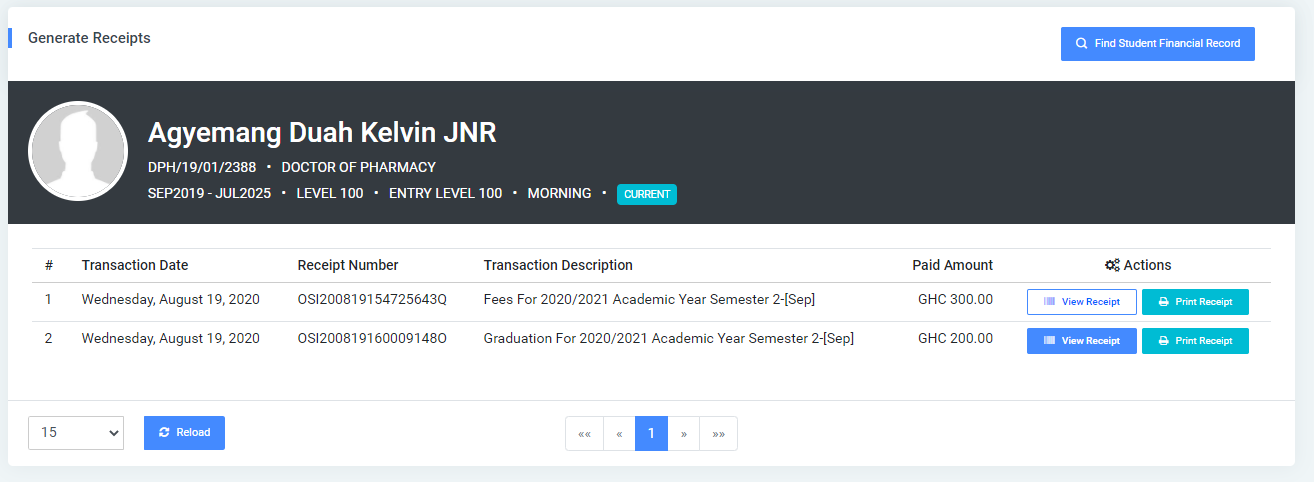
From the Receipt Generation page, there is the Find Student Financial Record button at the top right.

✑ Click the Find Student Financial Record button to find another record.
For each receipt, the user can View Receipt and Print Receipt.
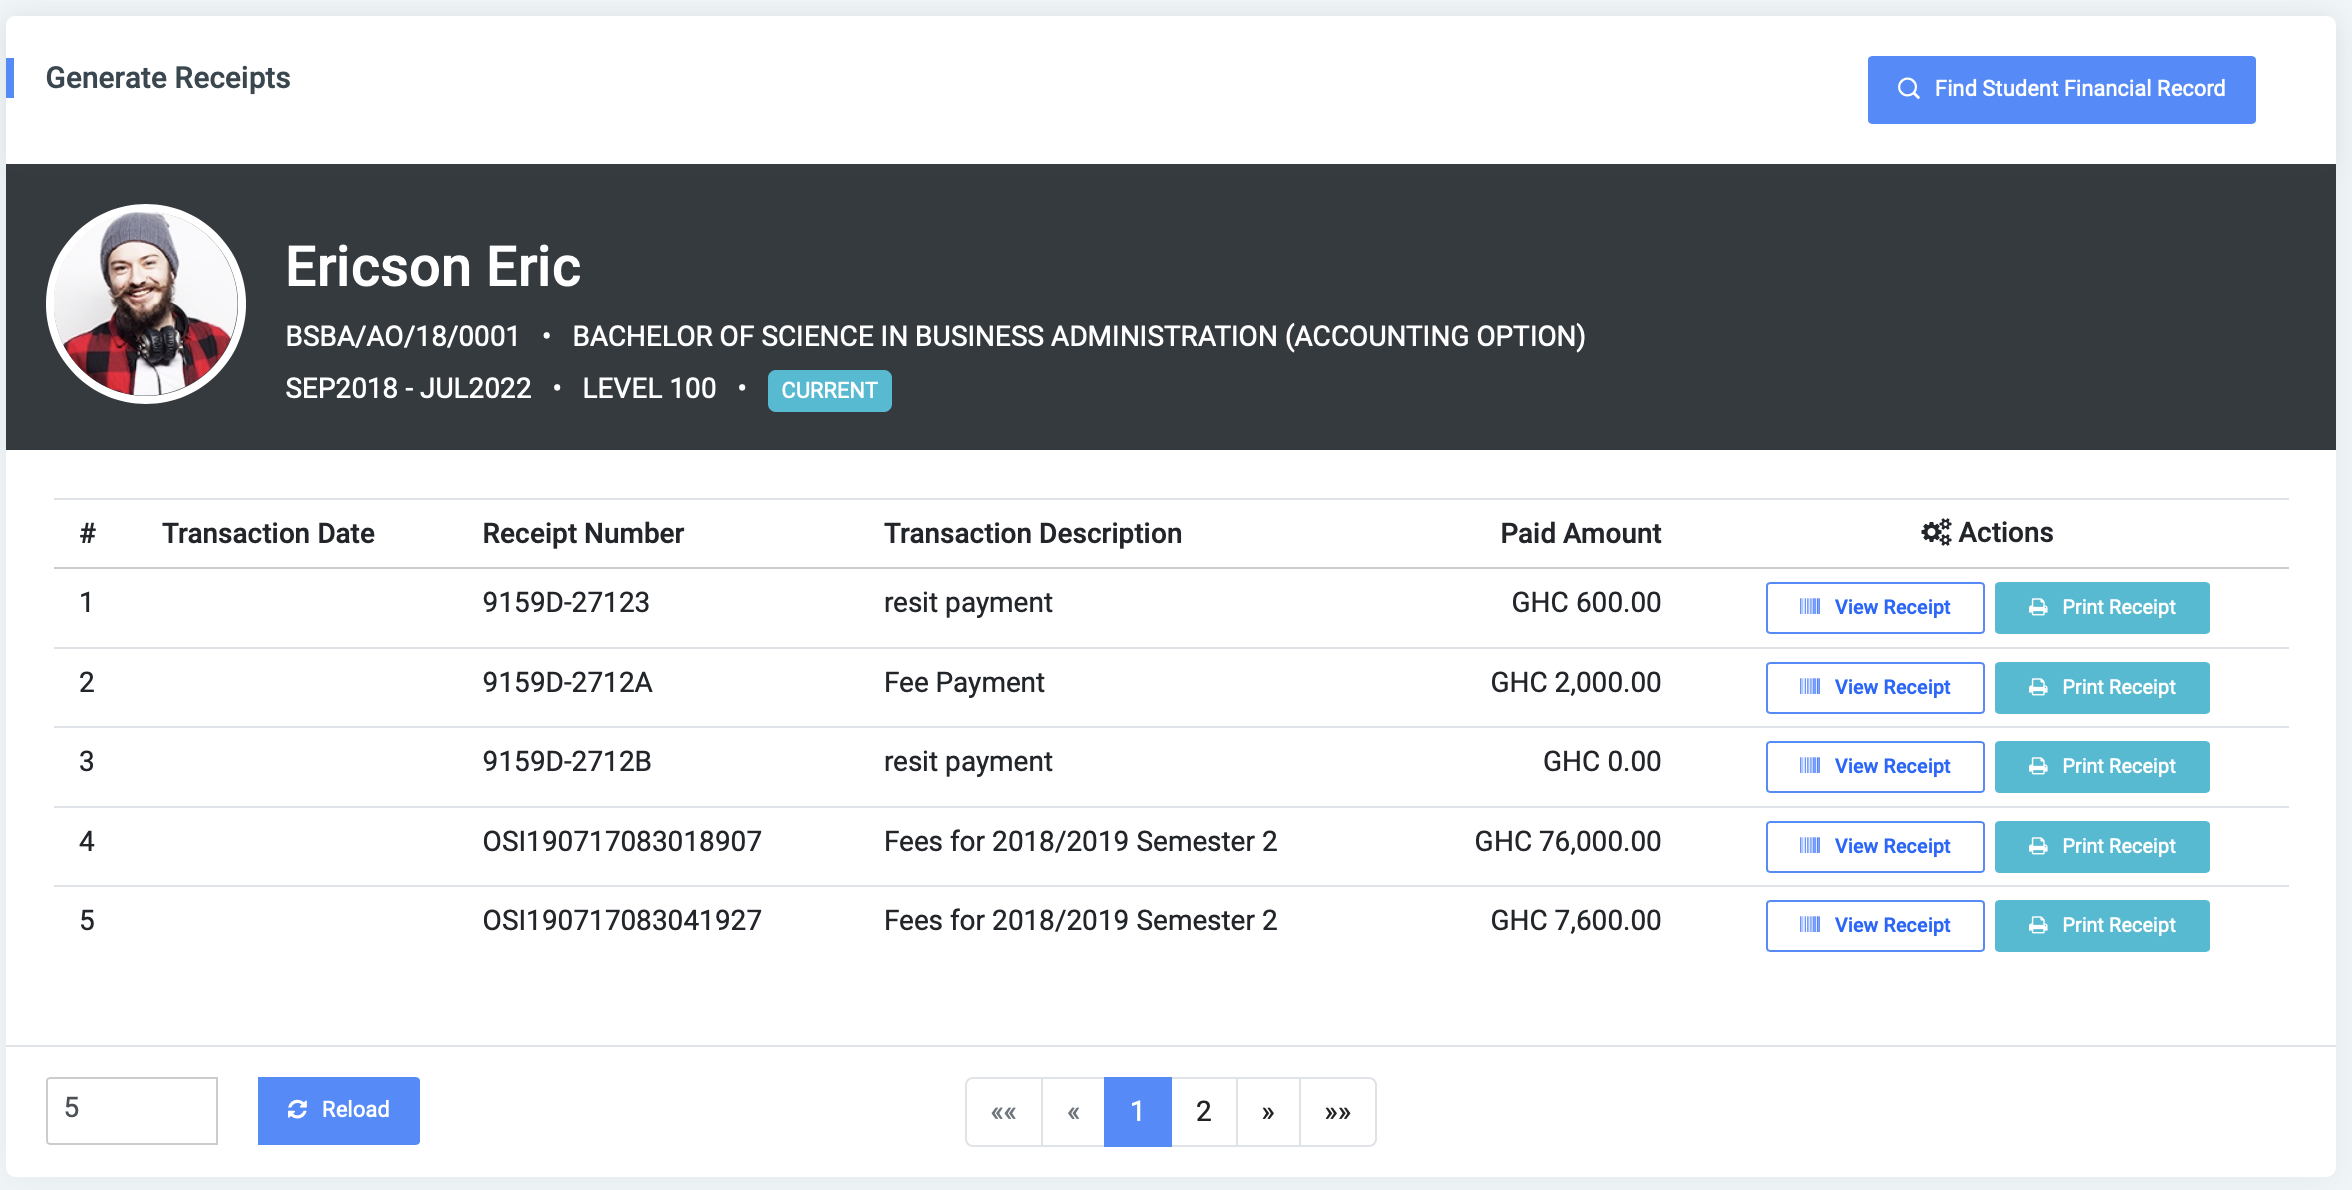
✑ To print the displayed receipt, click on the Print Receipt button.
✑ To view receipt, click on the View Receipt button.
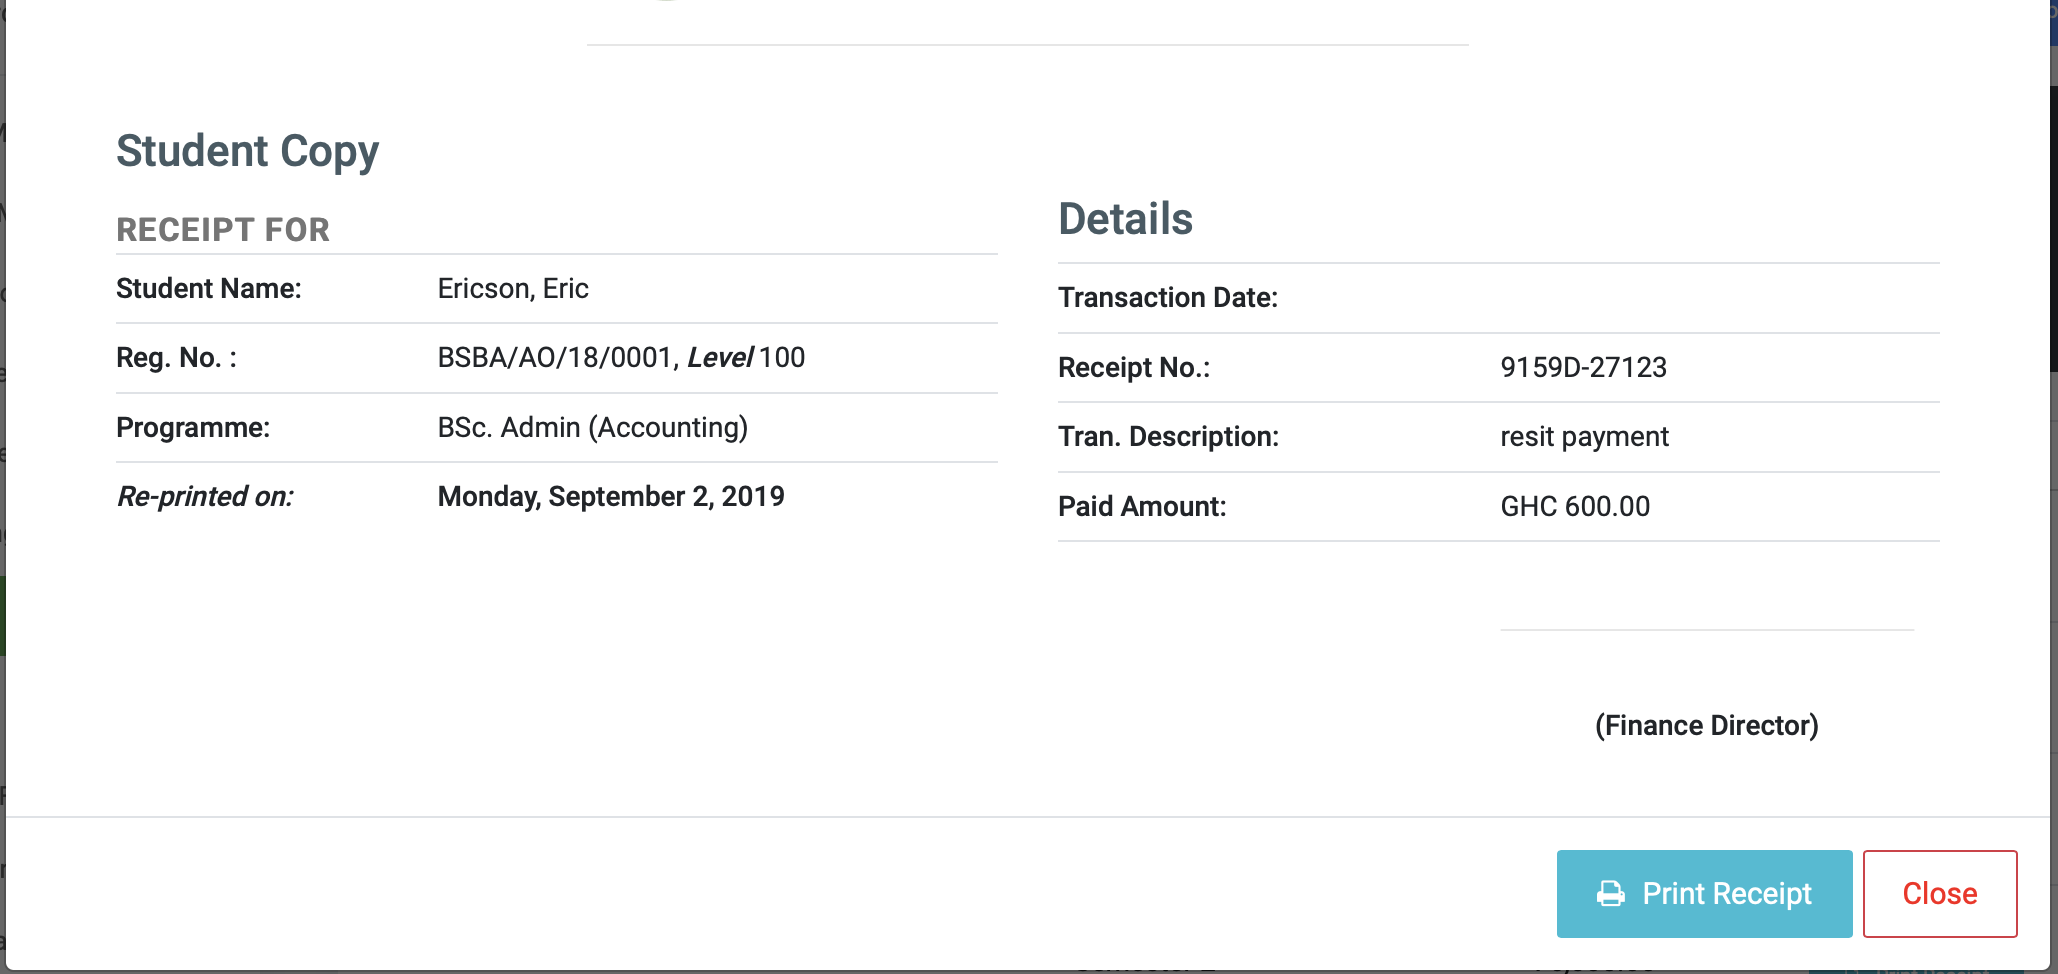
The view receipt displays a preview of how the receipt looks like.
✑ Click on the Print Receipt button from the modal to print the receipt.
✑ Click on the Reload button to refresh the Financial Receipt fields.
NB: Users can also move or change the transaction descriptions.
Move Payment
Move Payment feature allows OSIS users to move or change the transaction descriptions. This is usually done when students make payments in other bill items other than tuition. This feature moves other bill items to tuition.
To move payment, search for the student by reg number in Re-Print Receipt. This will display all the student receipts.
Find the other bill item you want to move to the tuition fee.
Click on the View Receipt button.
This will display the details of the receipt with the Move Payment button.
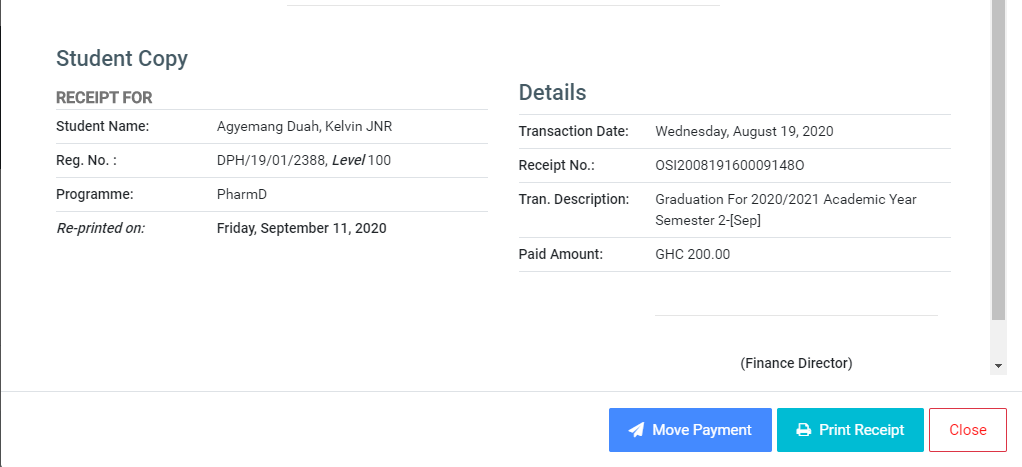
Click on the Move Payment button, then yes, Move Payment to confirm action.