Mandates
Mandates are temporarily assigned permission that expires with time.
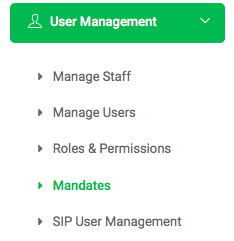
✑ From the OSIS sidebar, Click on the Mandates link under User Management.
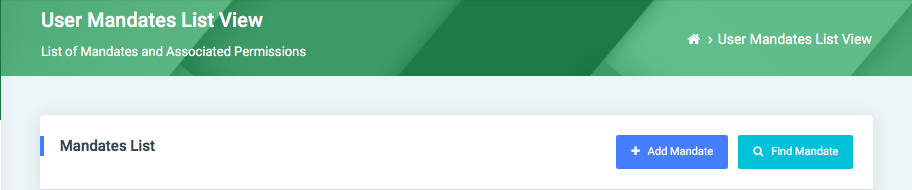
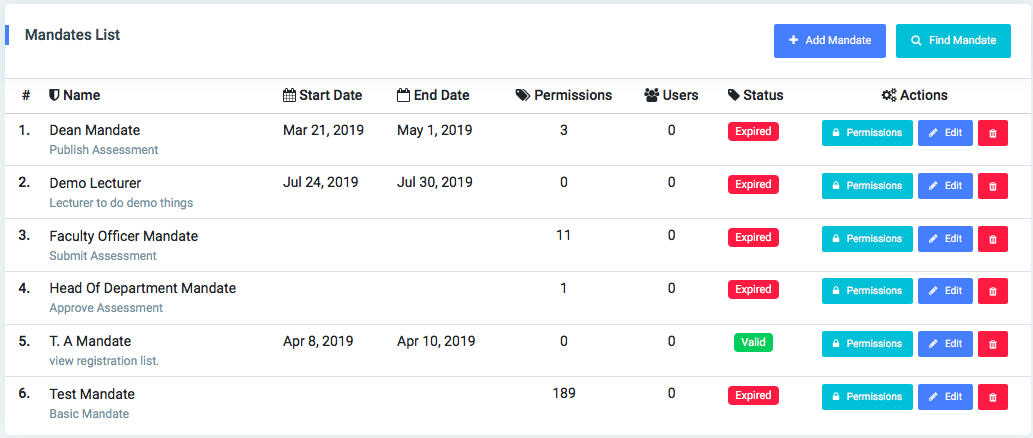
From the Users Mandates List View page, there are two(2) buttons namely, Add Mandate and Find Mandate.
✑ To add a new mandate to OSIS, click on the Add Mandate button. The Add Mandate modal has the following fields:
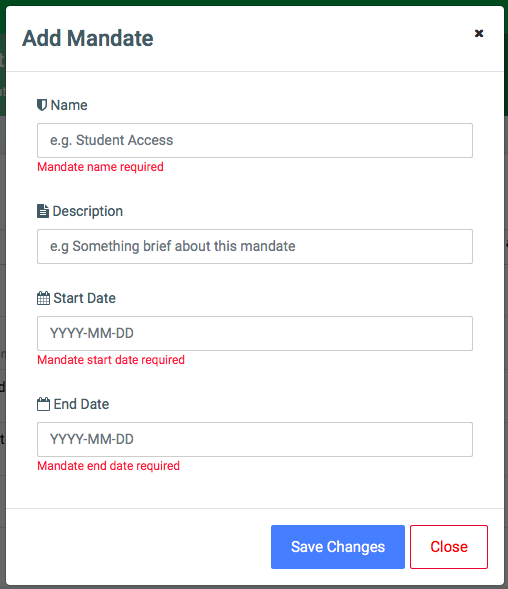
- Name: Enter the name of the mandate. Eg. T.A Mandate.
- Description: Enter a brief description of the mandate.
- Start Date: Input the start date of the mandate in this format. YYYY-MM-DD.
- End Mandate: Input the end date of the mandate in this format. YYYY-MM-DD.
✑ Click on Save Changes to confirm changes.
✑ To search for a particular mandate, Click on Find Mandate button and fill in the details for that mandate by:
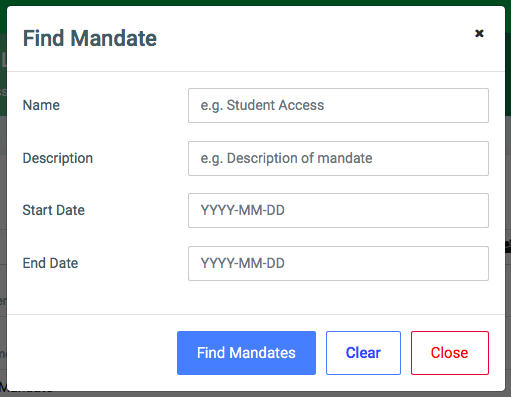
- Name:
- Description:
- Start Date:
- End Date:
✑ Click on the Find Mandate button to confirm your actions.
✑ Click on Clear to clear all fields.
✑ Click on Close to close the modal.
☛ All Find Mandate fields are optional. Fill in as many as can help in narrowing down and click the Find Mandate button. Clicking the Find Mandate button with no entries will show all existing mandates in OSIS.
Each added mandate, the user can assign Permissions, Edit and Delete them.
✑ To assign permission to a role, click on the Permissions button. This opens a modal listing of all the various modules in OSIS where permissions are applied.
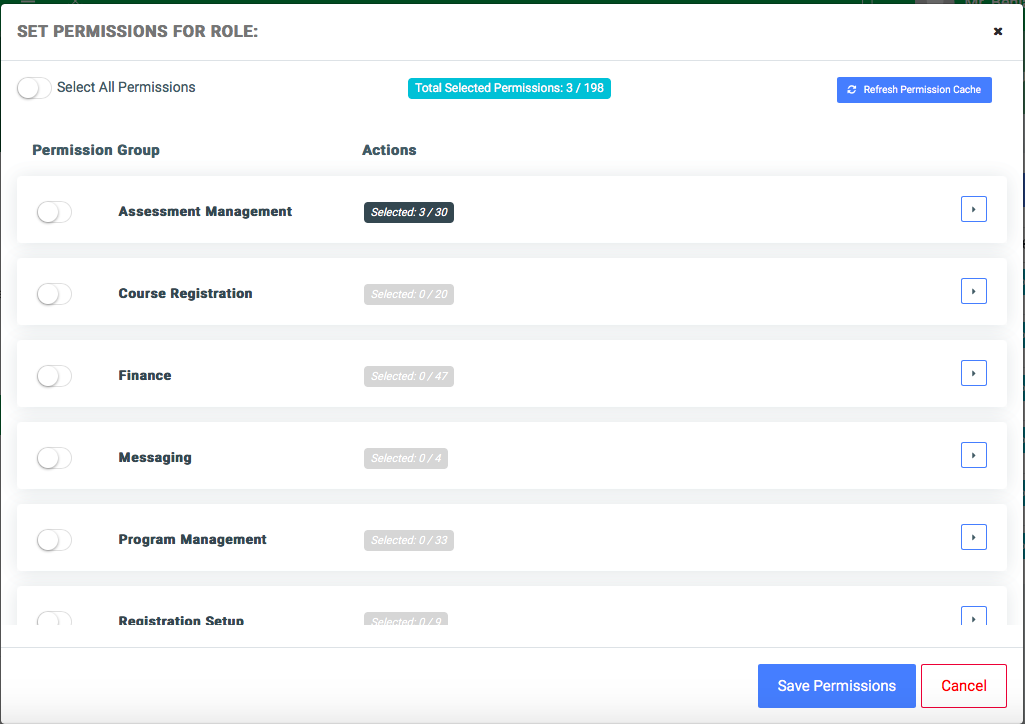
Find and check all permissions required for the created mandate.
✑ To edit a mandate, click on the Edit button. 
Change the old entries from the Edit Mandate form and click on the Save Changes button.
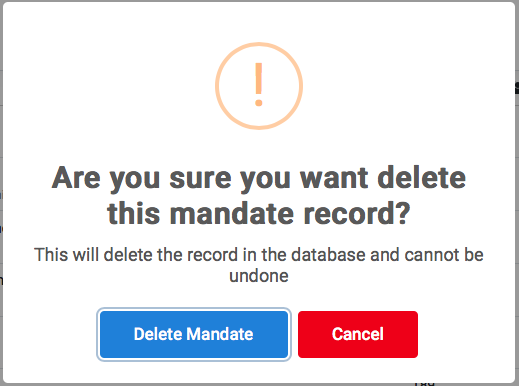
✑ To delete a mandate, click on the Delete button icon. 
✑ Click on the Delete Mandate button from the modal popup to confirm your actions.