
Manage Halls
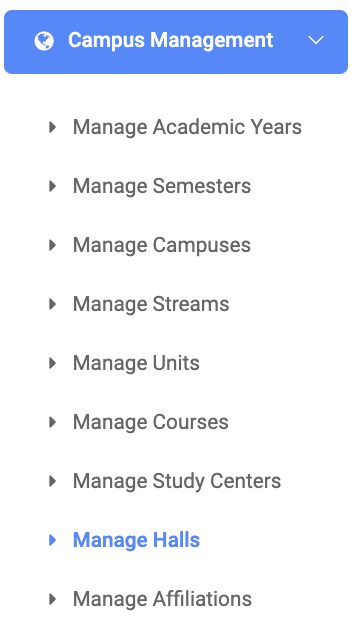
✑ From the OSIS sidebar, Click on the Manage Halls link under Campus Management.
From the top right of the Manage Hall page, there is an Add Halls and Export button.

✑ Click on the Add Halls button to add new halls to OSIS.
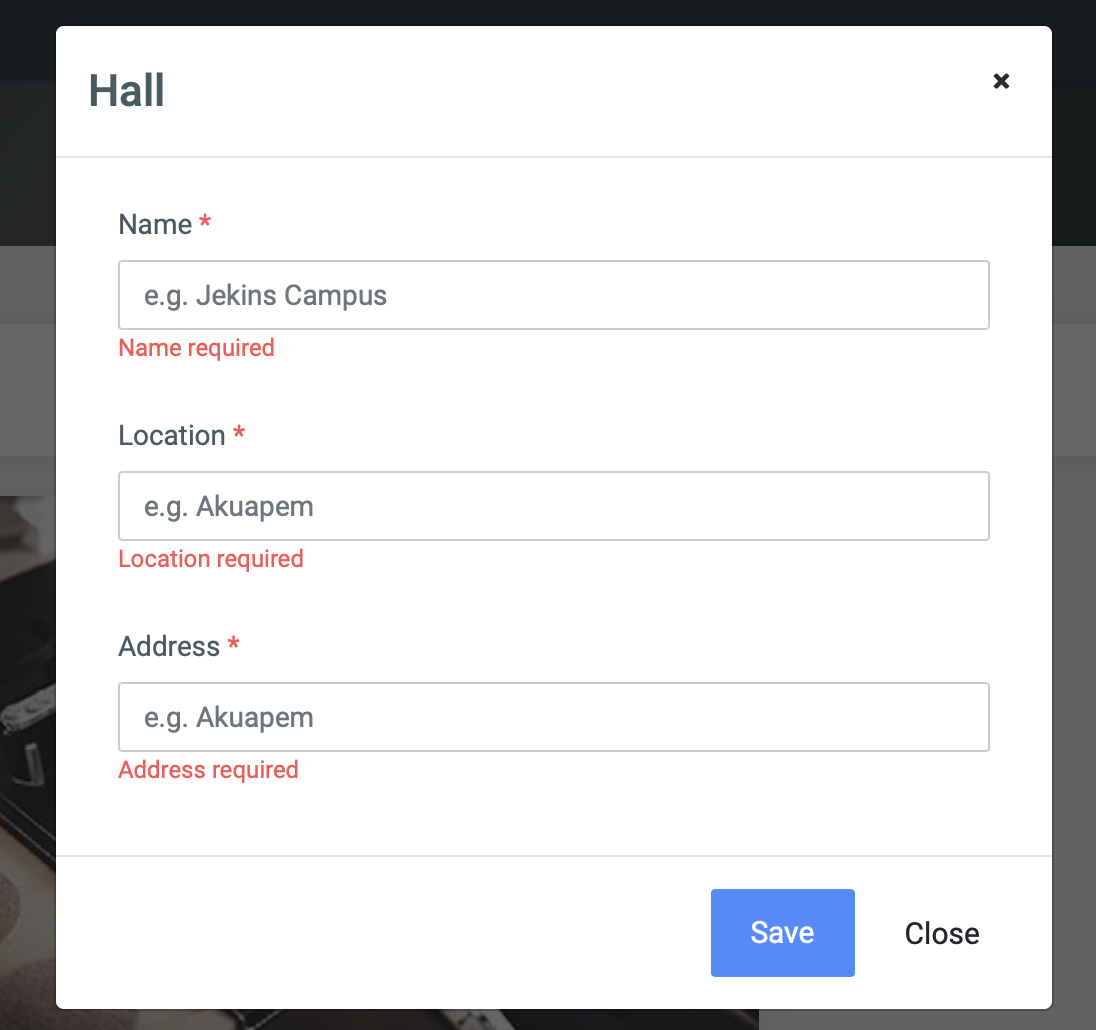
From the hall form, the are three(3) fields namely;
- Name: The name of the hall.
- Location: This allows the user to specify where the hall is located.
- Address: This allows the user to input the address for the location.
For each added hall, the user can Edit or Delete them.
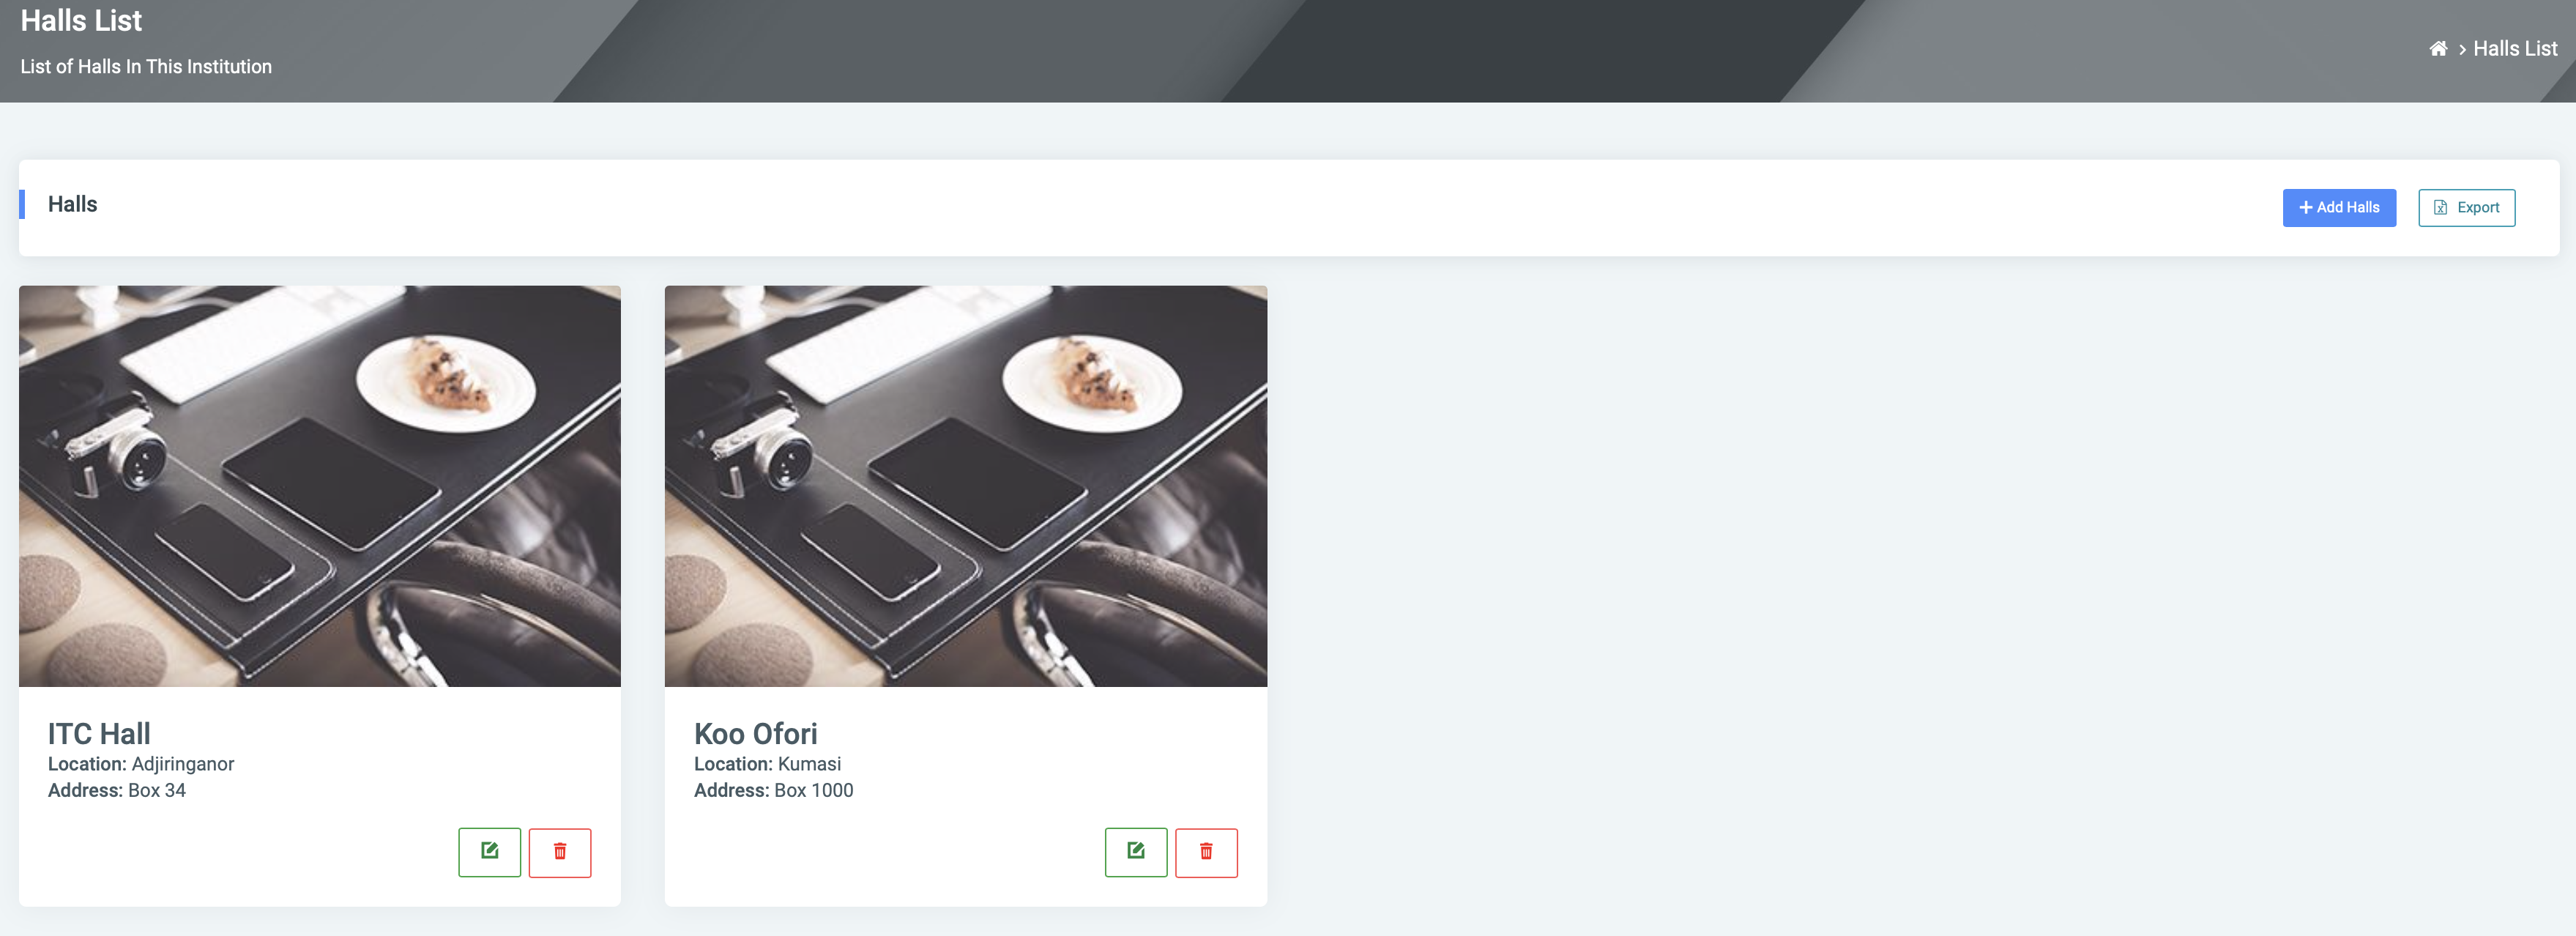
✑ To Edit a hall, click on the Edit button icon. 
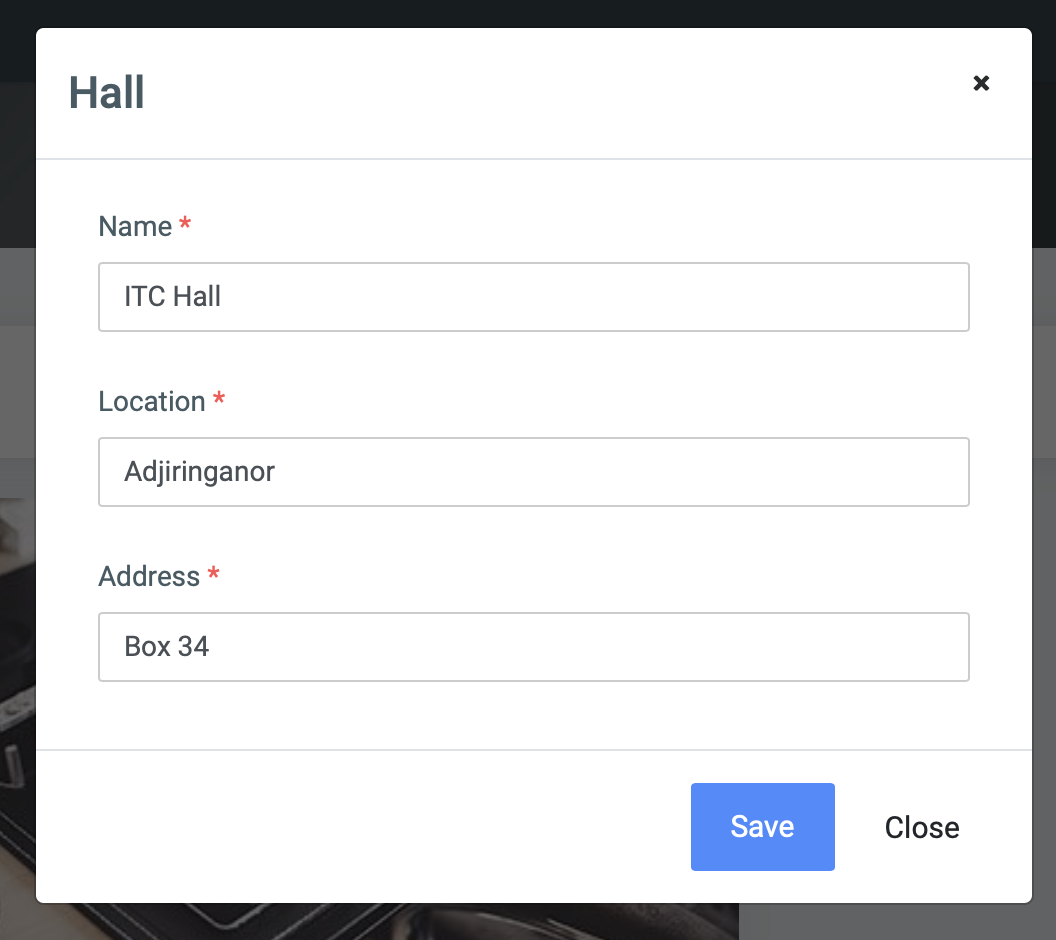
Change the old entries from the Hall form and click on the Save button.
✑ To Delete a hall, click on the Delete button icon. 
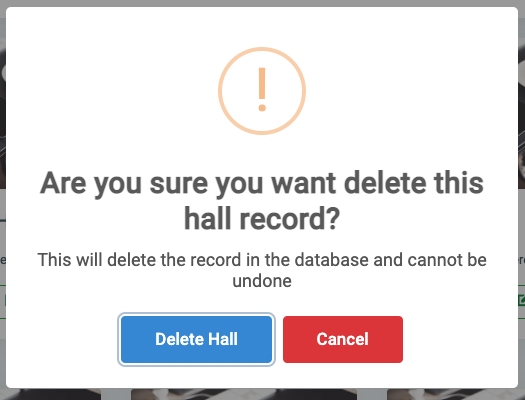
✑ Click on the Delete Hall button from the modal popup to confirm your actions.
☛ Select Export to export results to Excel