Invoices
While you use OSIS, you may have to pay for certain services. To do that, you will have to raise an invoice that allows you to receive credits that can be used for the services selected. For example, to register students, the school needs to raise an invoice to pay for the service usage. With this, units are generated. Each unit represents a single registration for each student. The units are based on the rate set up by the school.
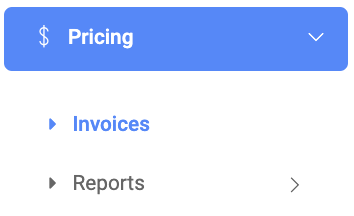
✑ From the OSIS sidebar, click on the Invoice link under Pricing.
On the Invoice page, there are two(2) buttons namely; Create and Price Calculator.

✑ To create a new invoice, click on the Create button. The OSIS pricing invoice has the following fields;
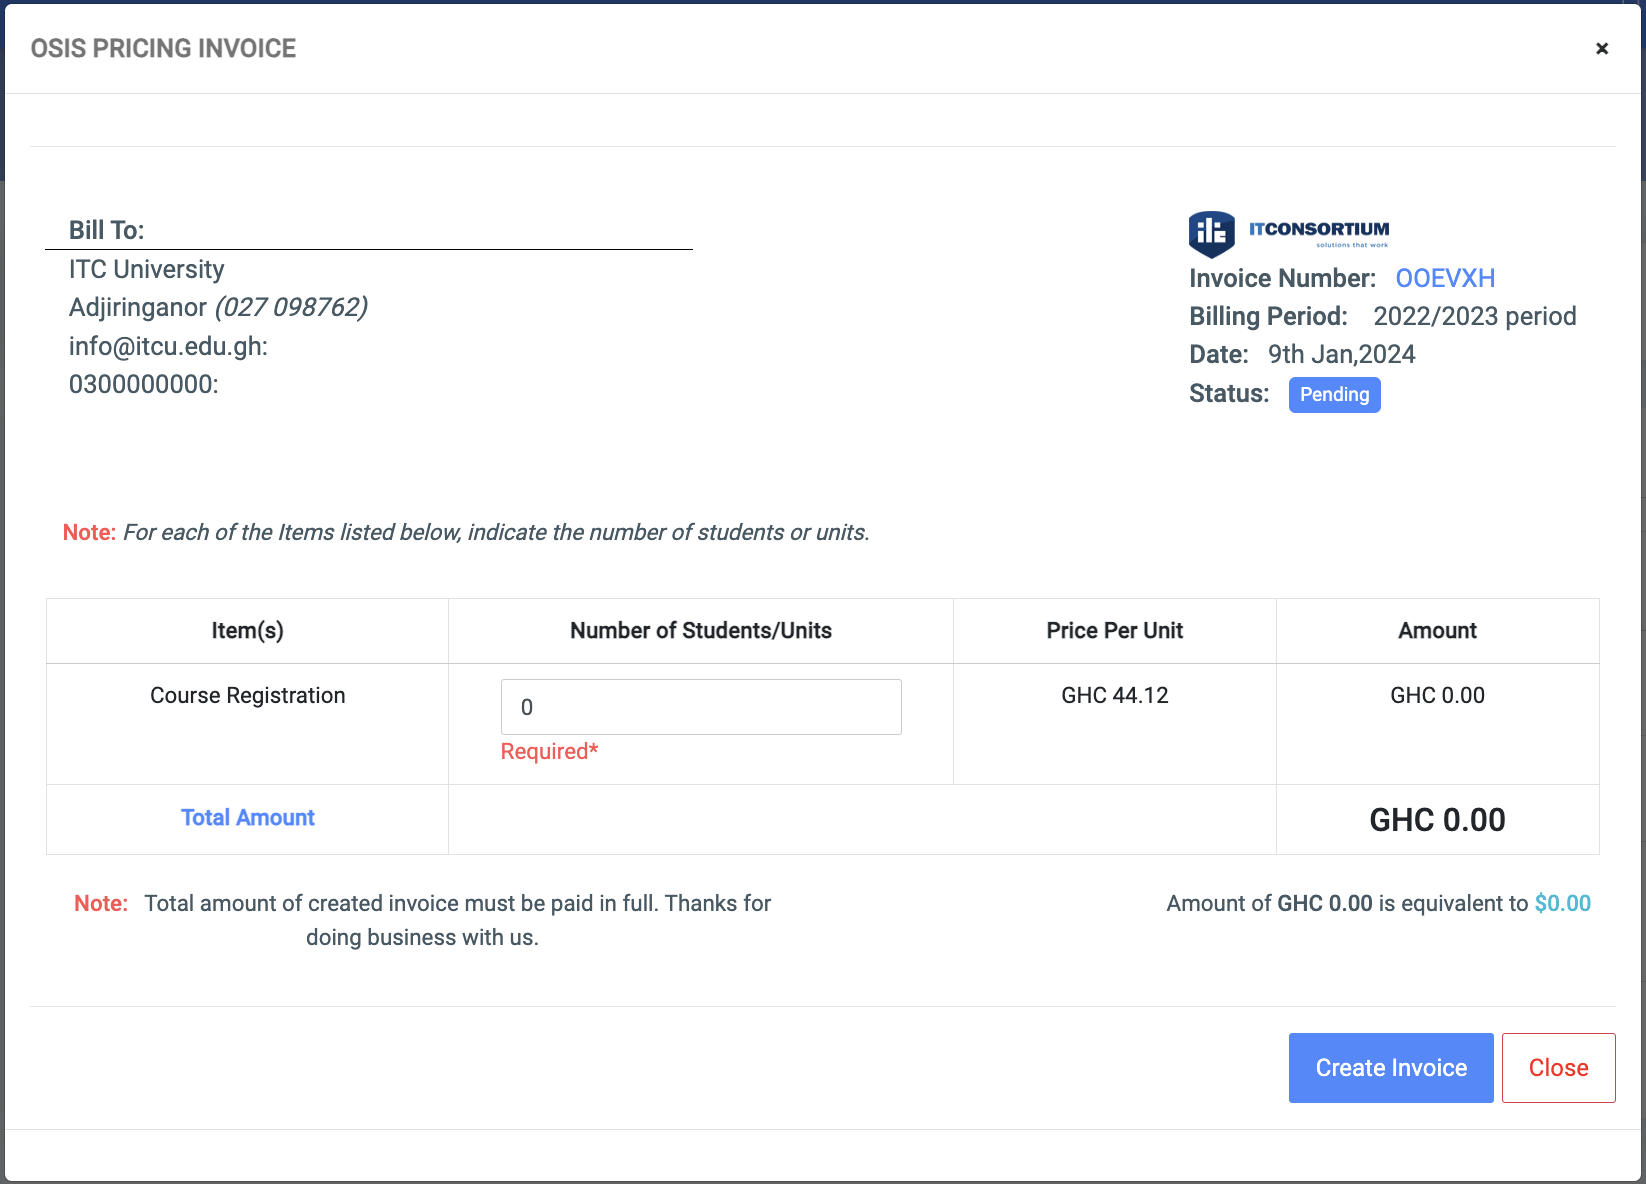
- Item(s): The service being paid for.
- Number of Students/Units: Number of students the units will be created for.
- Price Per Unit: The rate set up by the school for each unit.
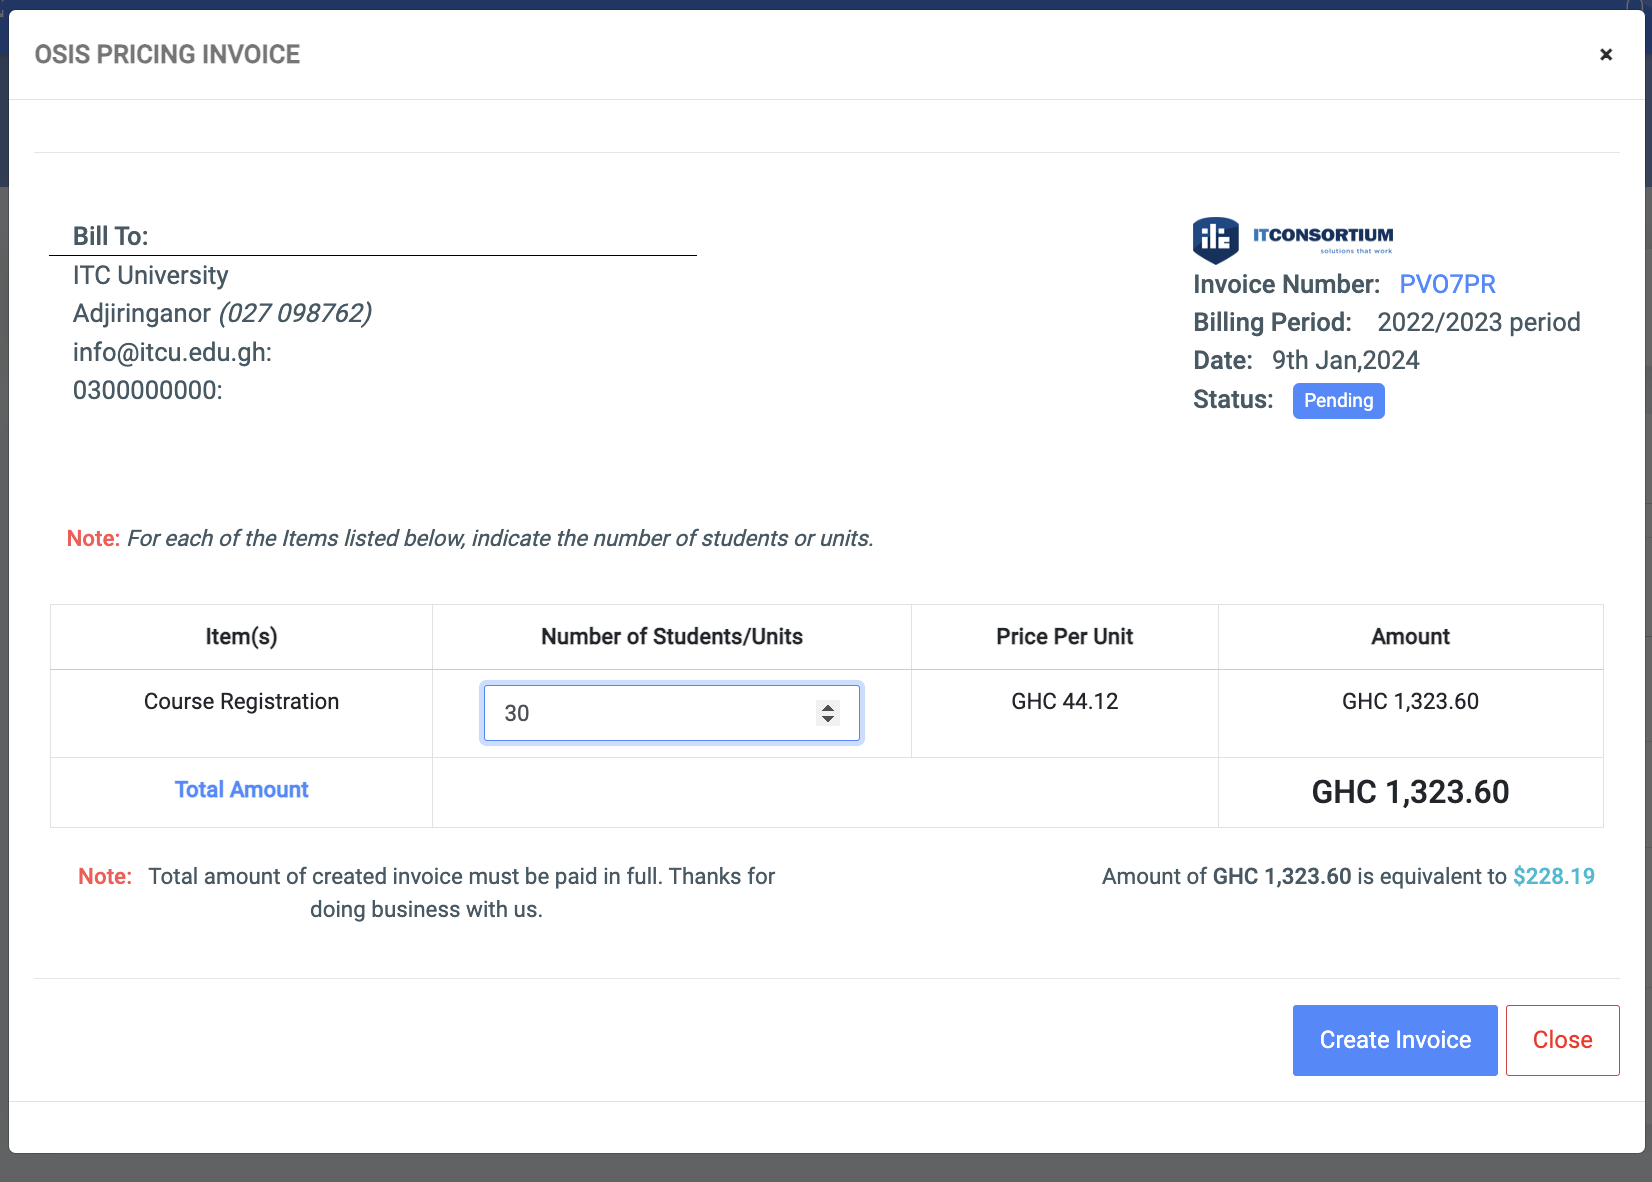
- Amount: This is a product of the units against the Price per unit.
✑ Click on the Create Invoice button to create a new invoice.
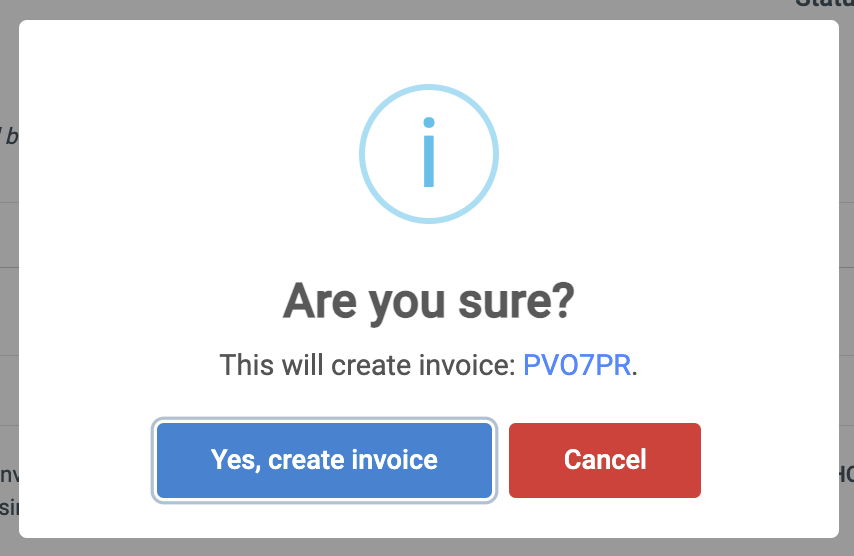
✑ Click on the Yes, create invoice button to confirm your action.
Once you create the invoice, you will be given the option to print it by default. You may choose to close the print preview interface or click on the Print button on the top right of the OSIS pricing invoice window.

Invoices ever created will be displayed on the page by default.
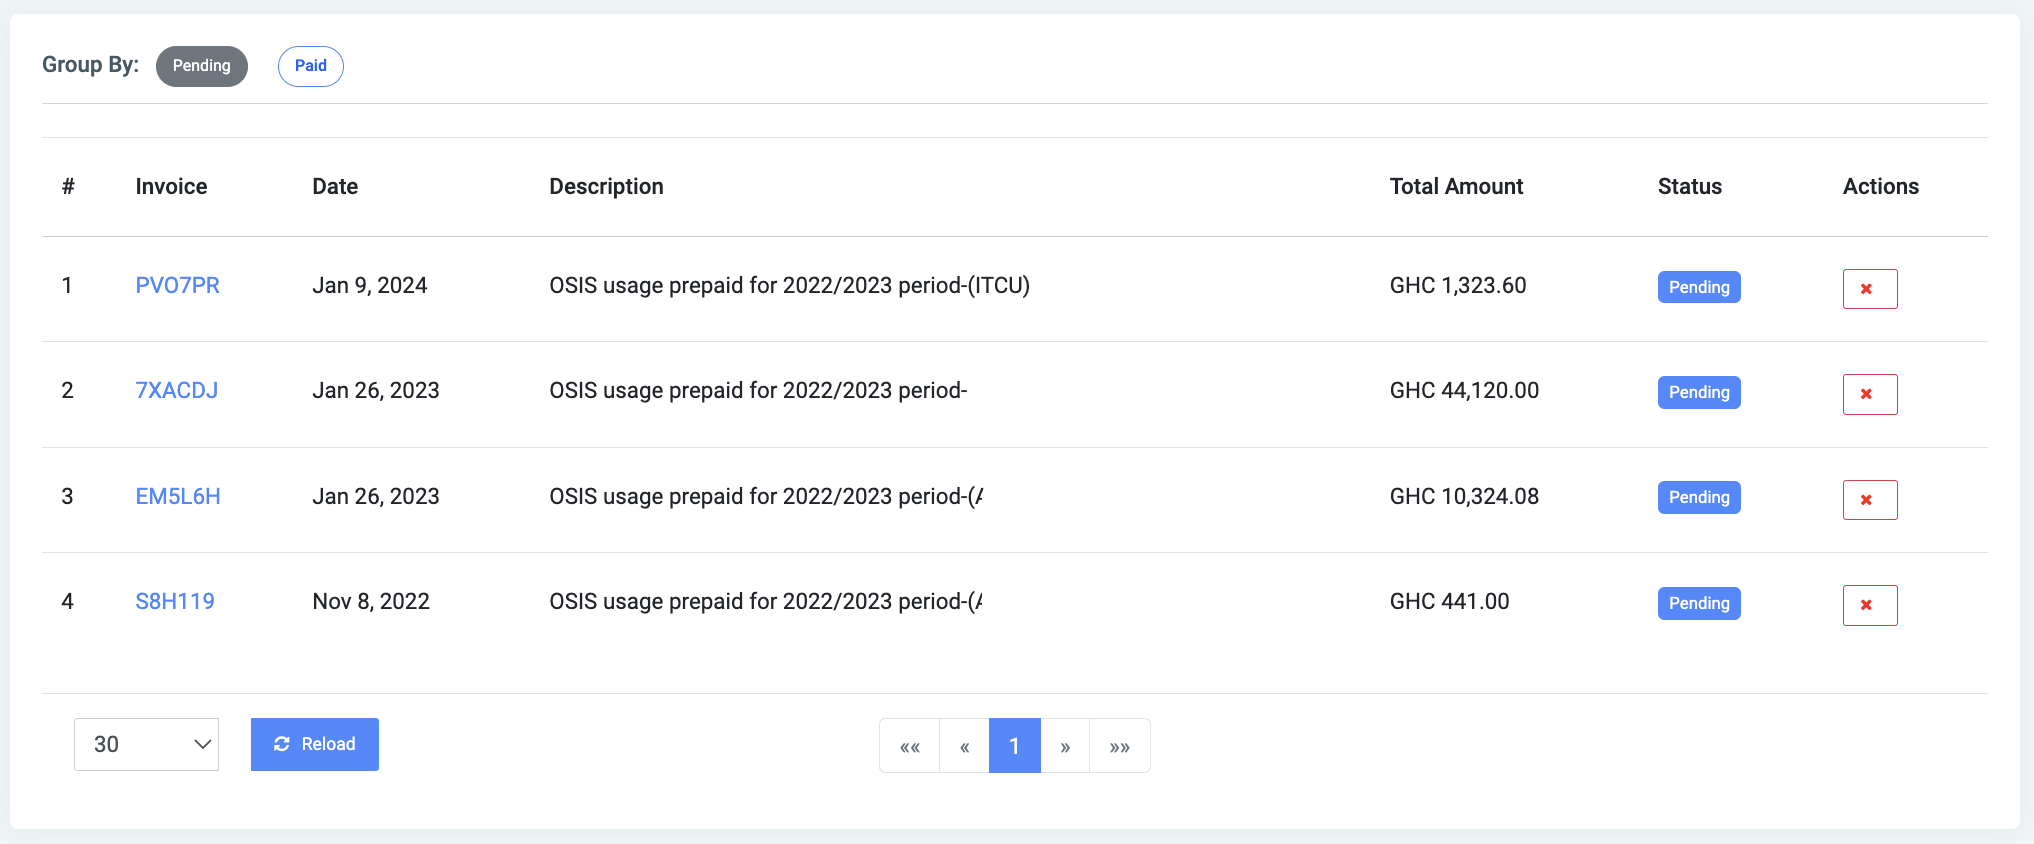
It display the following fields;
- Invoice: A unique code to identify an invoice
- Date: The date the invoice was created
- Description: A short narration of the invoice usually containing the period/semester the invoice will cover and the name of the school
- Total Amount: The total amount raised
- Status: The status of the invoice raised. It would typically have two statuses. Either Pending or Paid.
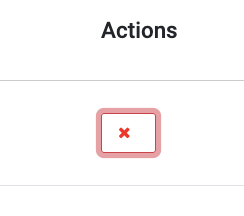
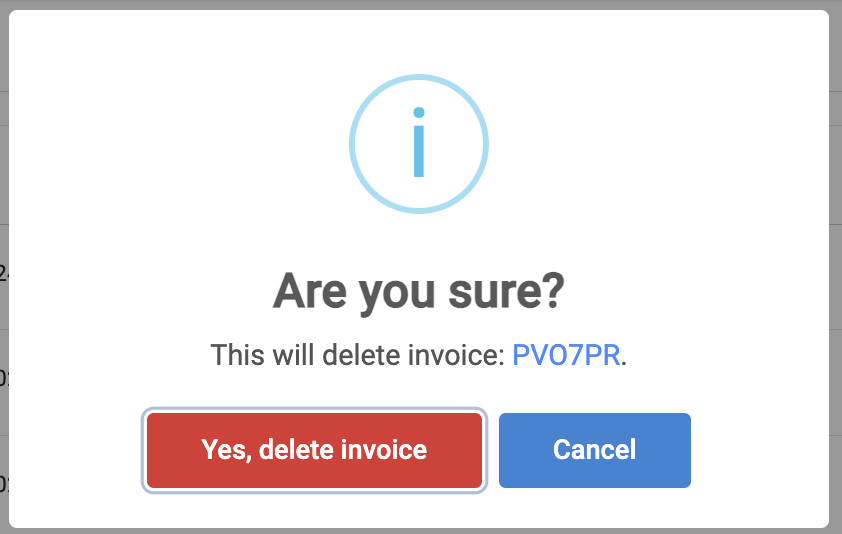
This will bring up a modal to allow the user confirm their actions. Click on the Yes, delete invoice to confirm action or, on Cancel to revert actions.
