
Institution Profile
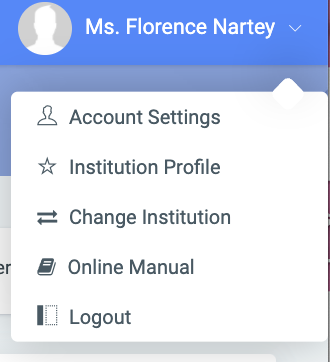
At the extreme top right corner of the OSIS application after login, where your name is displayed.
✑ Click on your name to display a dropdown showing the following links.
Or on your sidebar where the Institution name is showing,
✑ Click on the dropdown icon by the institution name
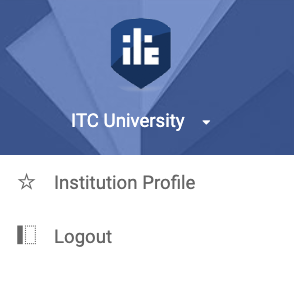
✑ Click on Institution Profile which opens a page displaying the following tabs:

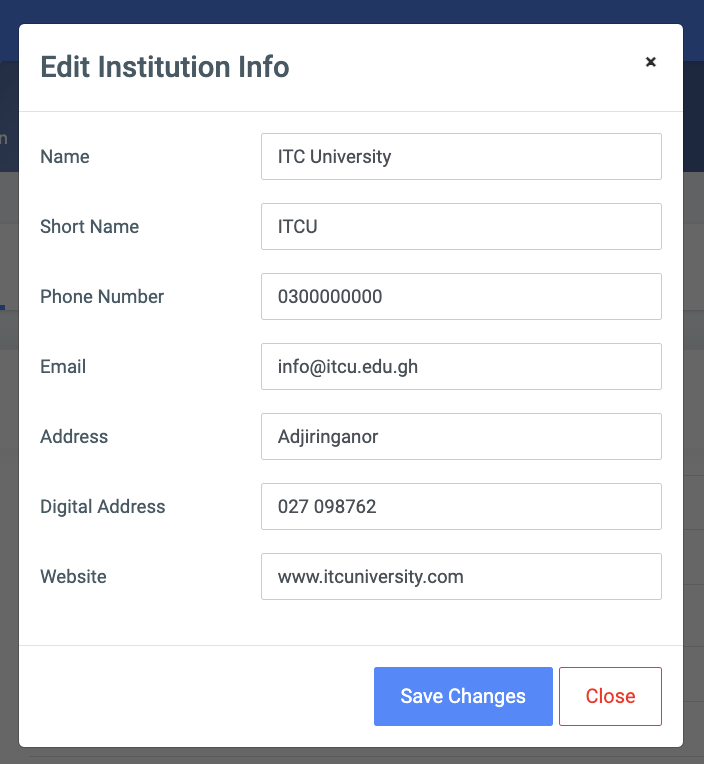
A. Basic Info: Displays all information about the Institution.
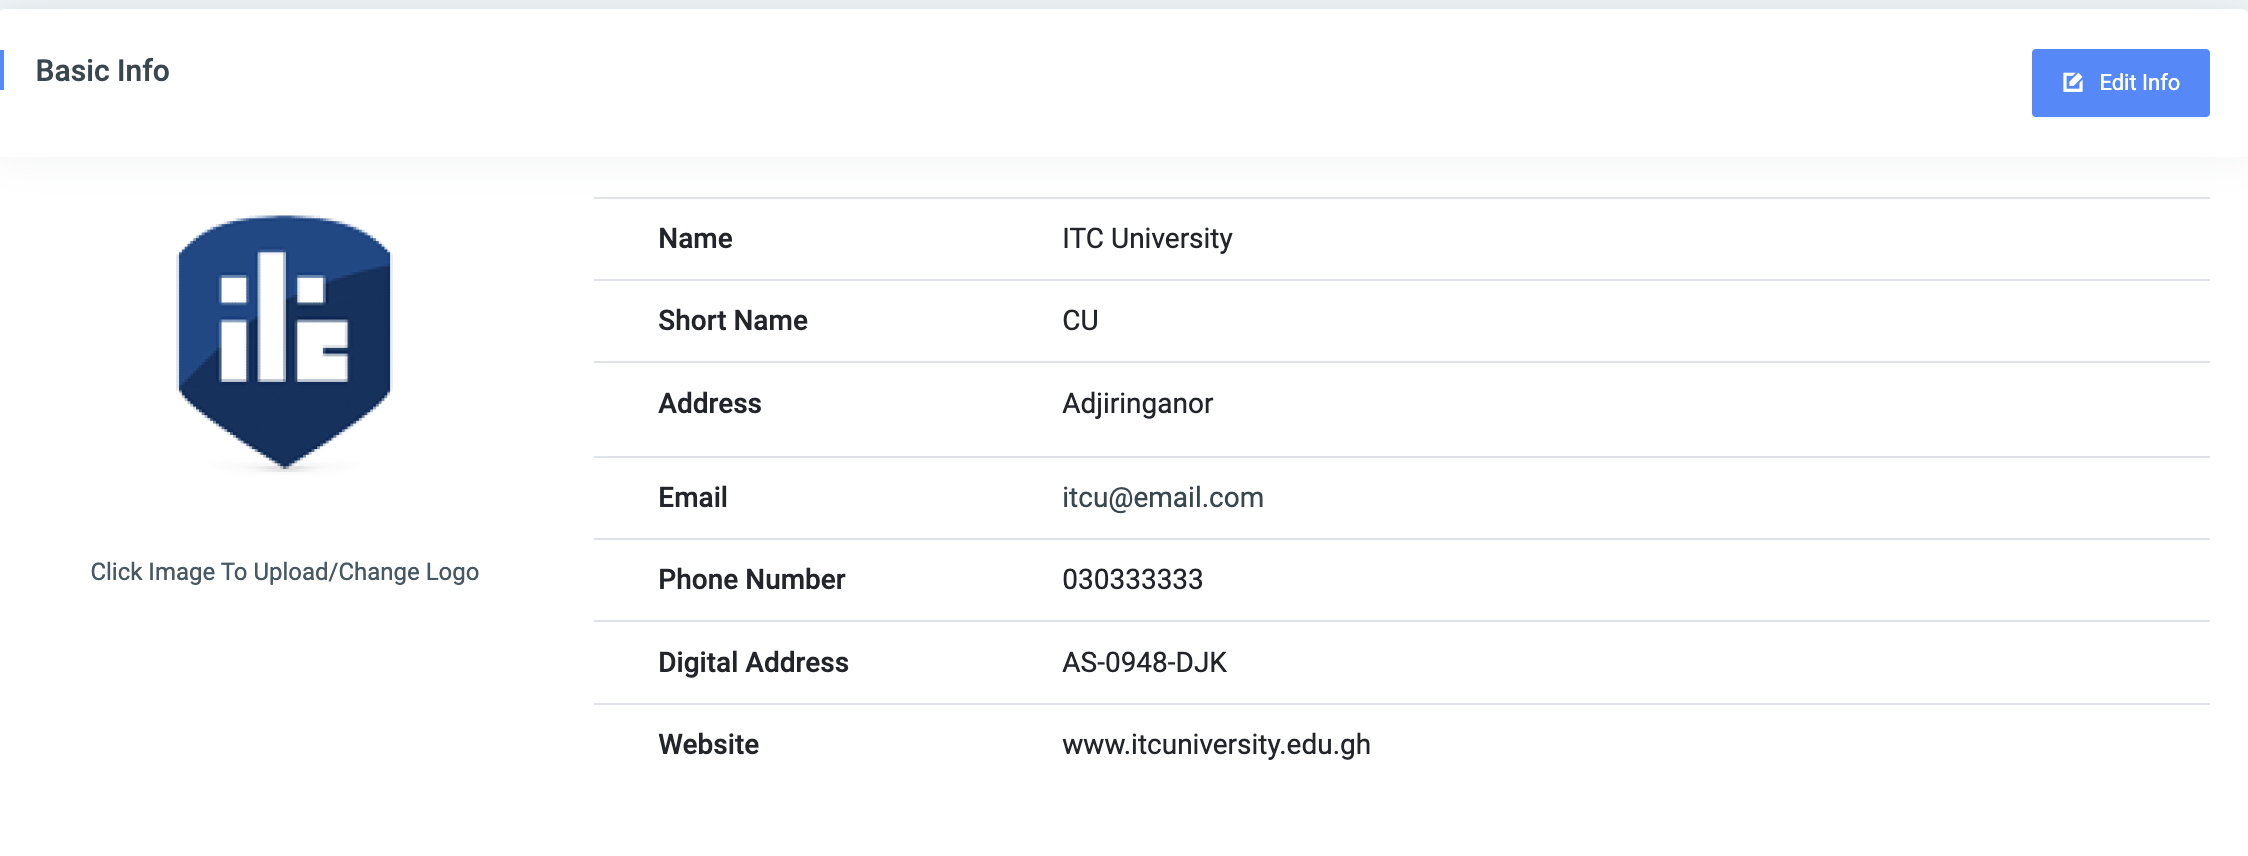
- Name: Name of Institution eg. Information University.
- Short Name: Short name of the Institution. eg. IU.
- Address: Postal address of the Institution.
- Email: The official email of the institution.
- Phone Number: Official Institution number.
- Digital Address: Institution digital address code.
- Website: The link to the institution’s website
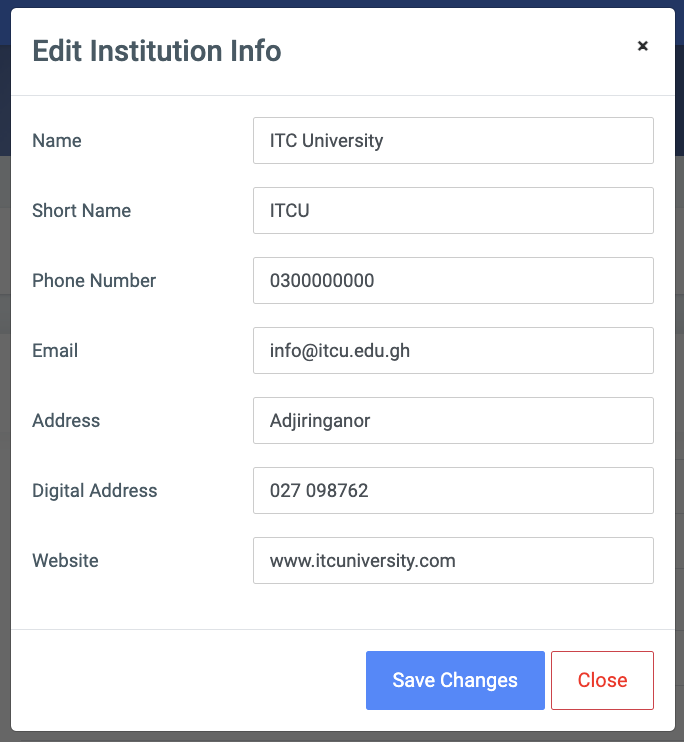
✑ On the right of the Basic Info form. Users can edit any of the information above by clicking on the Edit Info button provided.
B. Password Policy: Institution can determine their own password policy for all users on OSIS. Click on the Edit Password Policy button provided to change the policy. The policy has the following fields.
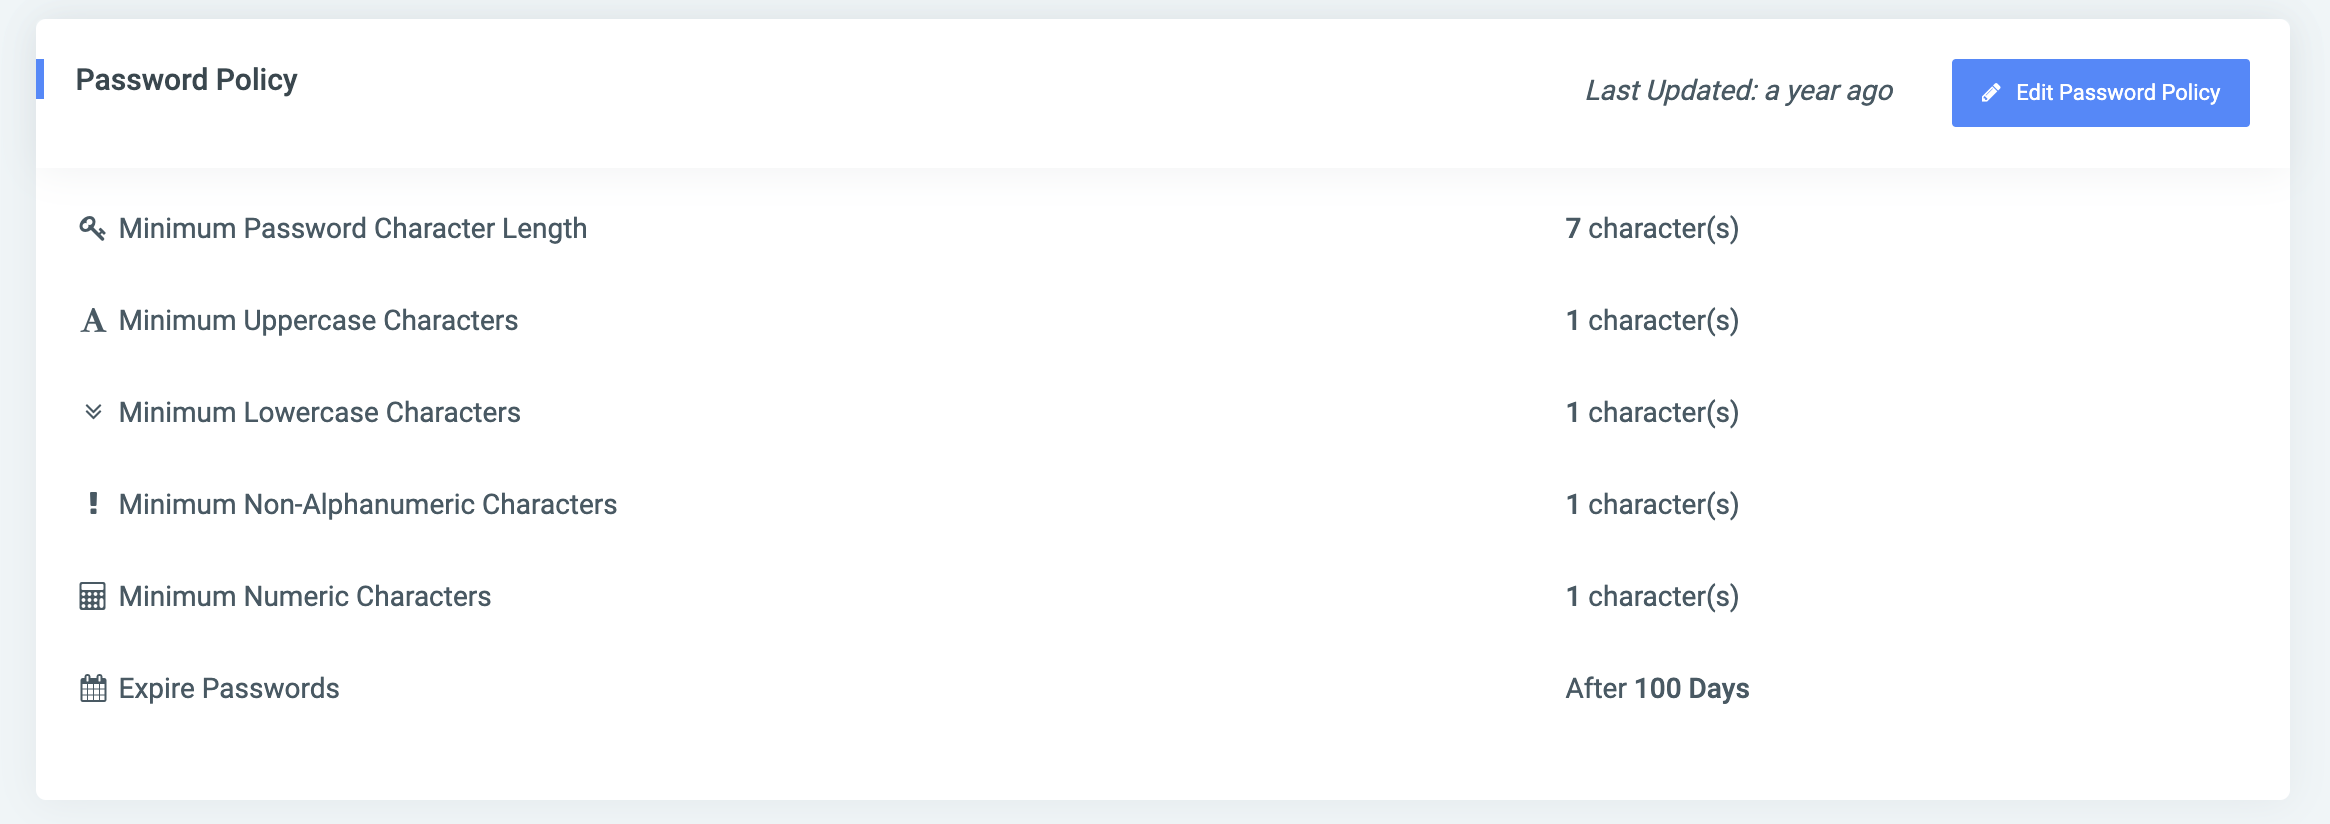
- Minimum Password Length: The least password length users are allowed to input. eg. if the length value is 6, password length below 6 will not be allowed.
- Minimum Uppercase Characters Length: The minimum number of capital letters allowed in the password inputted. eg. ABC
- Minimum Lowercase Characters Length: The minimum number of small letters allowed in the password inputted. eg. abc.
- Minimum Special Characters: The minimum number of special characters allowed in the password inputted. eg. @, ^, -.
- Minimum Digits: The least number of digits allowed in the password inputted eg. 3,4
- Expire Passwords: Check if the Institution wants user passwords to expire. Users would be forced to change the password after expiry. (Highly recommended for security)
- Expire Passwords After Period (in days): Specify the number of days to expire if Expire Passwords were checked.
✑ Click on Set Policy to confirm your actions.
C. Settings: The institution settings tab provides the options below. They give you the option to confirm your actions after changes are made.
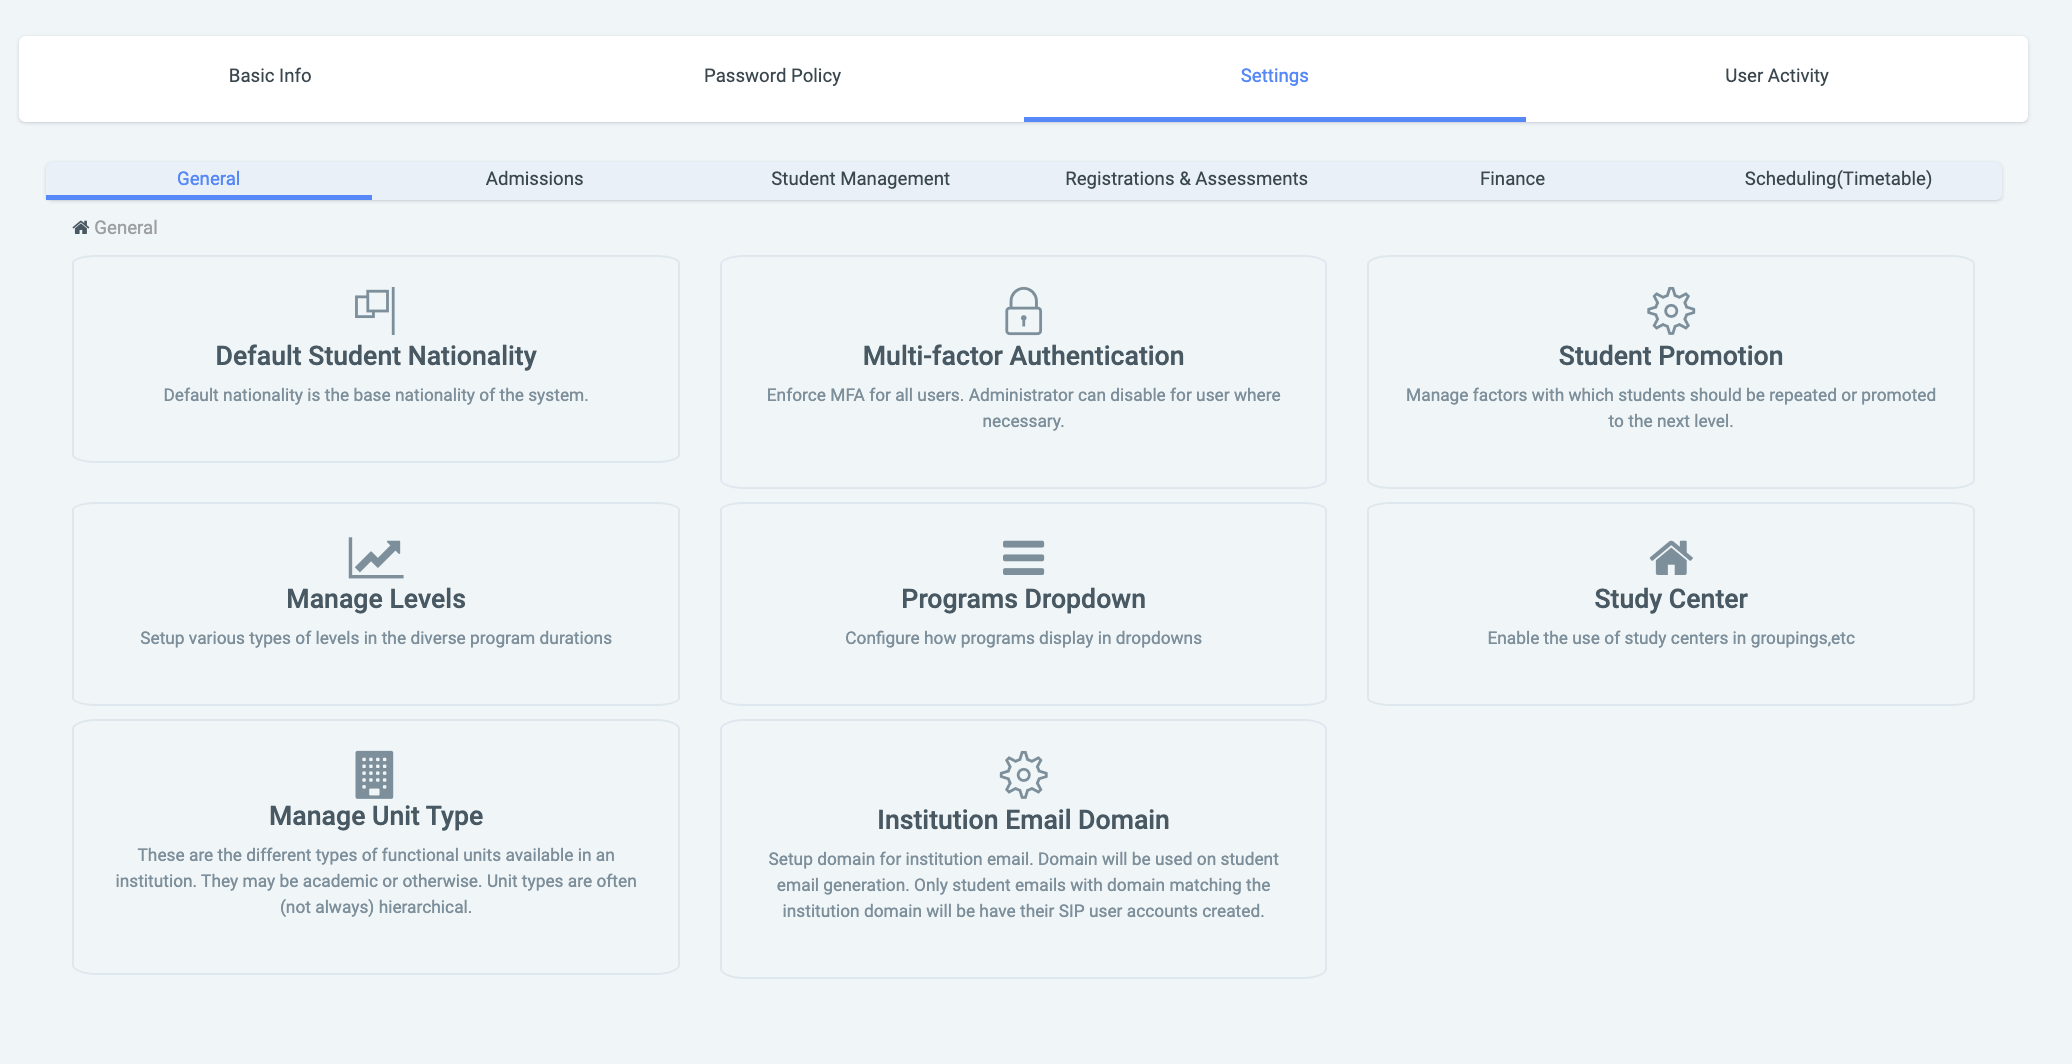
General:
Default Student Nationality: This setting helps the institution set a Default Nationality of students in OSIS.

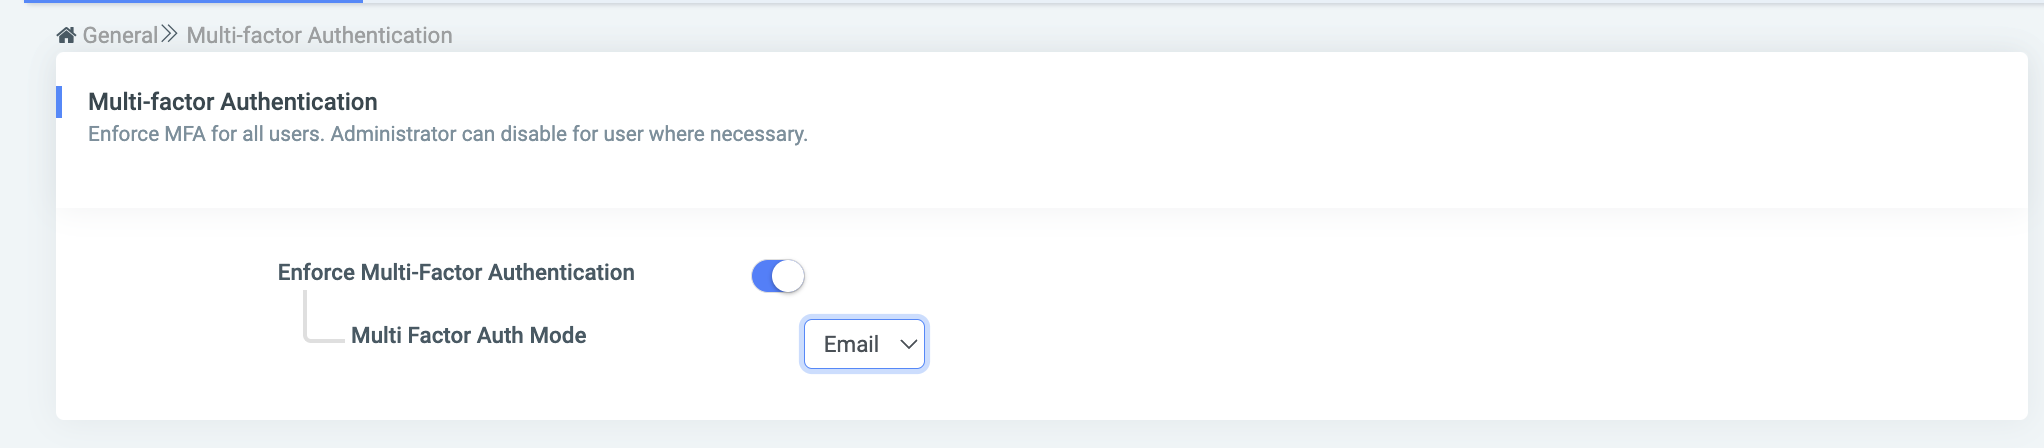
Multi-factor Authentication: MFA is a way OSIS secures user accounts by requiring more than just a username and password to sign in. A User would need a second factor, such as a code sent to their institutional email to prove their identity.
Student Promotion: This feature governs the repetition of students or the moving of students to the next level.
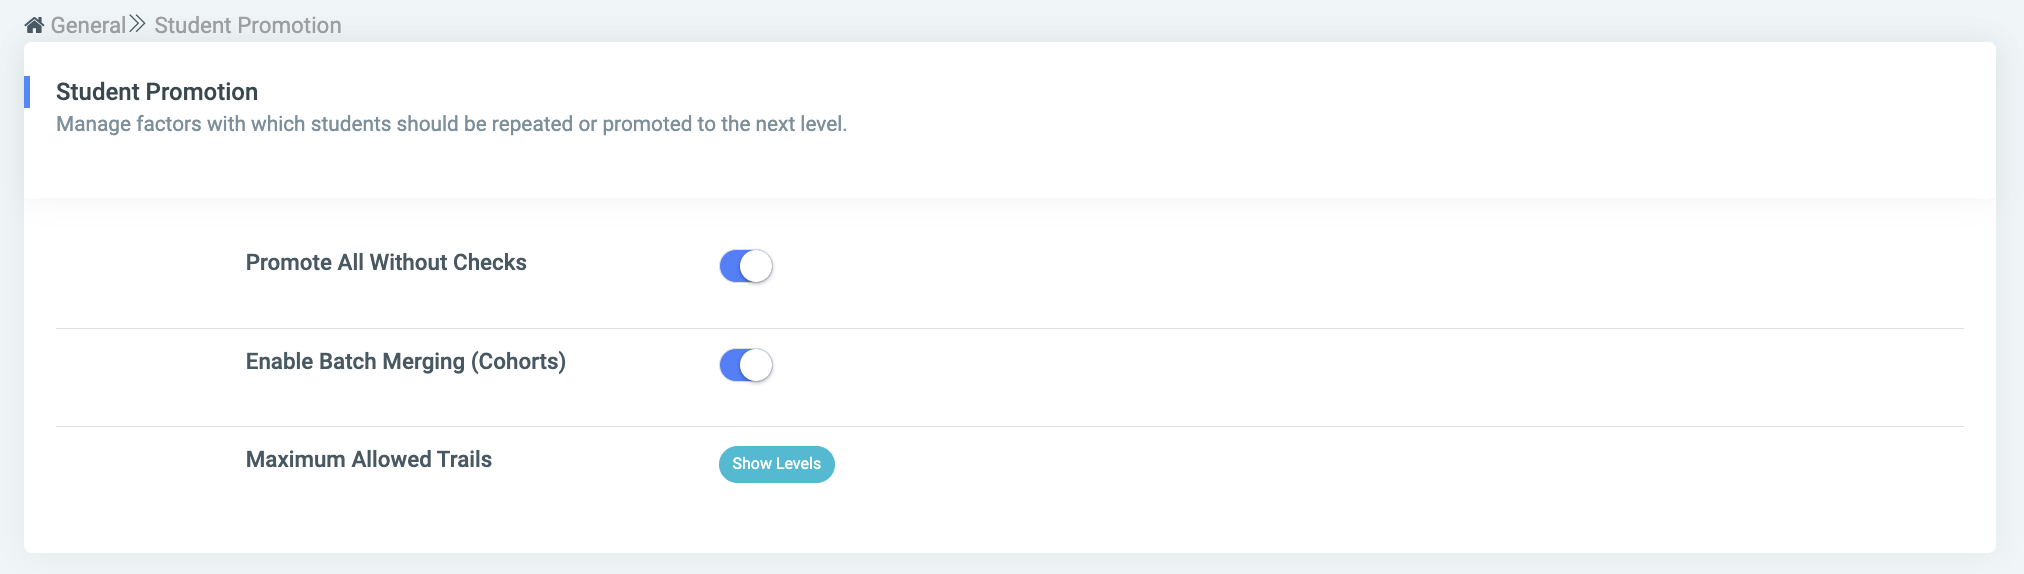
The available options are:
Promote all without checks. Move all students to the next level without any checks on trails and other factors that should ideally hinder them from being promoted.
Enable Batch Merging (cohorts). Allow different cohorts e.g. SEP2023 to be merged with FEB2024 during promotion.
Maximum Allowed Trails. The maximum number of trails a student should have in order to be promoted, against their levels.
Institution Email Domain: In order to set a domain for the institution, one would need to make use of the Institution Email Domain setting.

NB: When the students have their email domains synching with the set domain for the institution, their SIP accounts can easily be created. Otherwise, emails that don’t have their domains matching that of the institution will be blocked; eventually hindering the SIP account creation process.
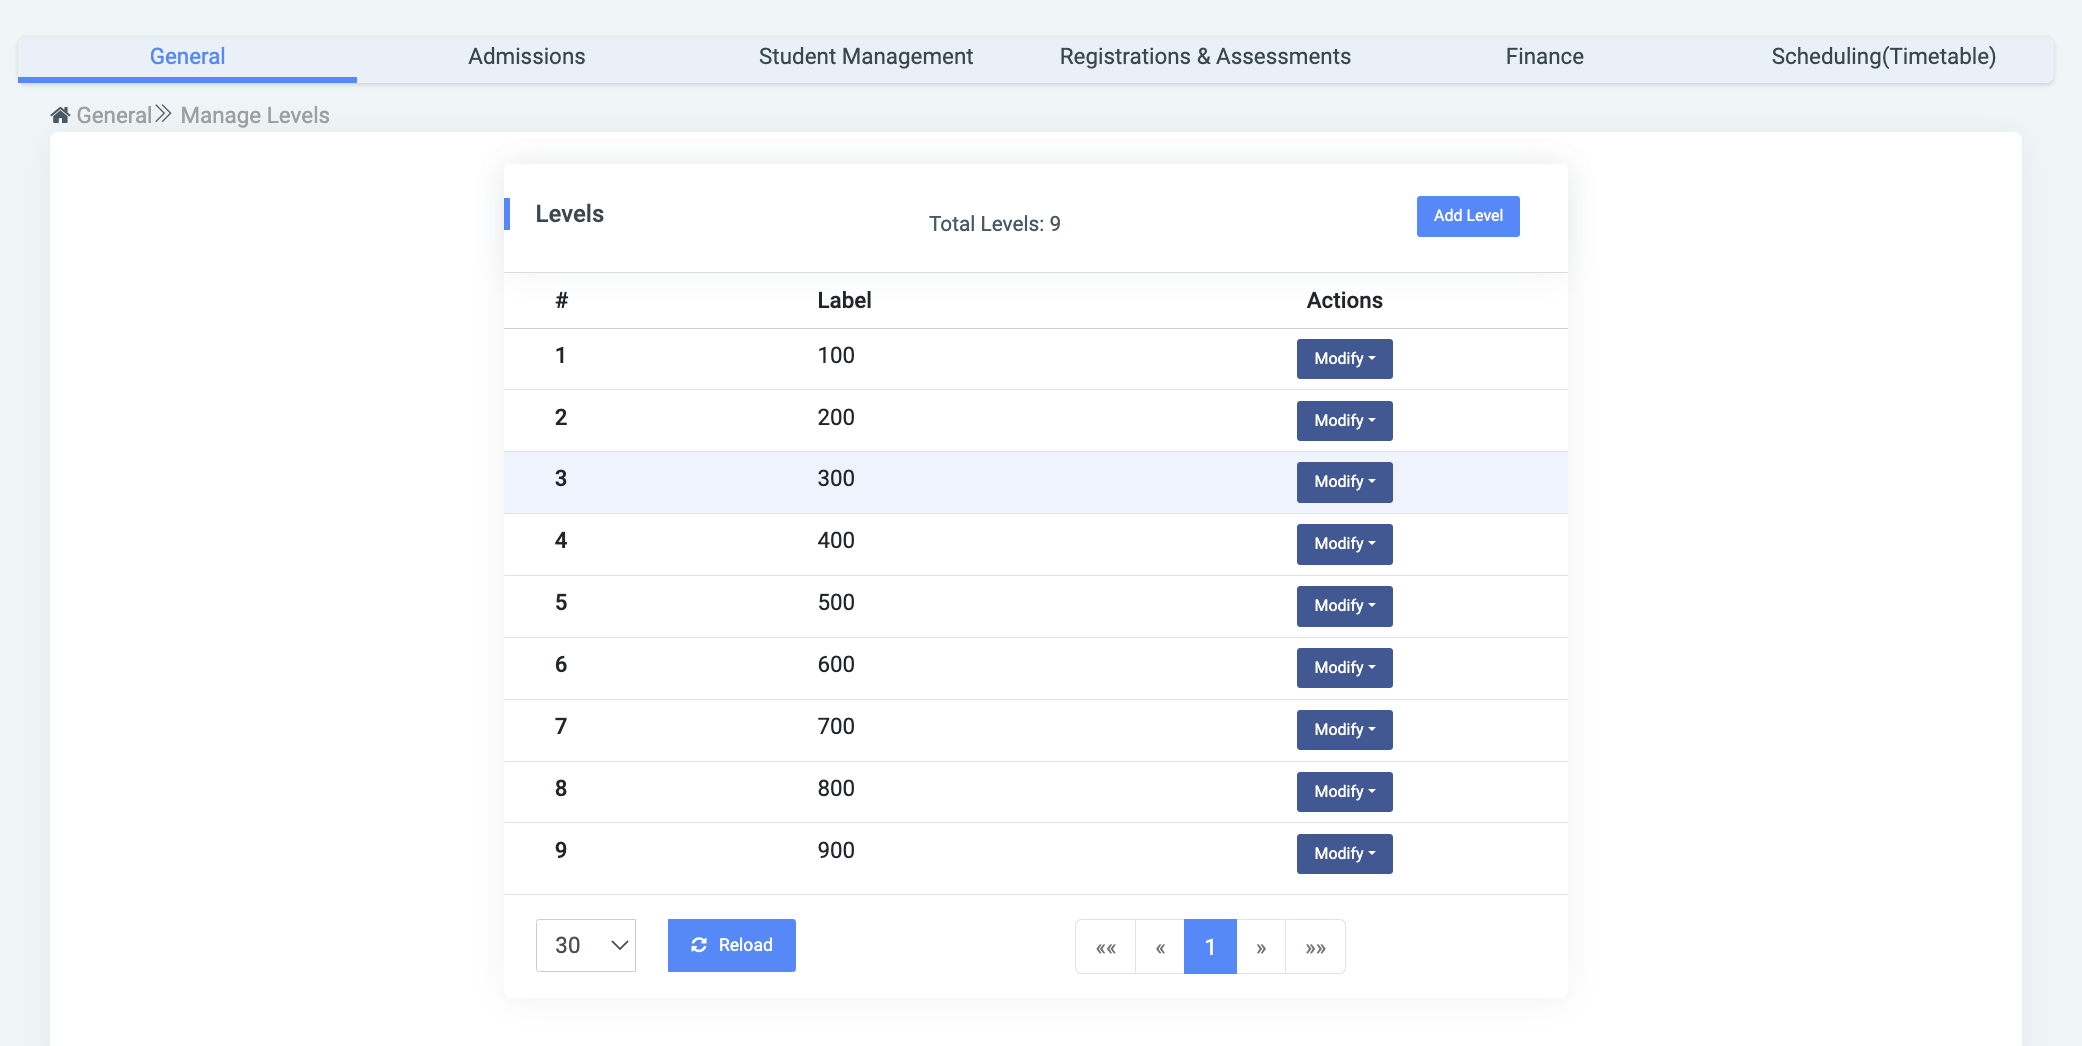
Manage Levels: This setting allows the institution to set up levels.
- Add Level: To add a new level.
- Edit: To edit an existing level.
- Delete: To delete an existing level.
Manage Unit Type: Units in an institution are the organizational structures that perform specific administrative or operational tasks. There are various types of units in schools. This may vary depending on the size, complexity, and mission of the university. This setting allows the institution to set up the unit types available in their school.
It provides the Add Unit Type button which allows the school to add unit types.
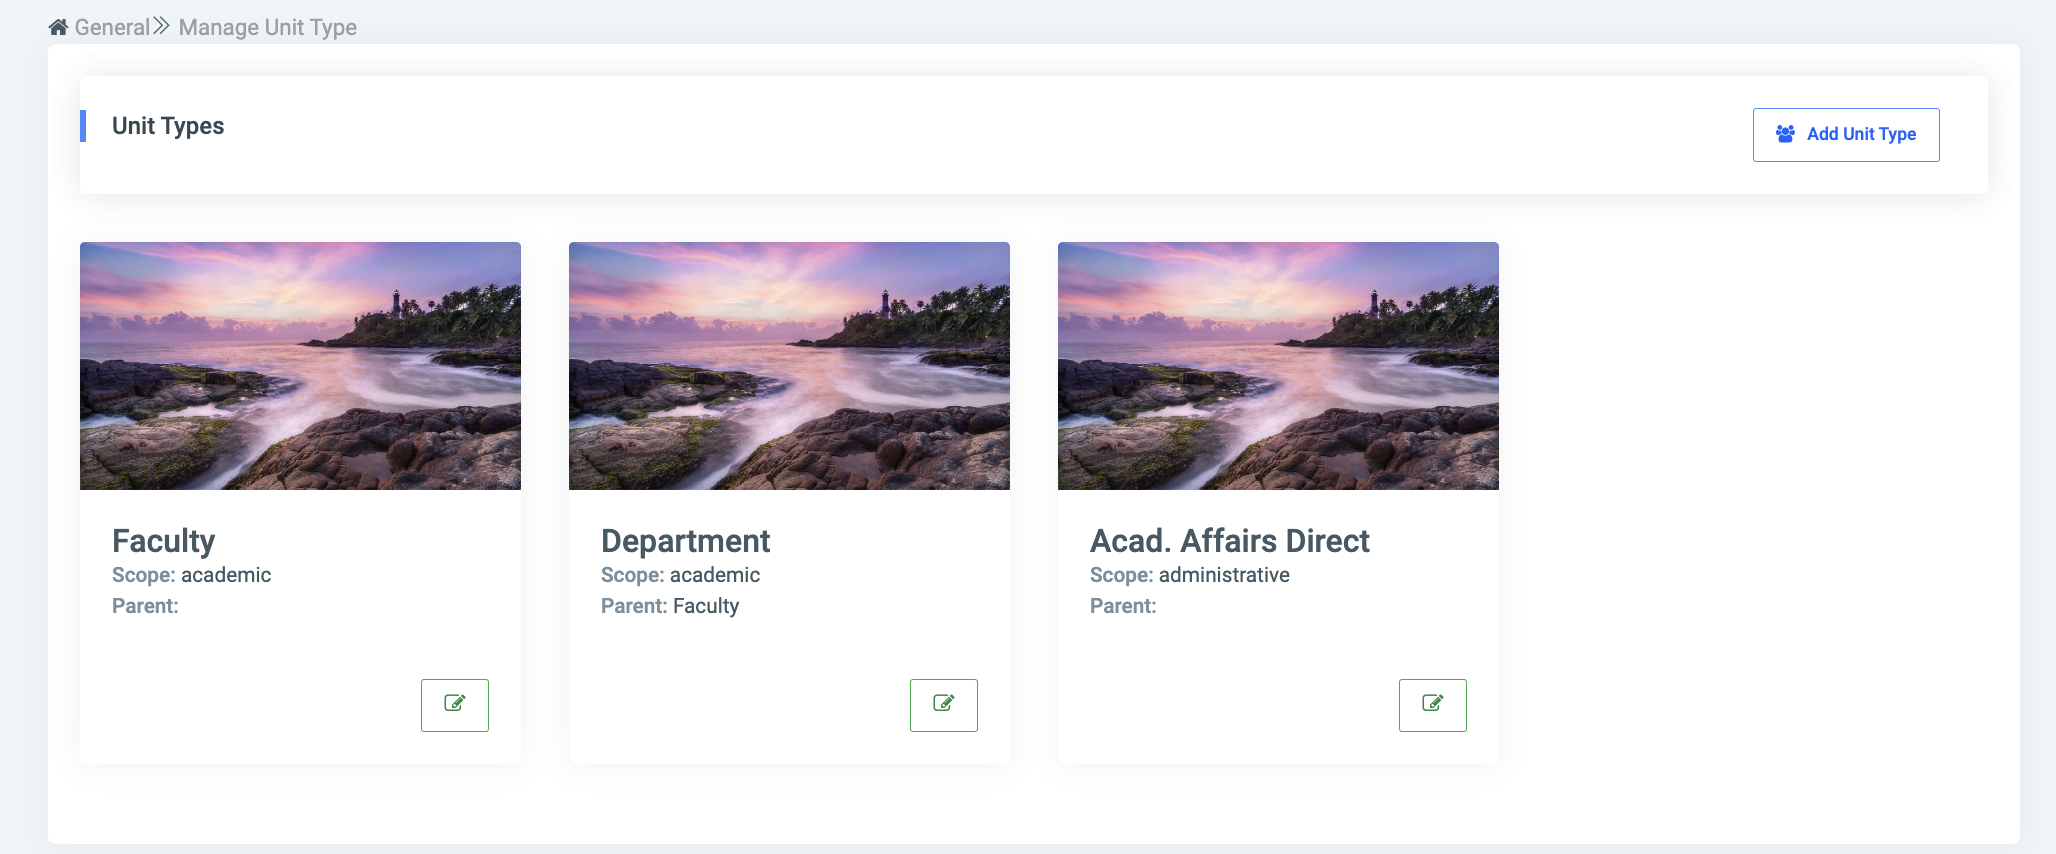
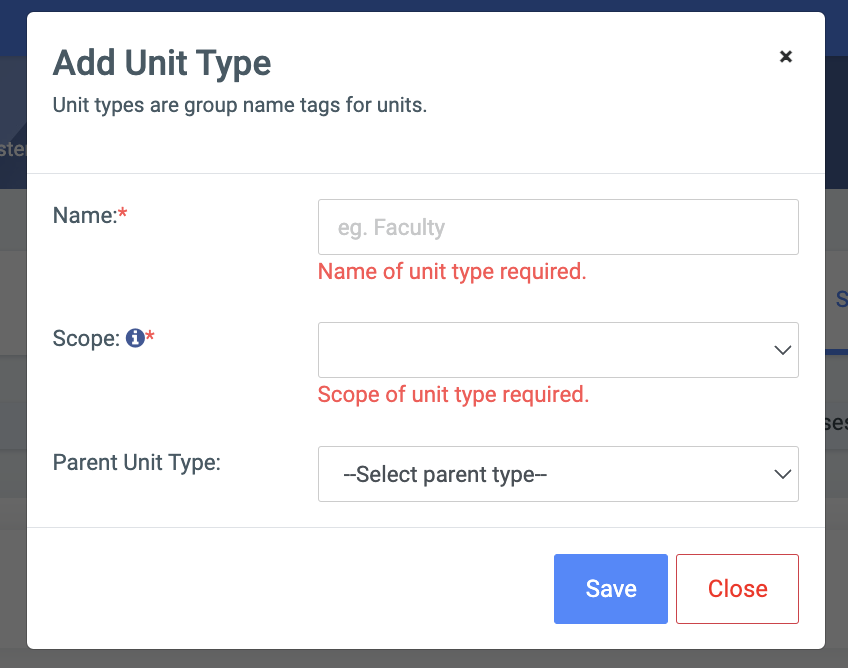
- Name: Input the name of the new unit type.
- Scope: The scope of a unit governs the dataset units can have access to. For example: Academic scope filters dataset with users assigned to the unit. The Administrative scope however has access to the data in the entire institution.
- Parent Unit Type: The major unit of the Unit Type should fall under. For e.g: Faculty.
Programs Dropdown: Configure how programs are displayed under dropdowns by using this setting.
- Short name: Display the short names of programs.
- Long names: Display long names.
- Juxtapose short names with long names.
Study Center: This configuration allows the admin to enable/disable the setting allowing study centers to be applied during course grouping.

Admissions:
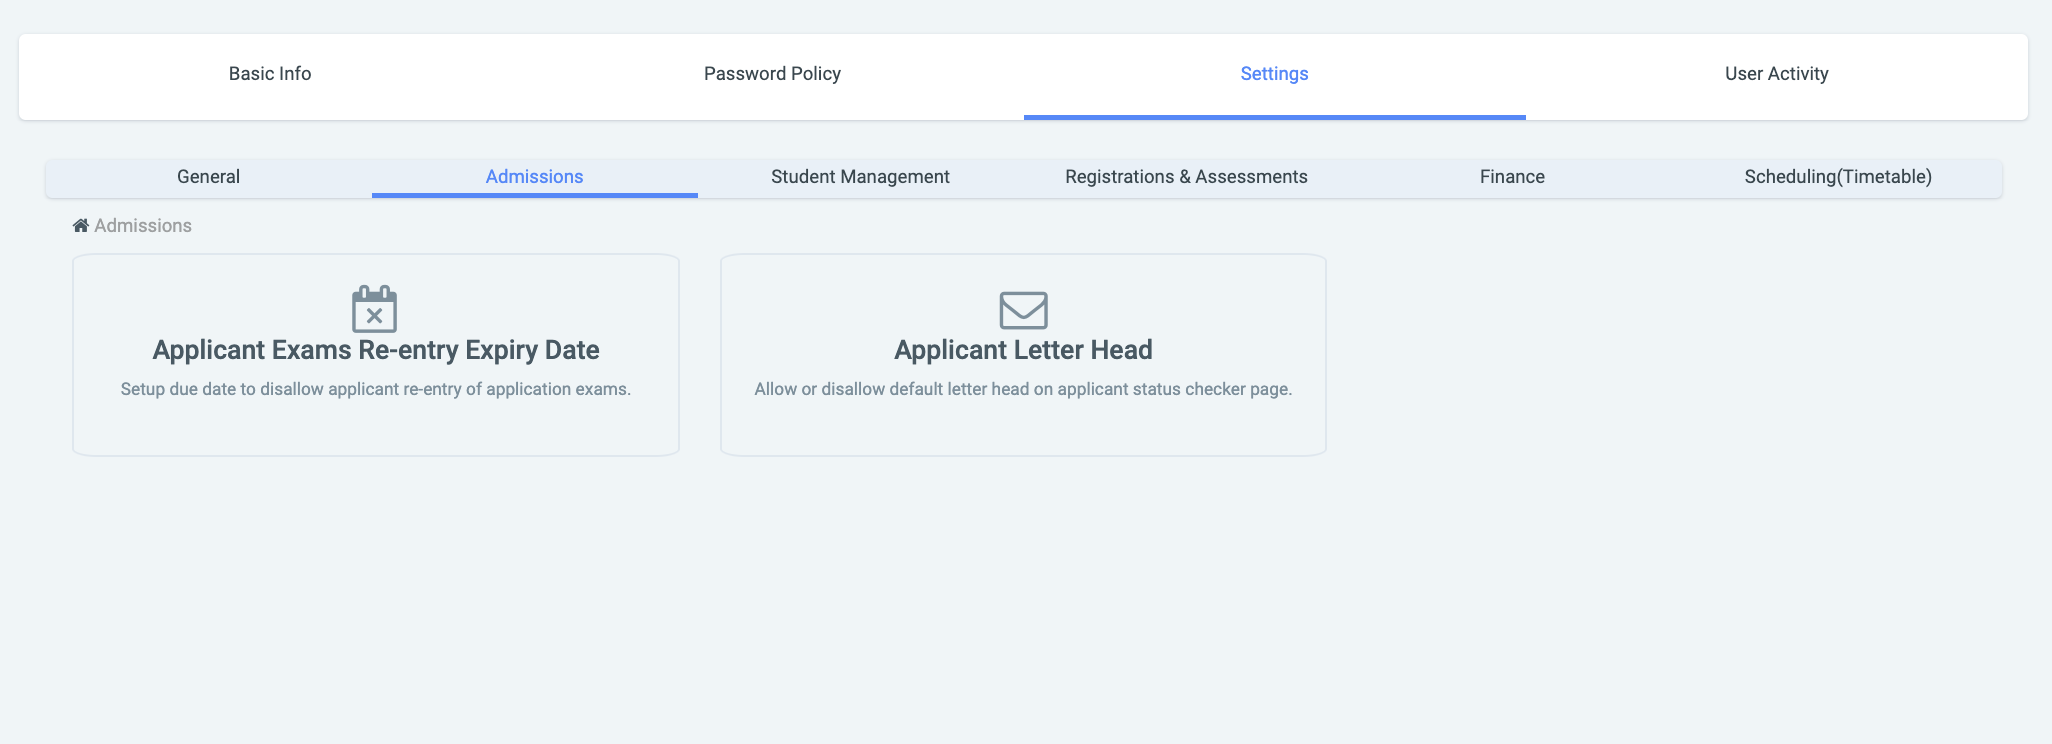
Applicant Exams Re-entry Expiry Date:
This is a configuration that sets the deadline for the re-entry of results. For applicants who may have left out some subjects/results, OSIS provides the opportunity to provide them even after form submission.

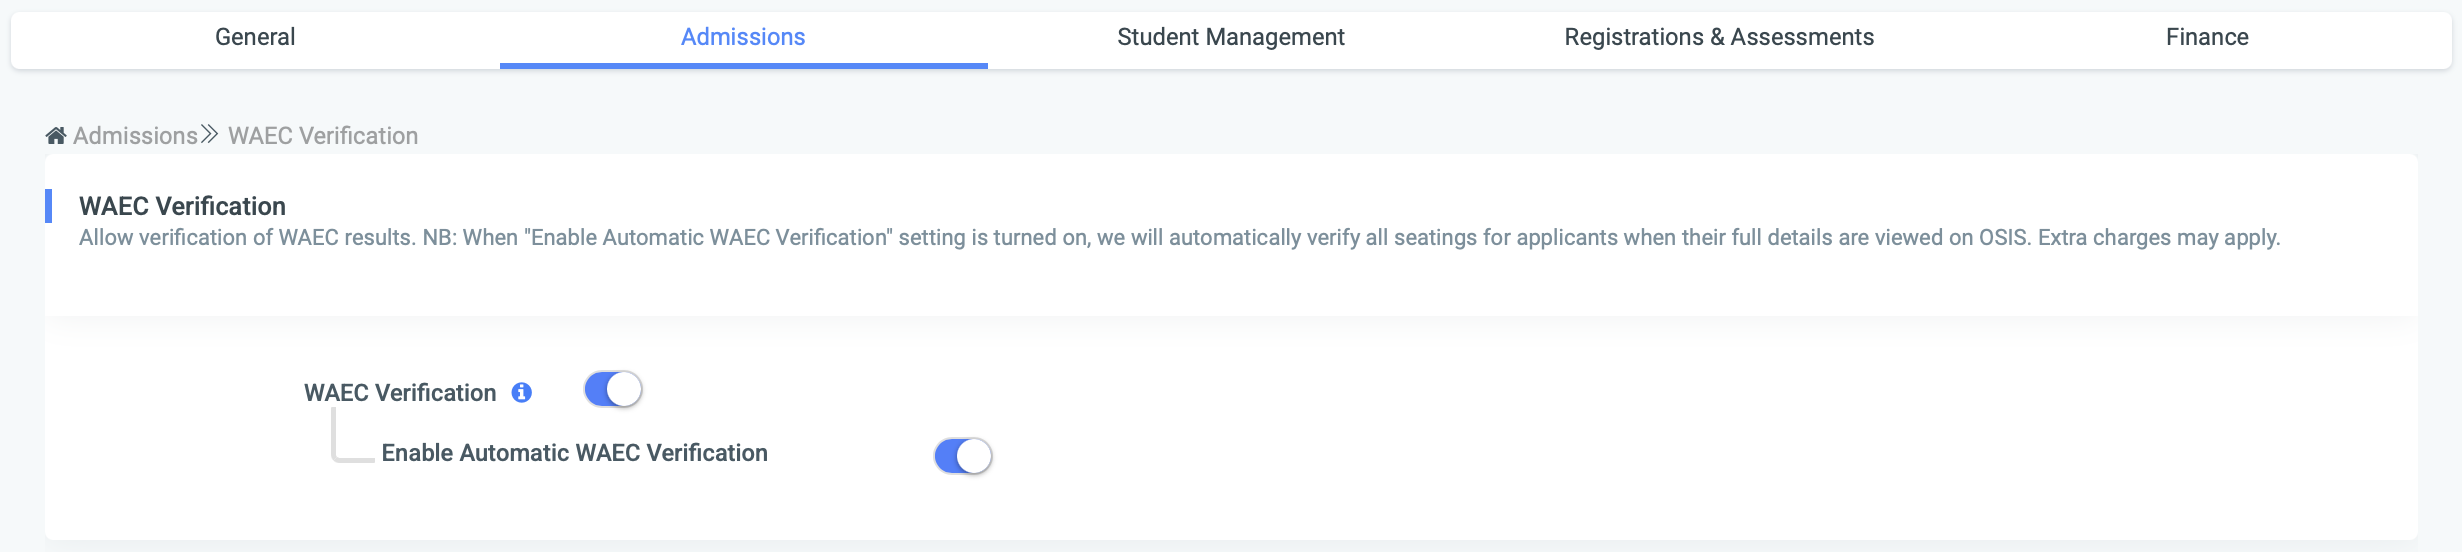
WAEC Verification:
This is a configuration that enables WAEC result verification. When automatic verification is enabled, OSIS checks results as soon as applicant details are viewed.
Applicant Letterhead:
This setting seeks to allow/disallow the institution from displaying its default institution letterhead on Admission letters sent to prospective students via email.

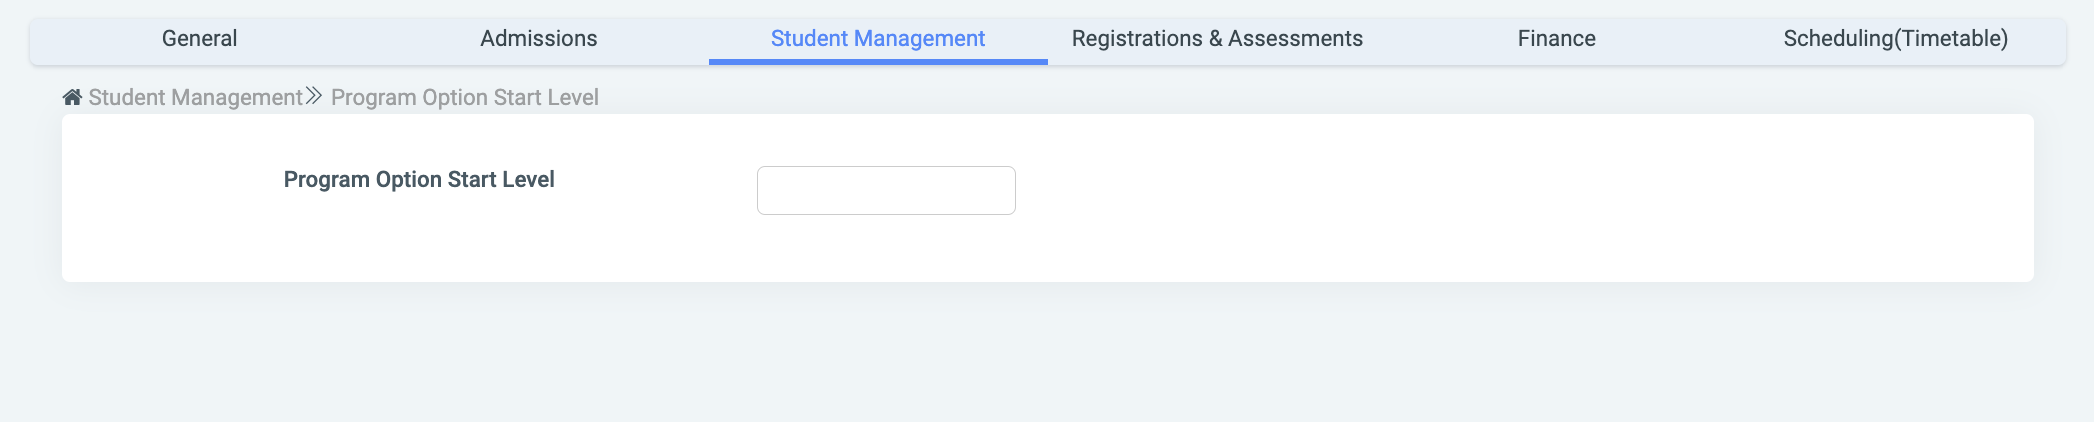
Student Management:
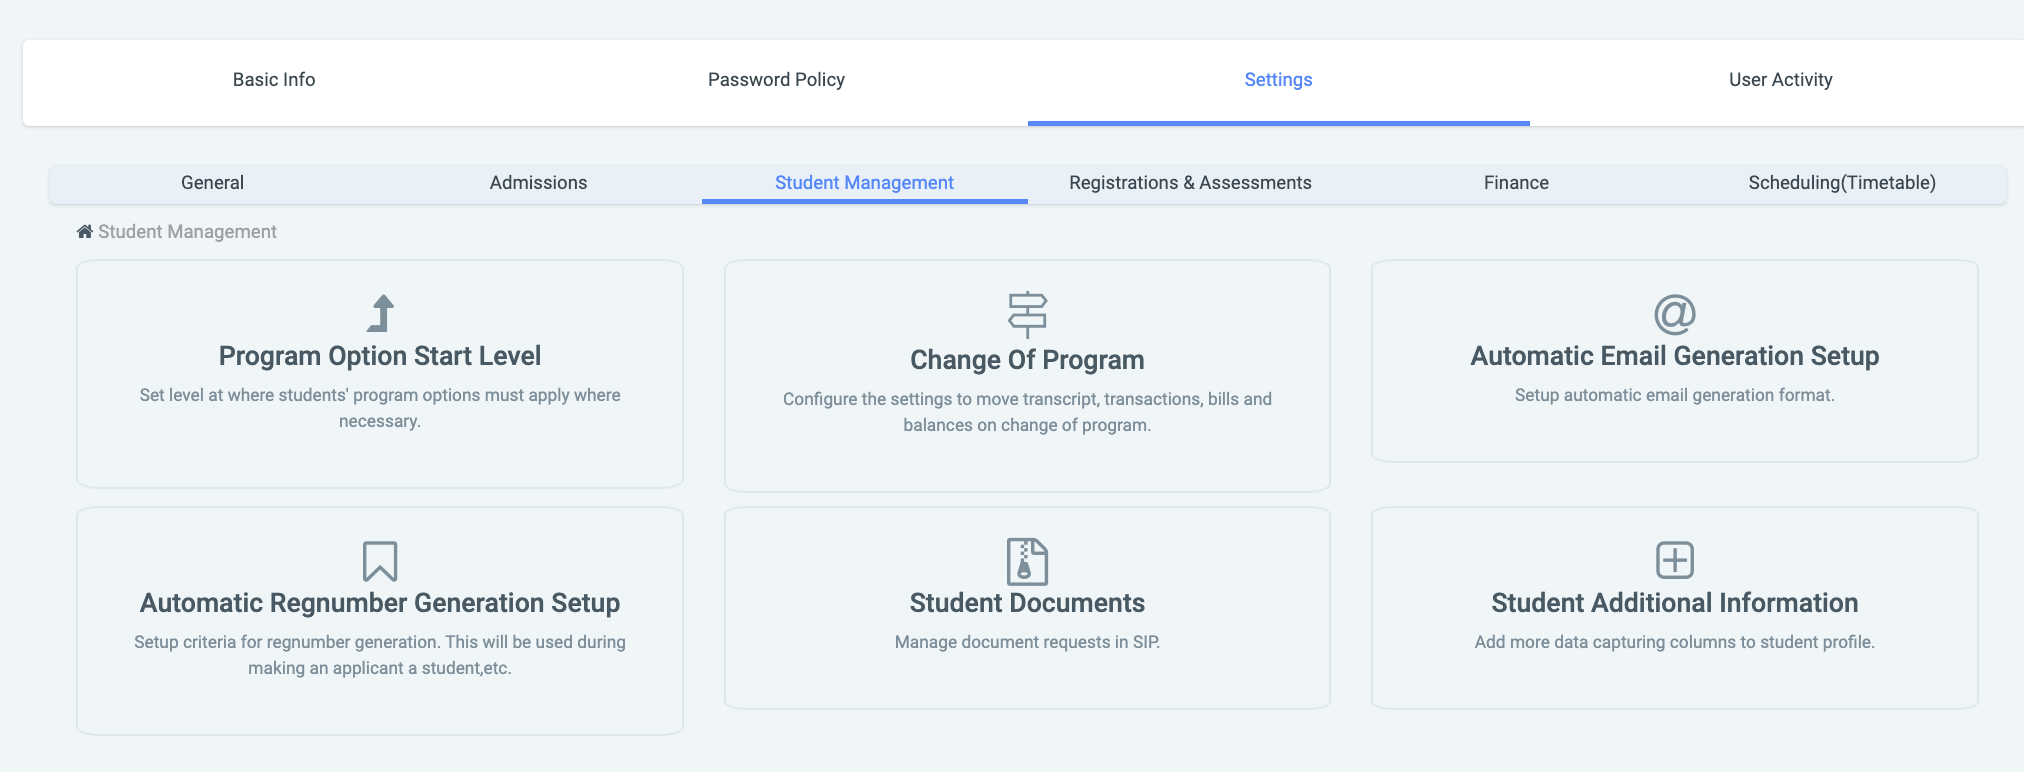
Program Option Start Level: This setting allows schools to set the level to which majors and minors should be applied to their program plans.
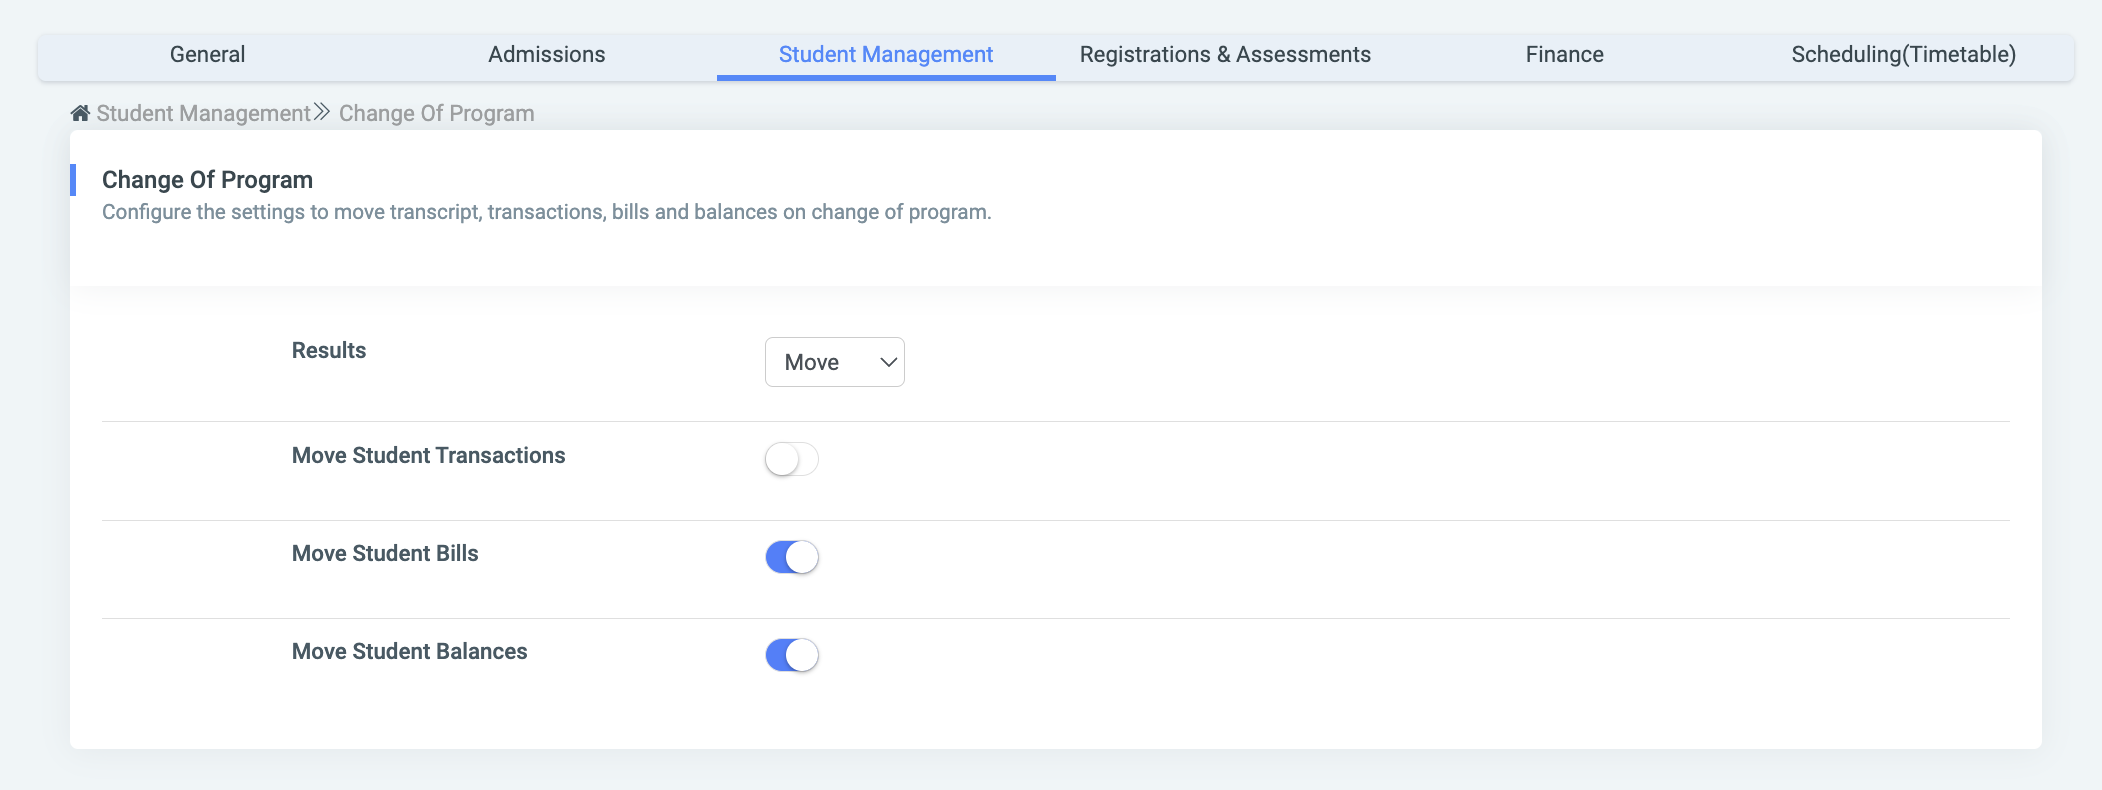
Change of Program: This configuration provides settings to move assessment results, bills, balances, and transactions on a change of program.
Results:
- Move: Transfer results to the students’ new program upon change.
- Discard: Leave behind results on students’ change of program.
Move Student Transactions: Move students’ transactions associated with the old programs to the new program(s) upon change of program.
Move Student Bills: Move students’ bills associated with the old programs to the new program(s) upon change of program.
Move Student Balances: Add students’ balances associated with the old program(s) to the new program(s) upon change of program.
Automatic Email Generation Setup: This is a setting that allows the schools to set up the format for email generation.
- Auto Generate Email: Automatically generate emails for students once their accounts are created in OSIS.

Automatic Regnumber Generation Setup: This setting allows schools to set the criteria for index number/regnumber setup. It comes in handy when applicants are transitioning into students.
At the top right of the Automatic Regnumber Generation Setup page, there is a Configure button.
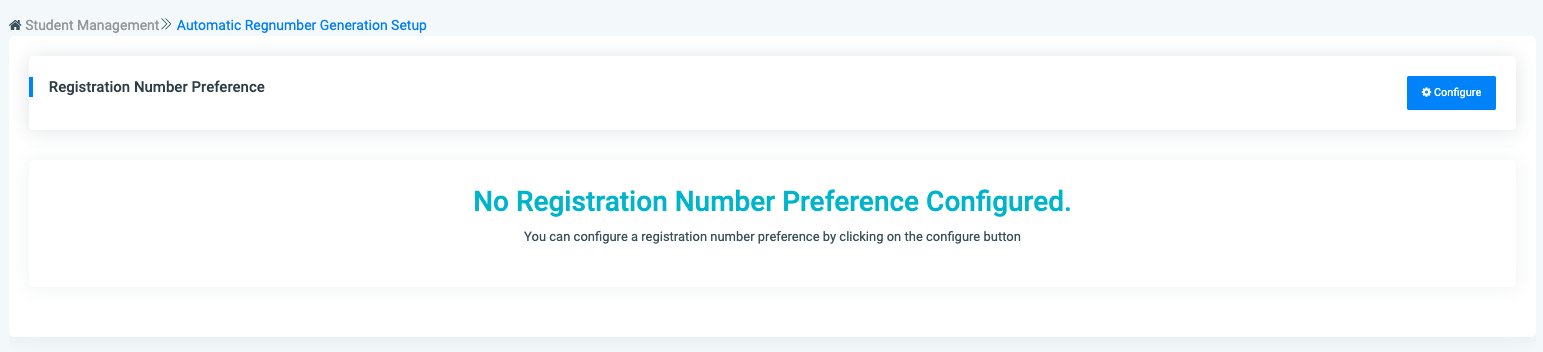
To create a new registration preference, click on the Configure button, which comes with the following fields namely;
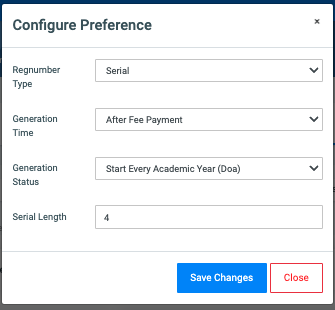
- Regnumber Type: There are two(2) types of registration numbers namely:
- Alphanumeric: This registration number contains alphabets with numbers.
- Serial: This registration number contains numbers only.
- Generation Time: Select the time at which registration numbers should be generated for applicants. The dropdown has the following;
- With Offer Letter: Applicant registration numbers will be generated when given their offer letters.
- After fee payment: Applicants’ registration numbers will be generated when they make their first fee payment.
- Manual: Applicant registration numbers will be manually given.
- Generation Status: Select from the dropdown the status as below;
- Increment Forever: Registration numbers generated will keep increasing forever.
- Start Every Academic Year: Registration numbers generated will start for every academic year.
- Serial Length: Enter the length of the serial number you prefer in the registration number. Eg. 4.
Click on Save Changes to confirm actions.
Users can add prefixes to the registration number by clicking on the Add Category button on the regnumber categories section on the right side of the page.
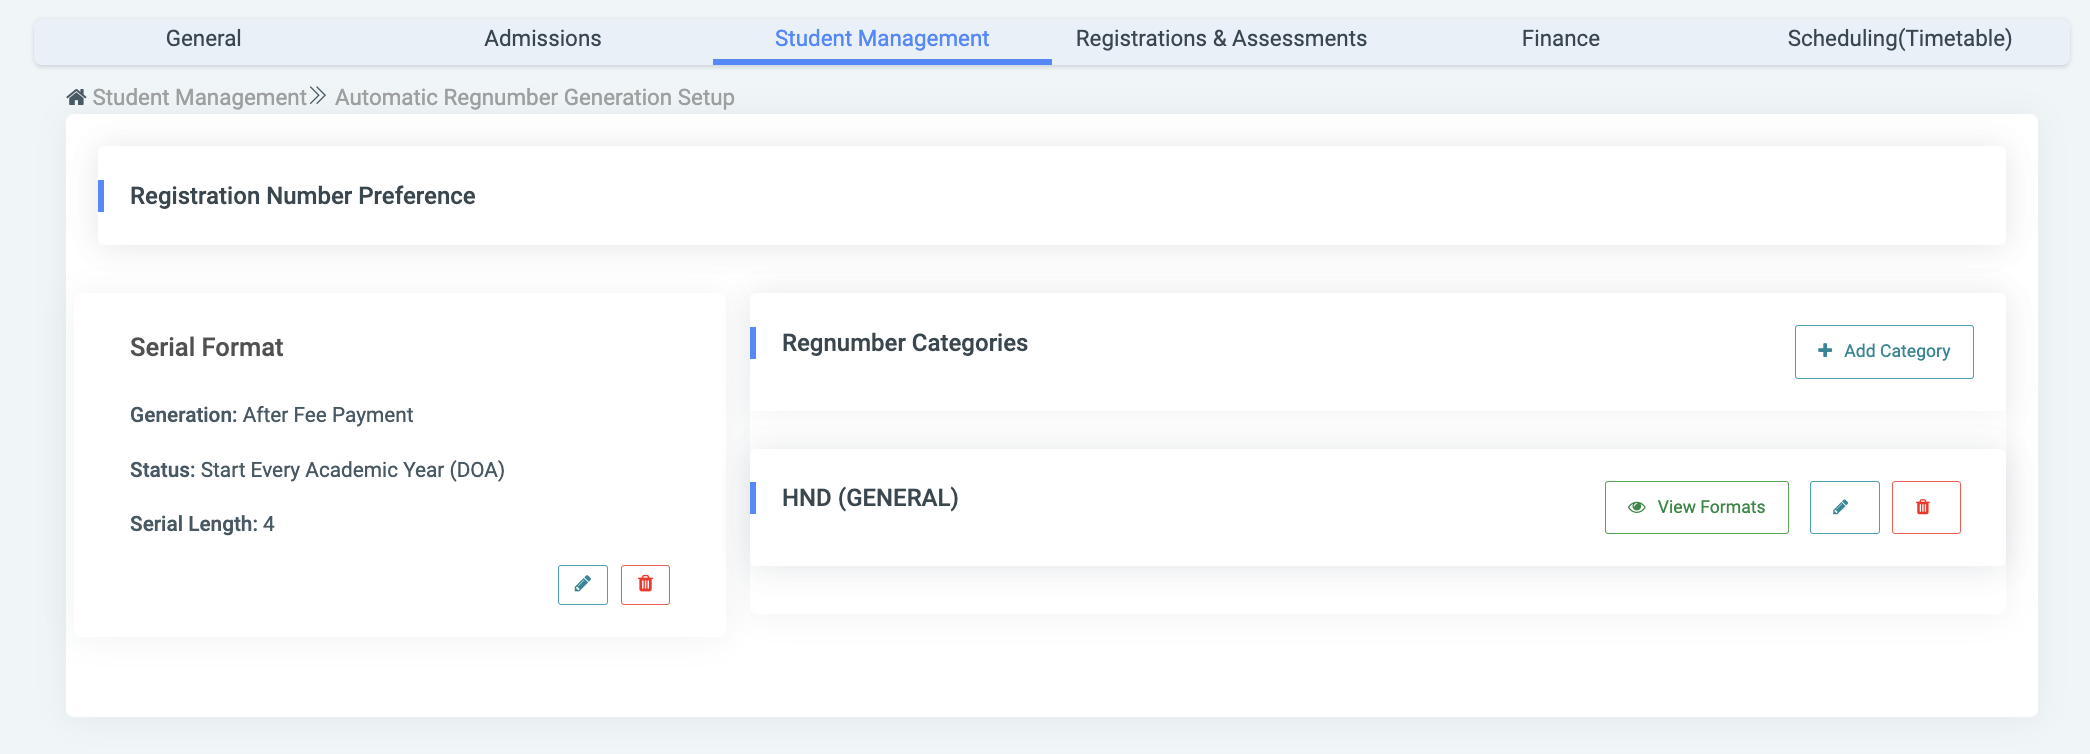
This opens a modal containing fields that require the Category Name and Program Type.
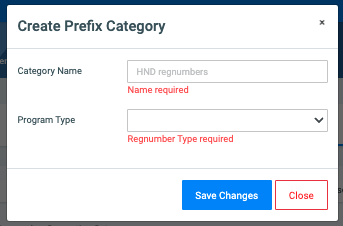
- Category Name: Enter the name of the category you want to set.
- Program Type: Select the program type from the dropdown. The list contains the options: GENERAL, ENTRANCE, DEGREE, POSTGRAD, and MASTERS.
Click on Save Changes to confirm actions.
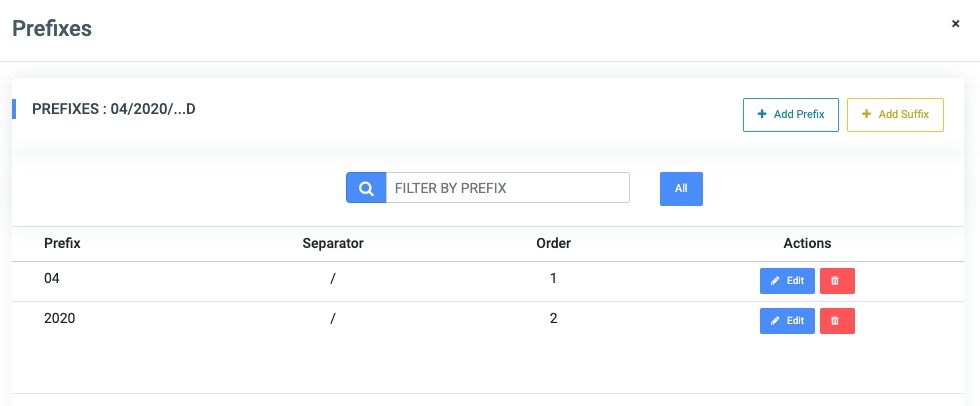
A new card will be created under the regnumber categories section. Navigate to the right side and click on the View Formats button. This opens a modal with the Add Prefix button on the extreme right.
Click on the Add Prefix button. This opens a modal with the following fields;
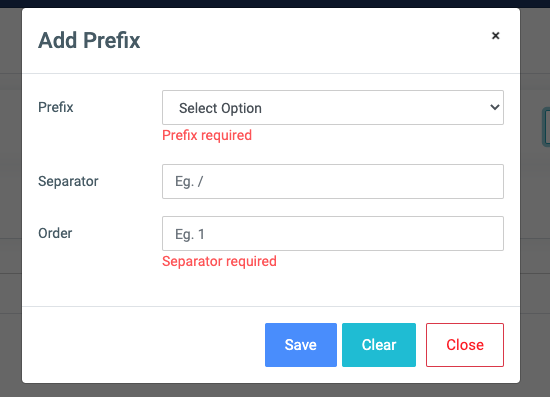
- Prefix: The prefix of registration number can be created with any of the following;
- Institution: Registration number will use the institution.
- Faculty/Department: Registration number will use applicant faculty or department.
- Campus: Registration number will use the applicant campus.
- Stream: Registration number will use the applicant stream.
- Customize: Enter your own custom prefix name.
- Separator: Enter a symbol preferred for separating the registration number. Eg. /
- Order: Enter a number showing the position of the prefix.
Click on Save to confirm actions or, on Clear to clear all fields or, on Close to close the modal.
To add suffixes to the registration number, click on the View Formats button and choose the Add Suffix button.
This will present the user with a modal containing the following fields;
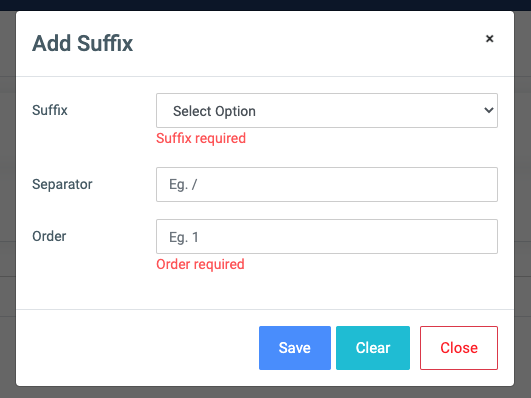
- Suffix: The suffix of registration number can be created with any of the following:
- Institution: Registration number will use the institution.
- Faculty/Department: Registration number will use applicant faculty or department.
- Campus: Registration number will use the applicant campus.
- Stream: Registration number will use the applicant stream.
- Customize: Enter your own custom prefix name.
- Separator: Enter a symbol preferred for separating the registration number. Eg. /
- Order: Enter a number showing the position of the prefix.
Click on Save to confirm actions or, on Clear to clear all fields or, on Close to close the modal.
For each added prefix category, the user can Edit or Delete them.
To edit a prefix category, click on the Edit button icon.
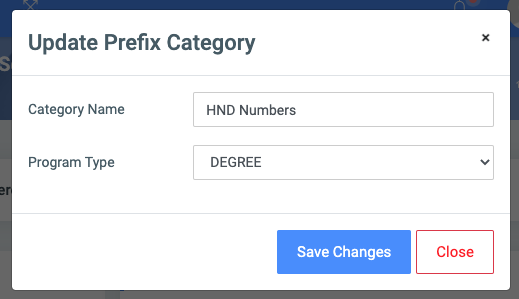
Change the old entries from the Update Prefix Category form and click on the Save Changes button.
To Delete a Prefix Category, click on the Delete button icon.
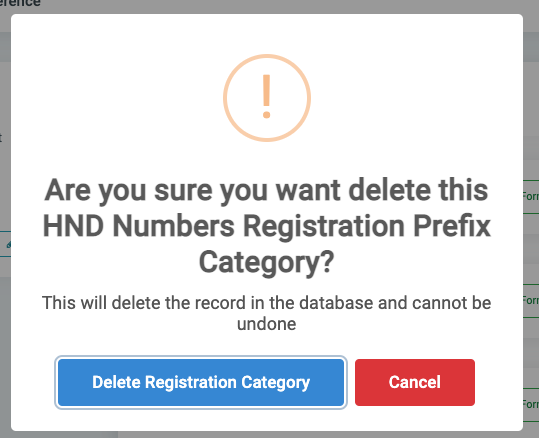
Click on the Delete Registration Category button from the modal popup to confirm your actions or, on Cancel to revert.
Student Documents: This configuration governs the management of document requests from SIP.
- Enable Document Requests in SIP: Allow SIP users to make document requests from SIP.
- Check Payment For Letter Requests: Implement a restriction in OSIS to check for payment once letter requests are made from SIP. E.g.: Introductory letters.
- Check Payment For Transcript Requests: Implement a restriction in OSIS to check for payment once transcript requests are made from SIP.
- Cost Per (GHS): Set a fixed amount to be paid for transcript requests made from SIP.
Student Additional Information: This feature helps add additional fields to the students’ profile information. Eg. Information about the students’ Marital status, Number of kids, etc if needed by the institution.
On the top right of the Configure Additional Columns section, there is an Add Column button.

✑ Click the Add Column button to add an extra student additional information field to OSIS. The Add Column modal comes with the following;
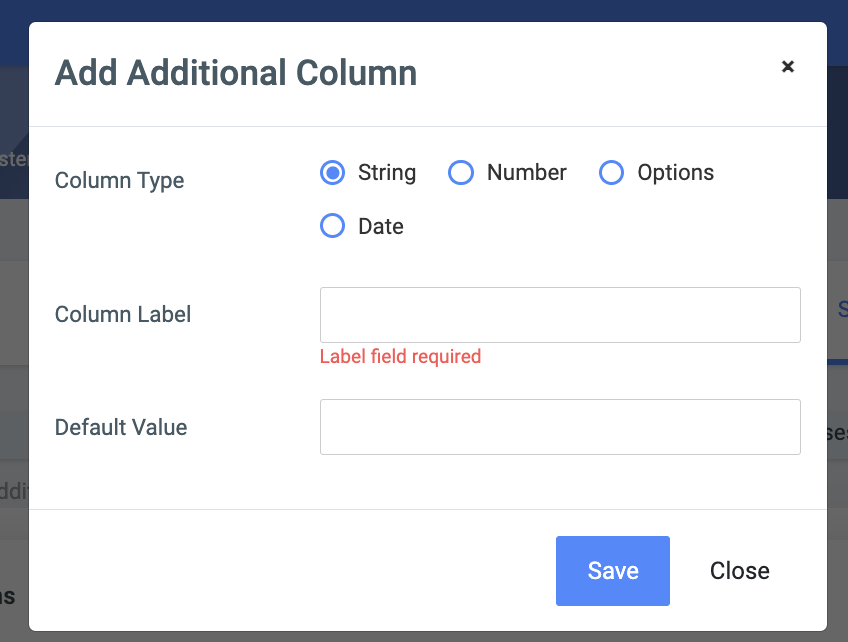
- Column Type: Select the type of additional information by clicking any of these radios listed:
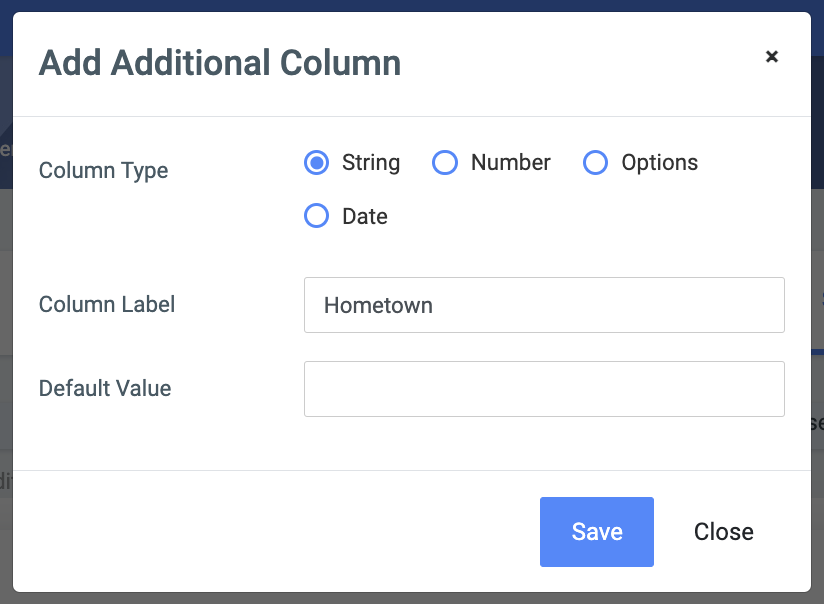
- String: Select this if the required input from students is text. Eg. The column label of Hometown will be Tema.
- Number: Select this if the required input from students is a number. Eg. The column label of the Number of kids will be 2.
- Options: Select this if the required input from students is …
- Column Label: Input the title of the newly created additional information. Eg. Number of kids
- Default Value: Input the default value that should show after if the newly created additional information is selected. Eg. The column label of the Number of kids will be 0.
✑ Click on Save to confirm actions.
For each added Additional Column, the user can Edit and Delete them.
✑ To Edit an additional column, click on the Edit button icon.
Change the old entries from the Edit Additional Column form and click on the Save button.
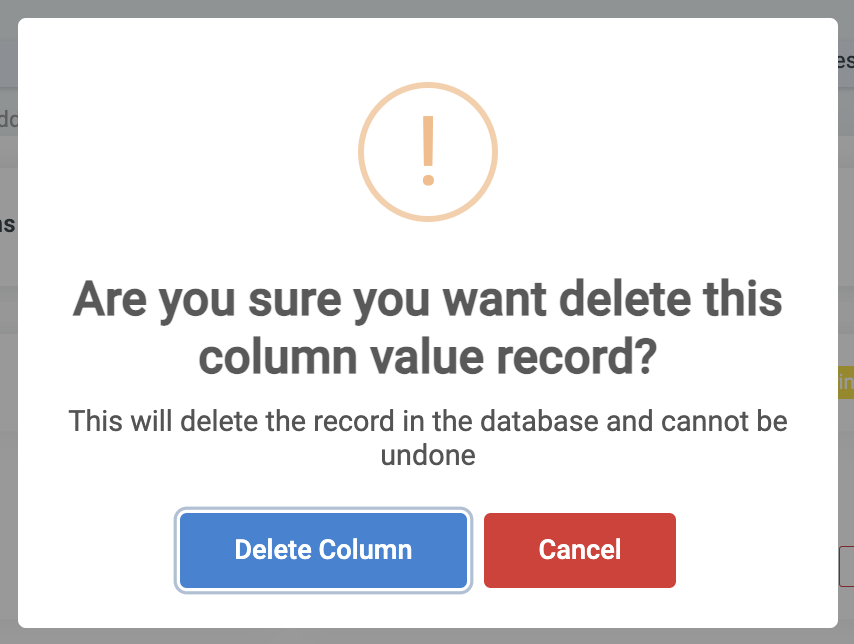
✑ To Delete an additional column, click on the Delete button icon. 
✑ Click on the Delete Column button from the modal popup to confirm your actions.
Registration & Assessments:
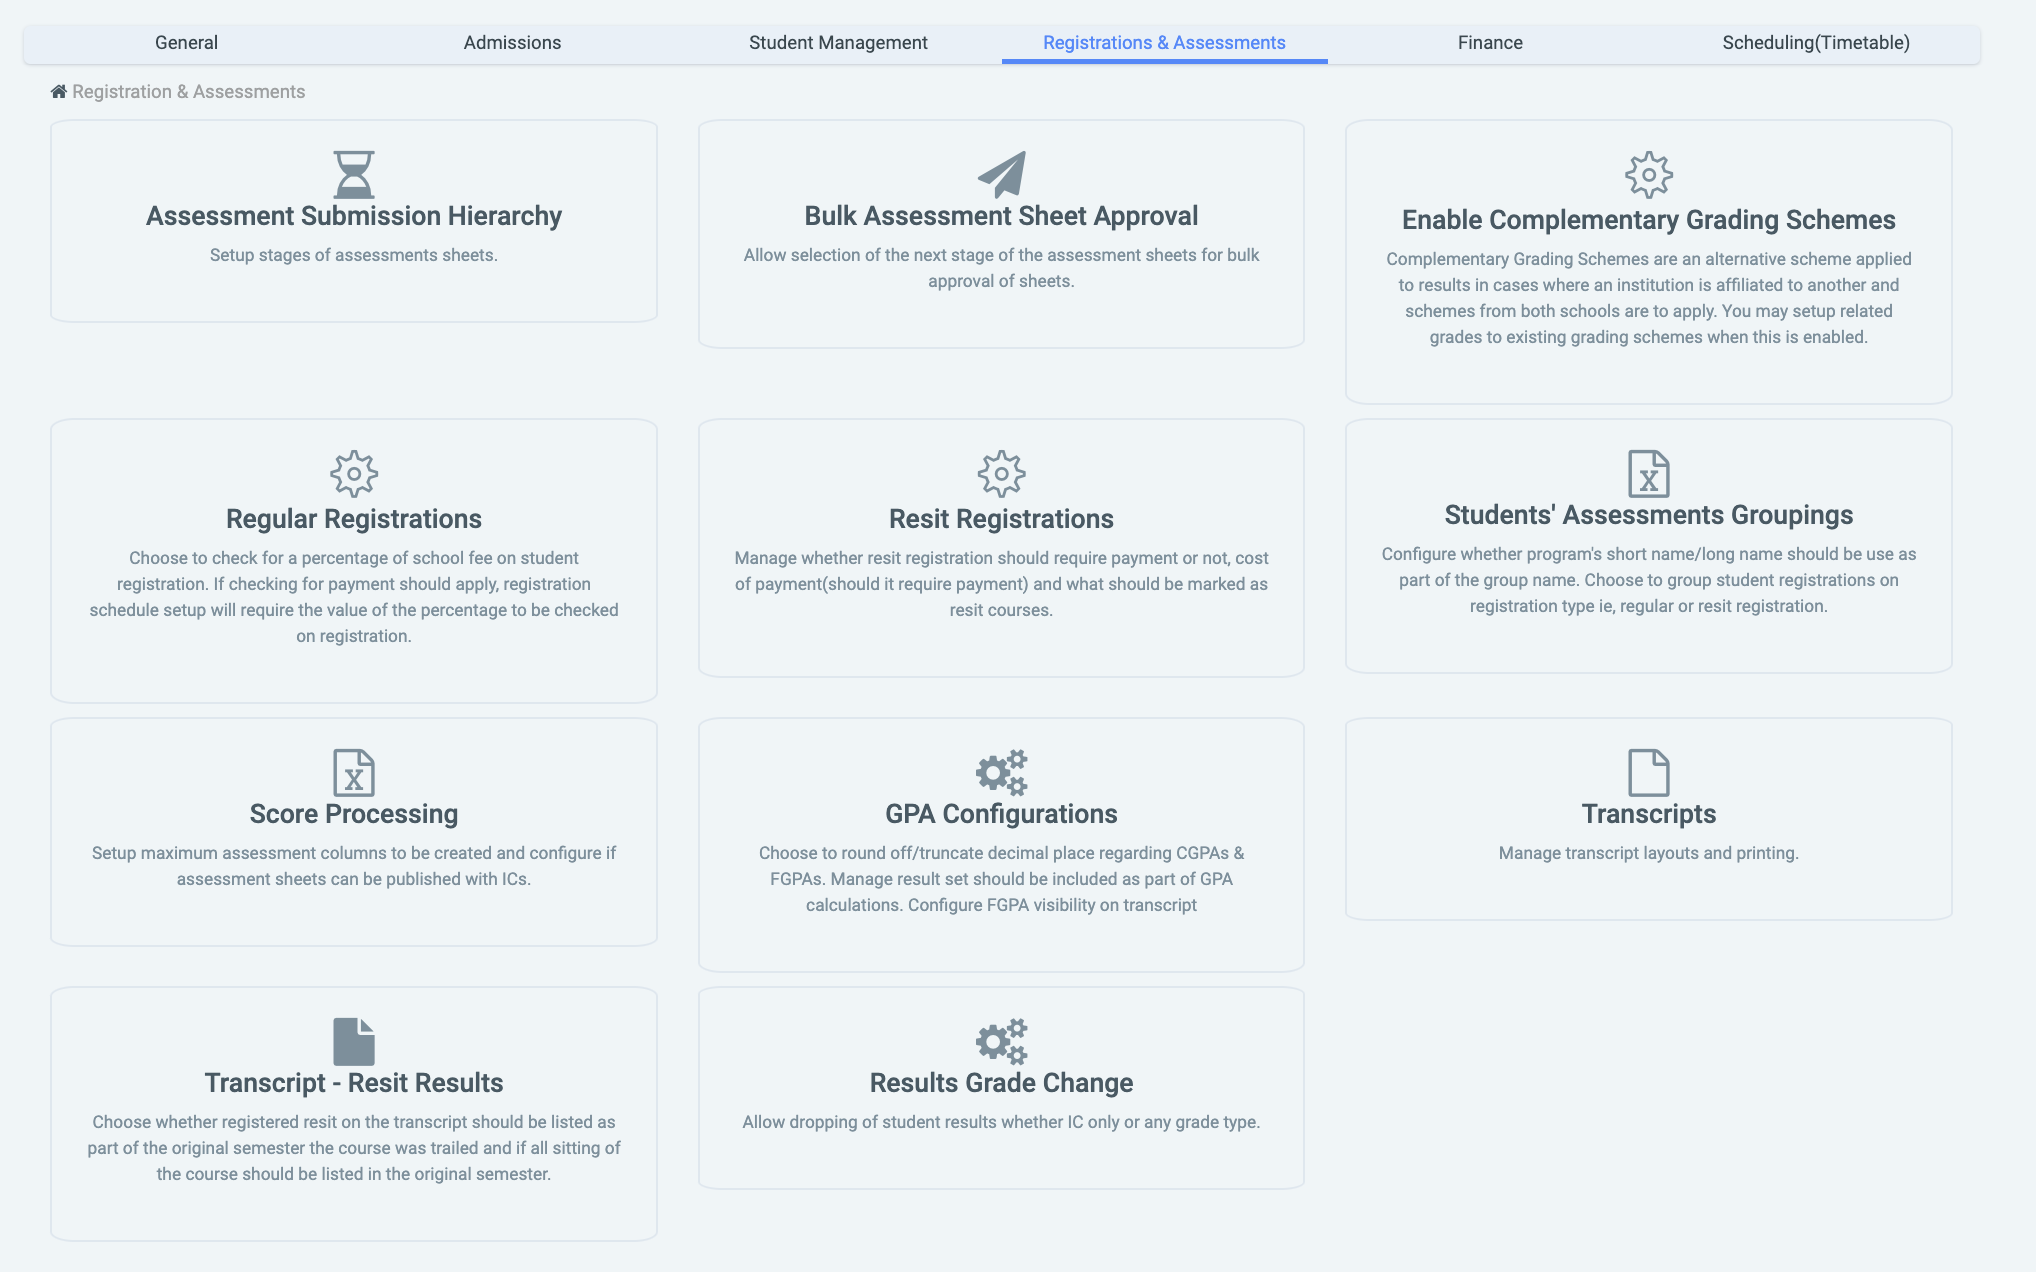
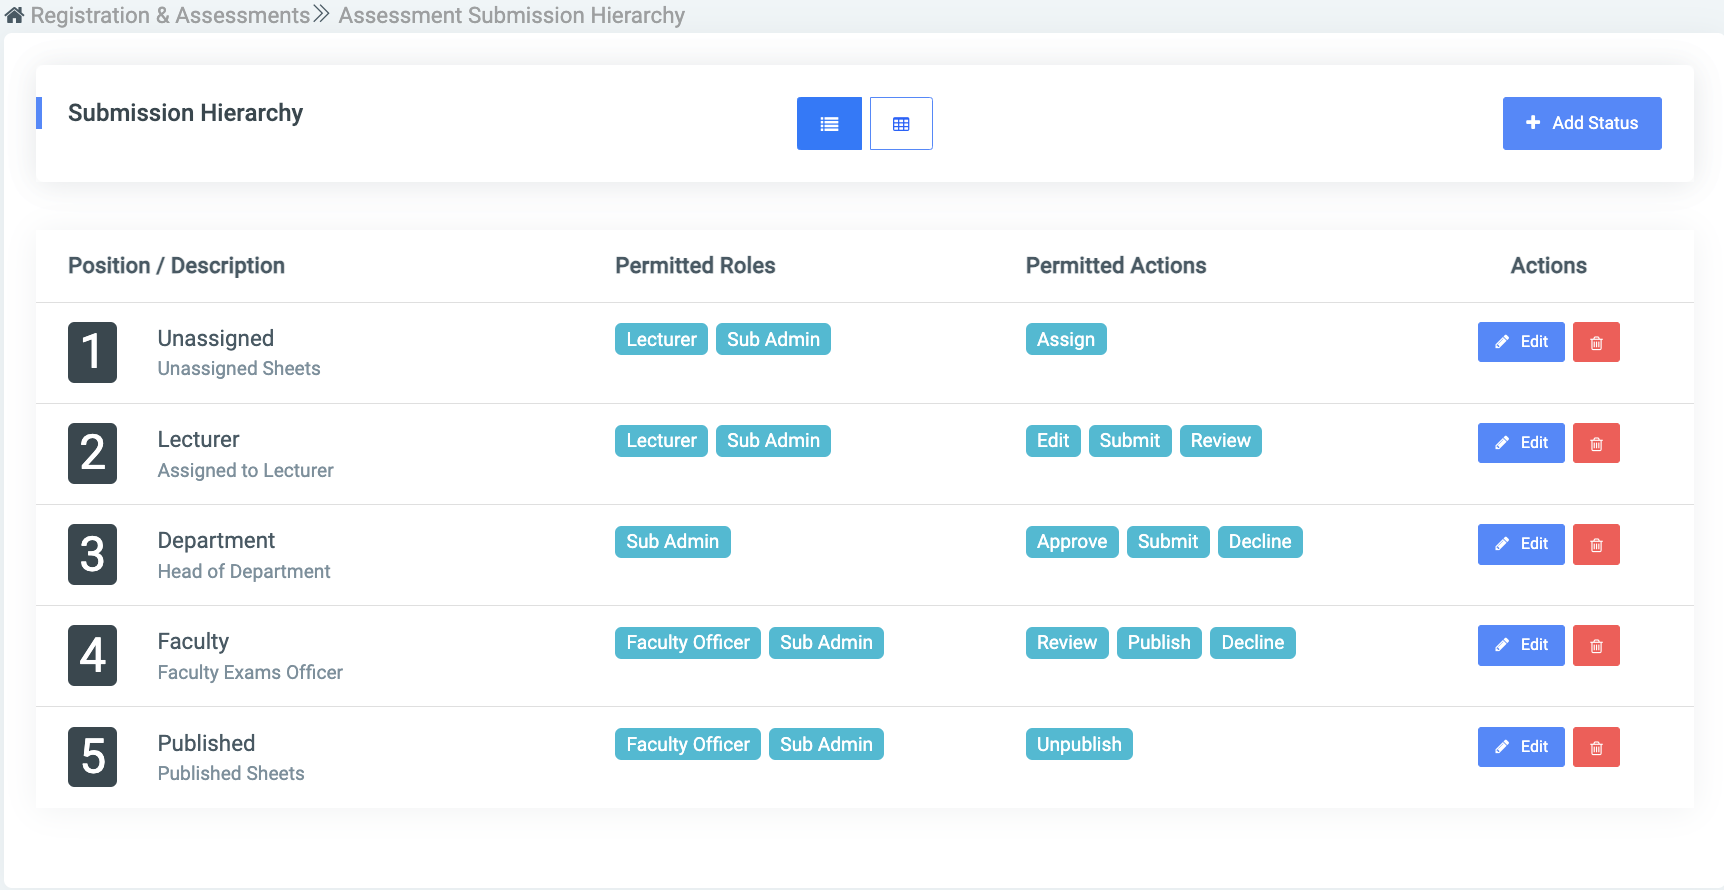
Assessment Submission Hierarchy: This setting helps to define the submission process of assessment sheets. Thus, describes the processes the sheets go through from being unassigned up until they are published.
On the Submission Hierarchy page, there is an Add Status button to add a new status to OSIS.
Click on the Add Status button. The Add Status modal has the following fields;
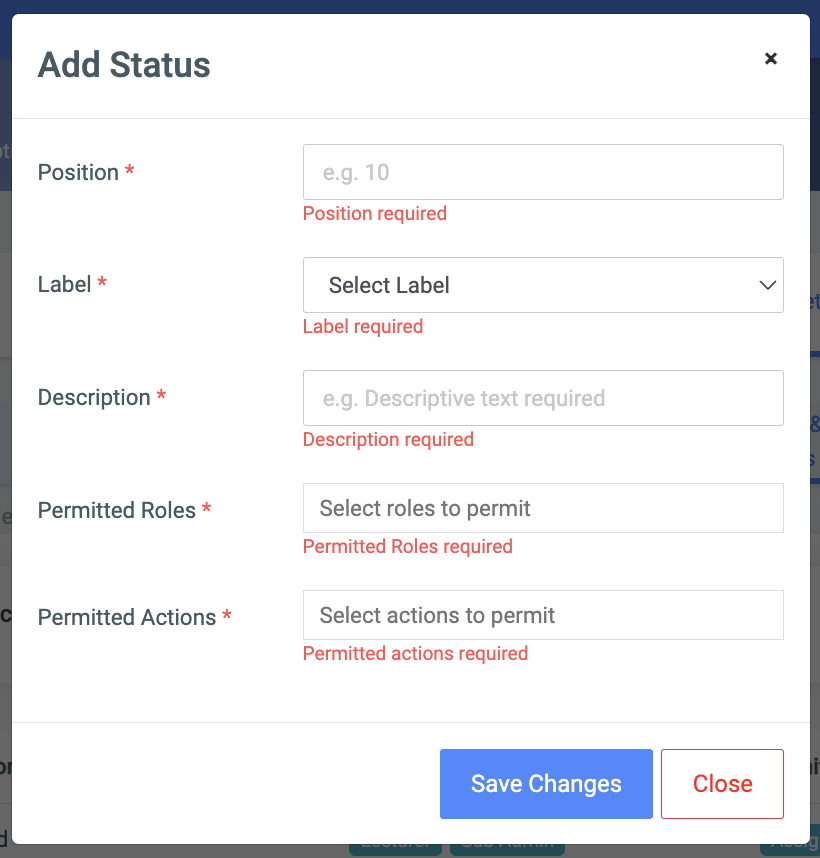
- Position: Enter the position value which you want for the submission process.
Label: This is a dropdown of institution titles.
Description: Enter a brief description of the status.
Permitted Roles: Click on the text field to dropdown all roles available to assign to the status. Select the role required from the dropdown.- ☛ The user can add multiple roles.
- Permitted Actions: Click on the text field to dropdown all actions available to assign to the status. Select the action required from the dropdown. The following actions are available:
- Assign sheet.
- Edit sheet.
- Submit sheet.
- Approve sheet.
- Decline sheet.
- Publish sheet.
- Unpublish sheet.
☛ The user can add multiple actions and roles.
✑ Click on the Save Changes button to confirm actions.
Each status detail is editable and can be deleted. It comes with an Edit button and a Delete icon button for those purposes.
Bulk Assessment Sheet Approval: This setting gives users the option to select the next stage of the assessment sheets from the submission hierarchy for bulk submission.

Enable Complimentary Grading Schemes: This setting allows schools to enable complimentary grading schemes in OSIS. This is an auxiliary scheme applied to assessment results where necessary. For example: In an instance where a school is affiliated with another school and schemes from both schools are to apply, this configuration comes in handy.

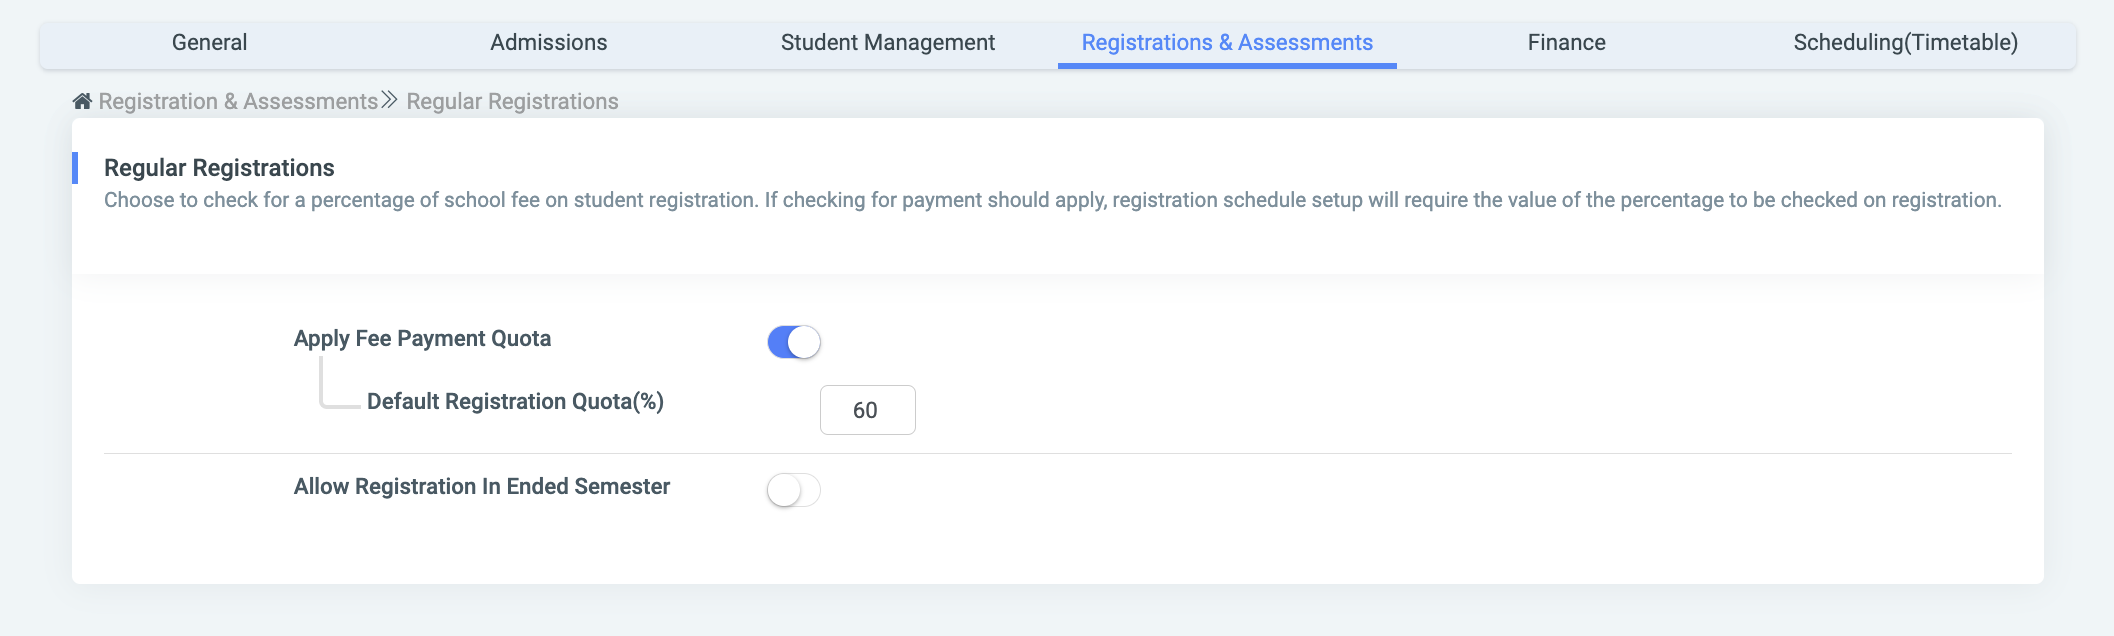
Regular Registrations: This configuration allows OSIS to check for a percentage of school fee payments upon students’ registrations.
Apply Fee Payment Quota: Toggle the button for a percentage of the school fee payment on student registration.
Allow Registration In Ended Semester: Toggle this button to allow regular registration to happen even after a semester has ended.
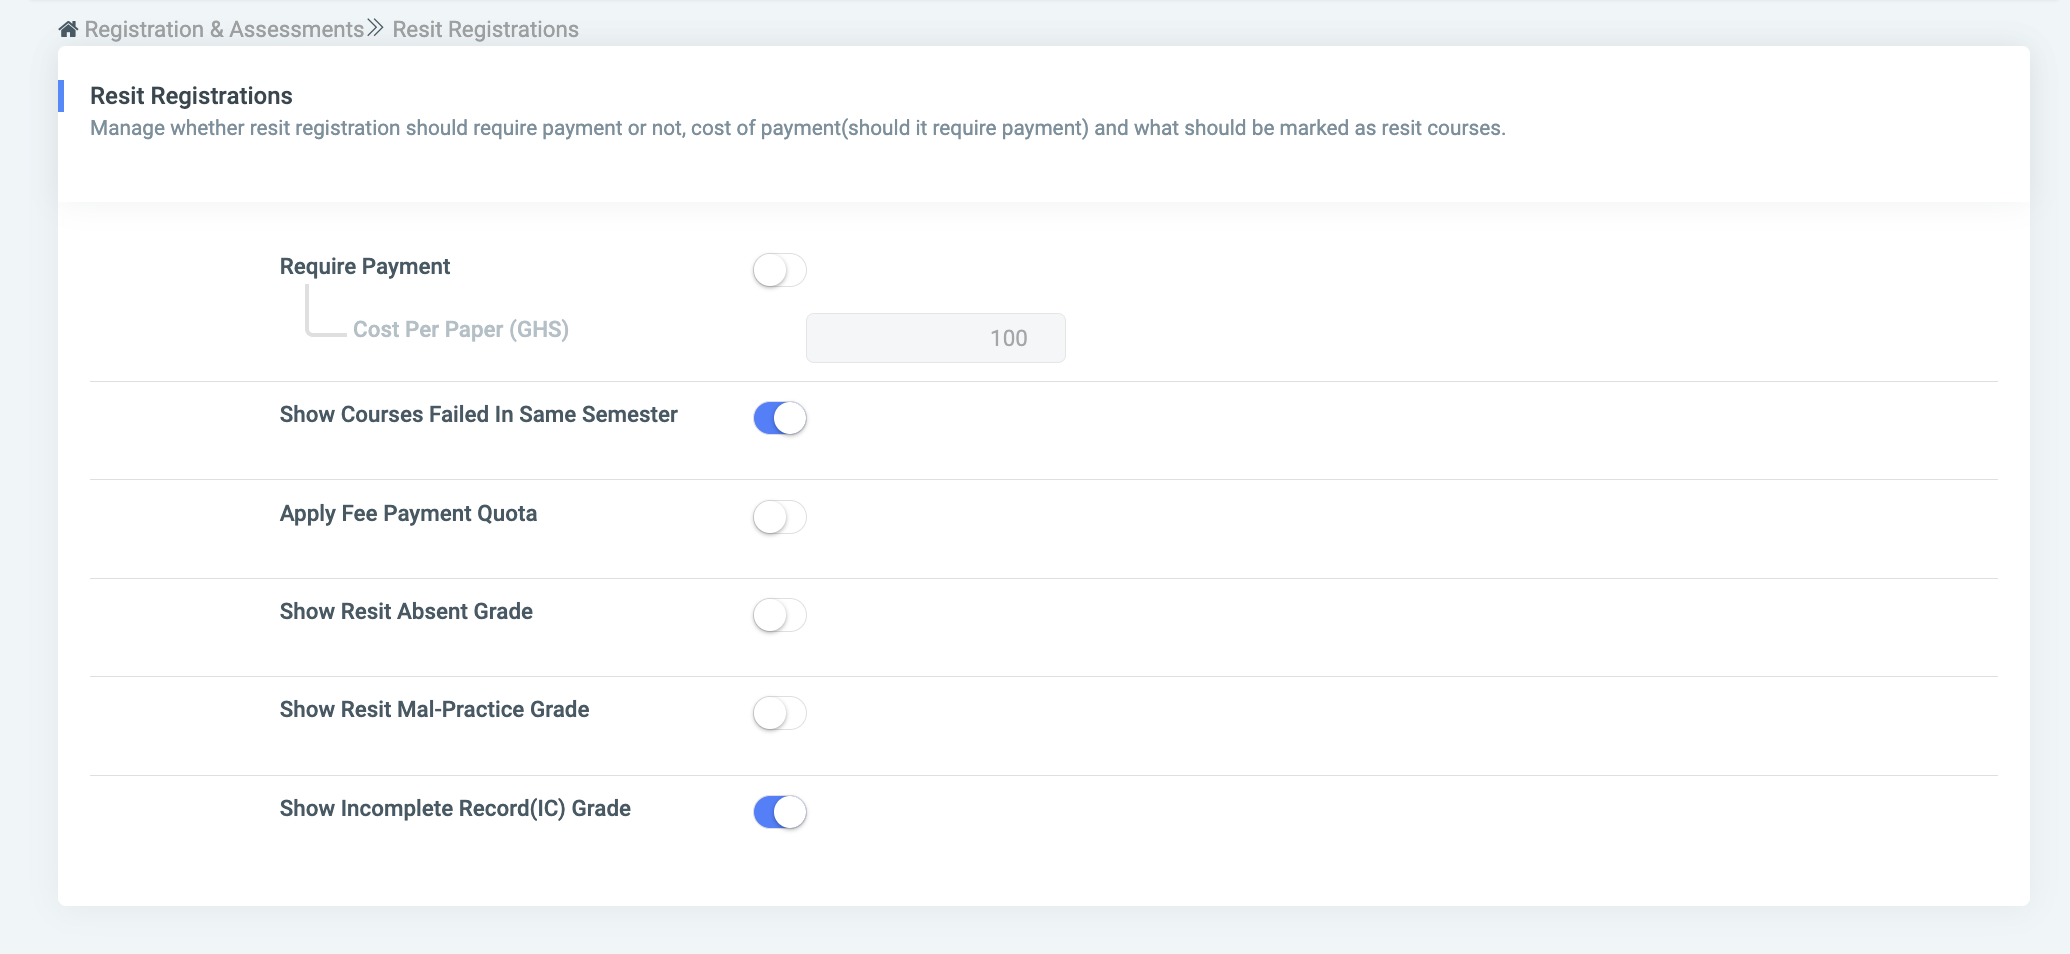
Resit Registrations: This configuration allows OSIS to require payment upon resit registration or what courses should be marked as such.
- Require Payment: Determine a fixed sum that needs to be paid for each resit course.
- Show Courses Failed In Same Semester: Display trailed course(s) in the semester(s) they were trailed in.
- Apply Fee Payment Quota: Toggle the button for a percentage of the school fee payment on student resit registration.
- Show Resit Abscent Grade:
- Show Resit Mal-Practice Grade:
- Show Incomplete Record(IC) Grade:
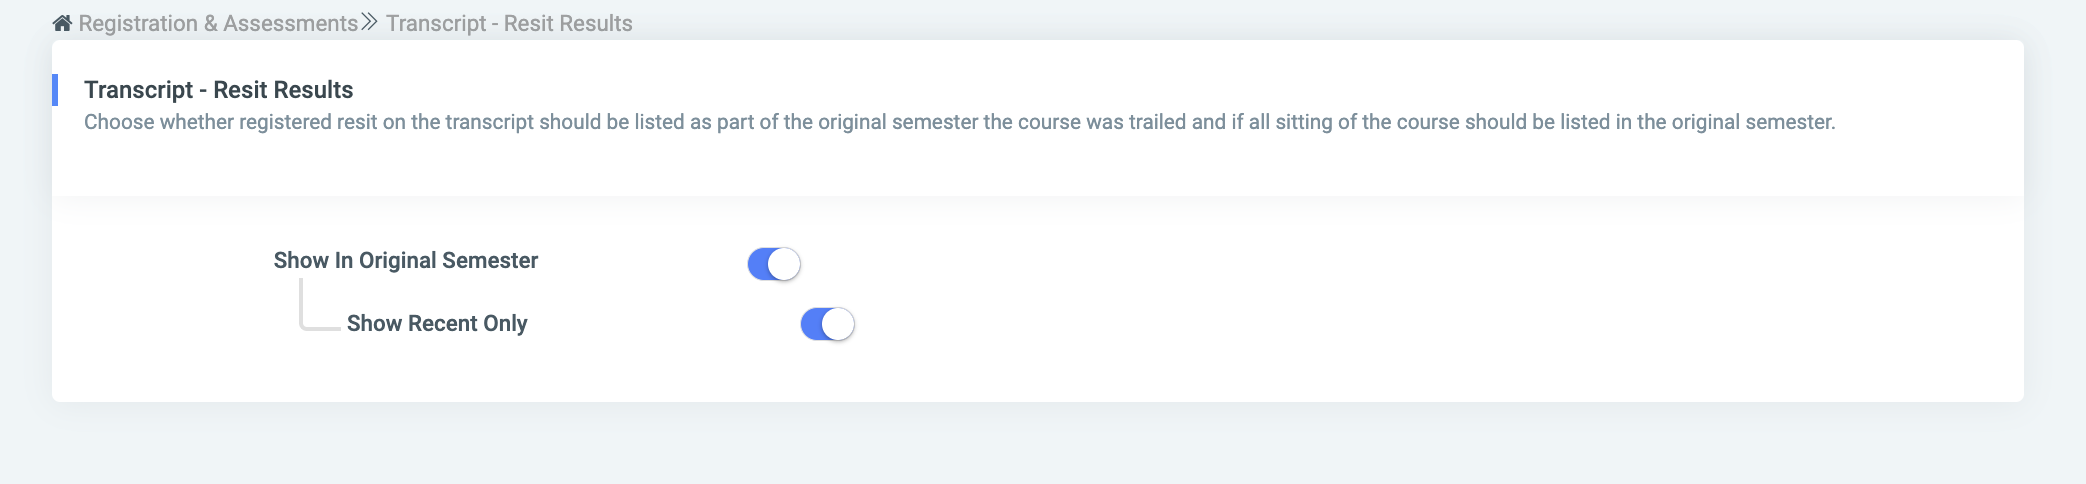
Transcripts – Resit Results: This configuration allows the user to choose to display trailed courses in their original semester and decide if
- The trailed course(s) that were registered should be displayed in the original semester the course was taken along with the current semester – Show In Original Semester. OR
- Display the registered resit in the current semester only – Show Recent Only.
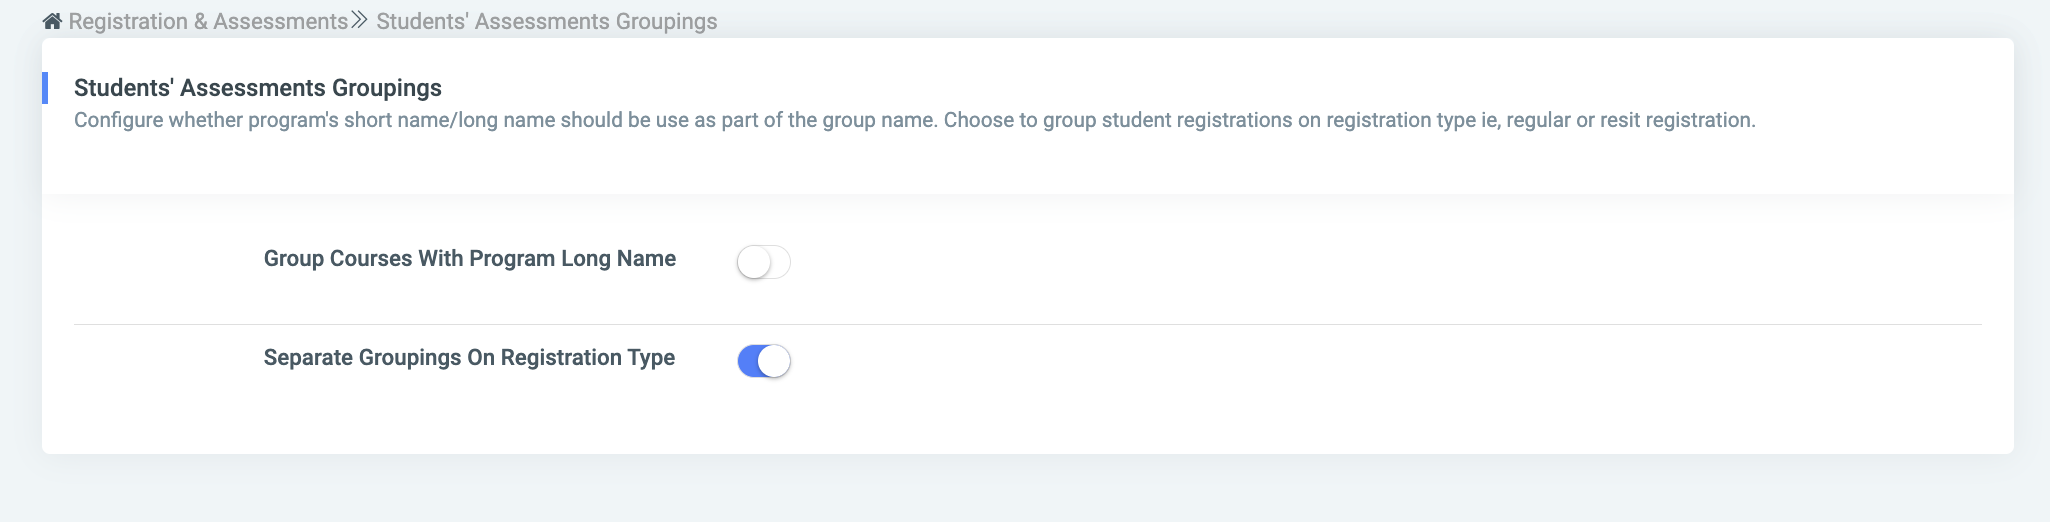
Students’ Assessment Groupings: This setting will allow the user to choose whether to include long or short names as part of group names as part of the grouping process. By default, the short names are used.
Group Courses With Program Long Name: Toggle this button to include long names as part of group names.
Separate Groupings On Registration Type: Toggle this button to group students on their registration type. Either on Regular or Resit registration.
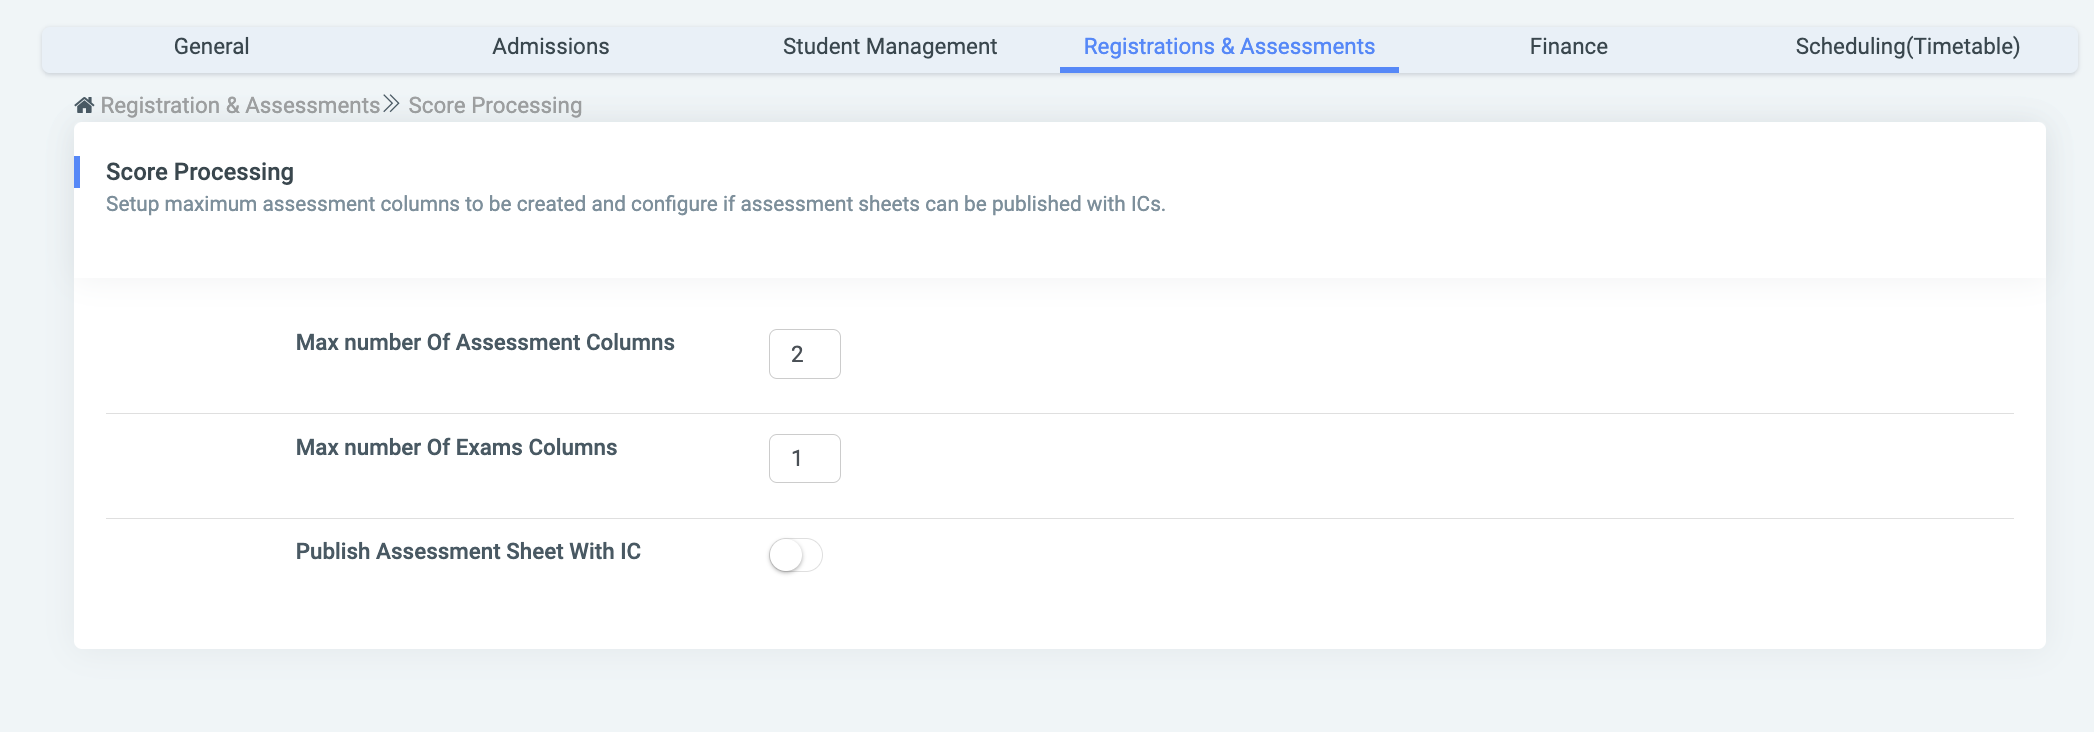
Score Processing: This configuration allows the user to set up the maximum number of assessment columns to be created on the assessment sheets. Also, it makes provision for the publishing of sheets with IC grades.
Max number Of Assessment Columns: Configure the number of assessment columns.
Max Number of Exams Columns: Configure the number of Exam columns.
Publish Assessment Sheet With IC: Toggle to allow for the publication of sheets with ICs.
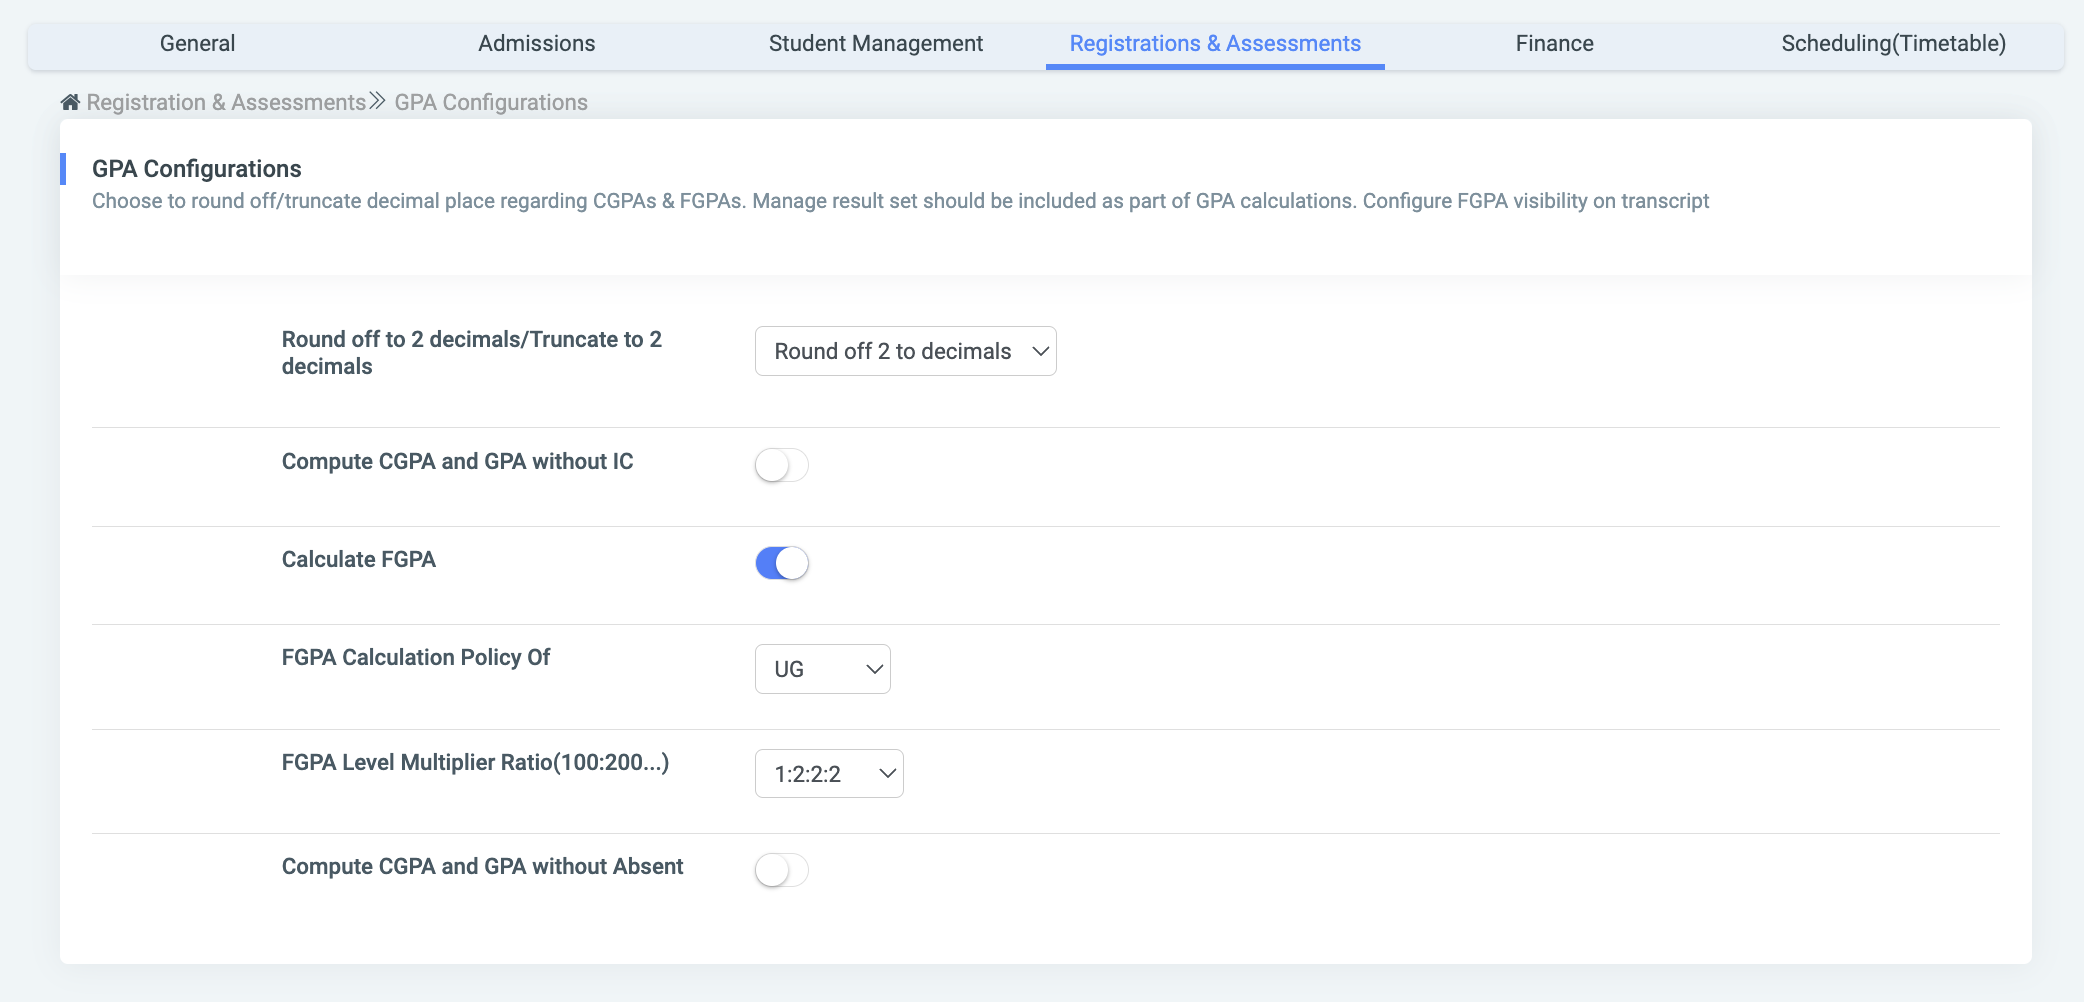
GPA Configurations: This setting allows you to choose how to round off or truncate decimal places regarding CGPAs and FGPAs and to manage FGPA visibility on transcripts.
Round off to 2 decimals/Truncate to 2 decimals: Round off or truncate CGPAs and FGPAs to 2 decimal places.
Compute CGPA and GPA without IC: This setting controls how GPA computations are done concerning IC results. Schools may choose to have IC records skipped during the calculations or included in the outcome. When turned on, IC credits do not count towards the GPA or CGPA computed.
Calculate FGPA: Display FGPAs on transcripts.
FGPA Calculation Policy Of: Implement the FGPA of an affiliate institution.
FGPA Level Multiplier Ratio(100:200…): In some schools, levels play a part in FGPA calculations. In such cases, ratios are assigned each level resulting in a difference in importance/value
Compute CGPA and GPA without Absent: When turned on, excludes results with “absent grades” from the computations. A grade may be marked as an absent grade in the grading schemes (see Assessment => Grading Schemes). The credits for results with absent grades don’t count toward the calculations.
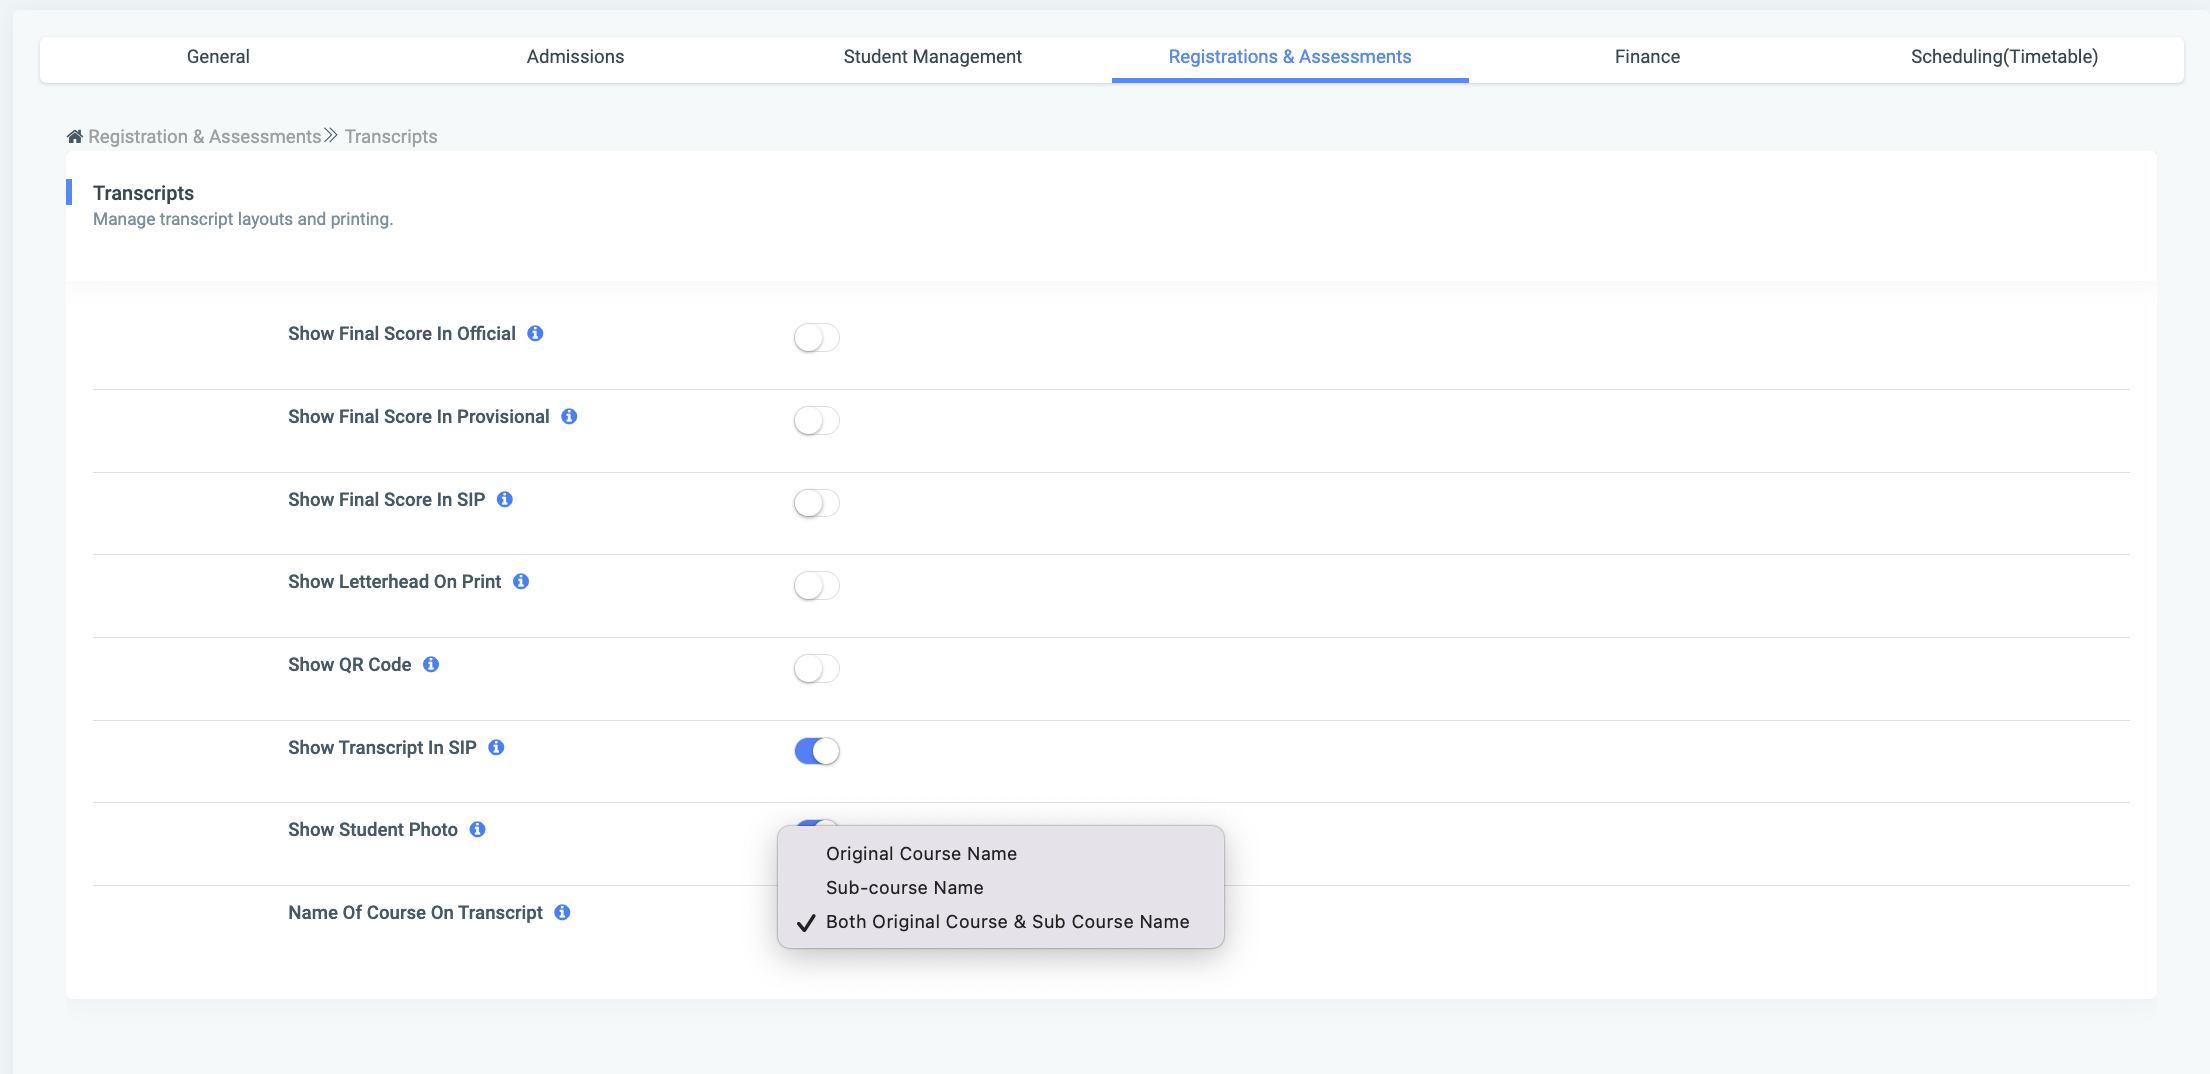
Transcripts: This setting helps to control the display of elements on transcripts.
Show Final Score On Official: This will show the final scores on the official transcripts when it is active.
Show Final Score On Provisional: This will show the final scores on the online transcripts when it is active.
Show Final Score In SIP: This will show the final scores in SIP.
Show Letterhead On Print: When active this will attach the school’s letterhead when the print command is initiated.
Show Transcript In SIP: When turned on or off, would show or hide transcripts in SIP.
Show Student Photo: When turned on, would display student photos on the transcripts. When disabled, would take them off.
Name of Course On Transcript: There are three options under this setting. They are Original Course Name: Choose this option to Show the actual course name (Either the name of the Simple course or the umbrella course name). Sub-course name: Choose this option to display the name of the sub-course(s) on the students’ transcripts. Sub-courses belong to umbrella courses. Both Original Course & Sub-Course Name: Choose this option to display umbrella courses along with sub-courses. This will exclude simple courses since sub-courses cannot be set up under a simple course.
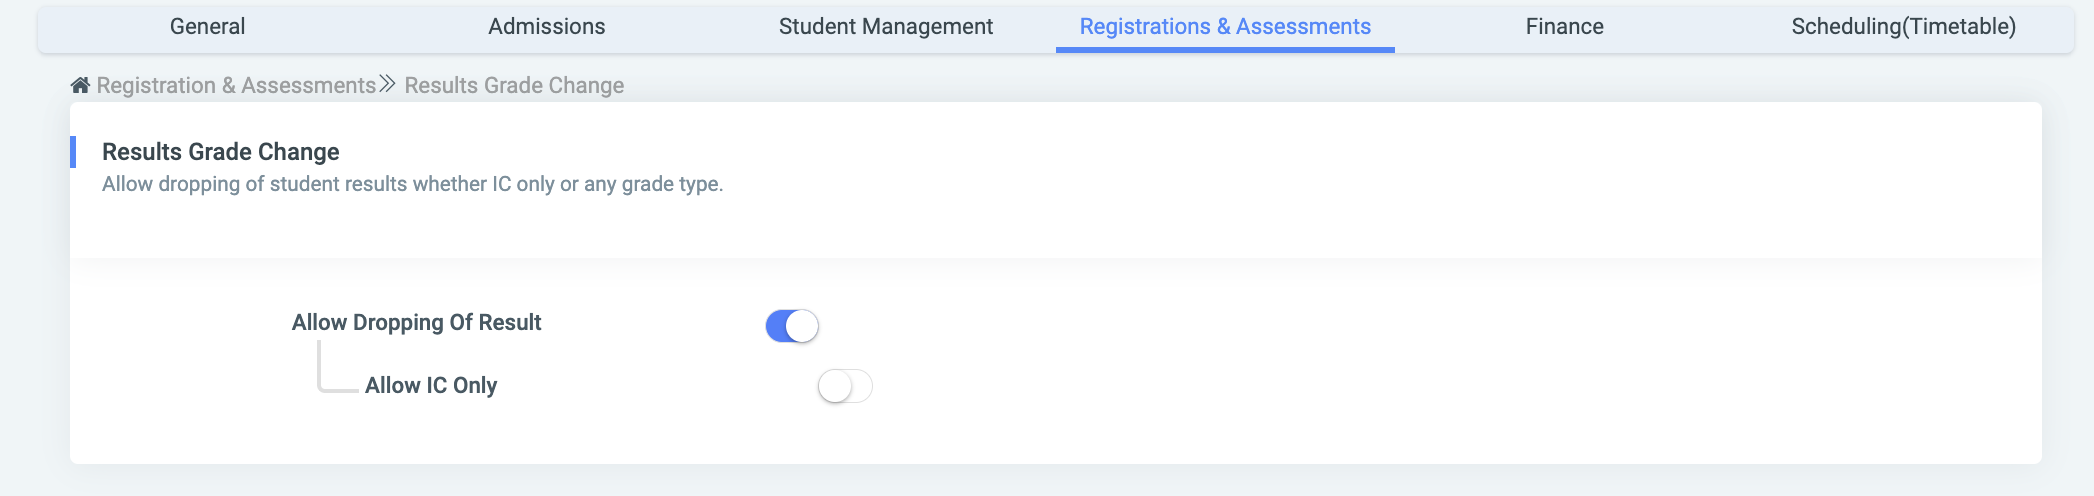
Results Grade Change: This configuration controls the dropping of courses on student transcripts. Be it incomplete or graded.
Allow Dropping of Result: When active, this would allow one to delete results; regardless of the type of grade.
Allow IC Only: When active, this would allow one to drop IC grades only.
Finance:
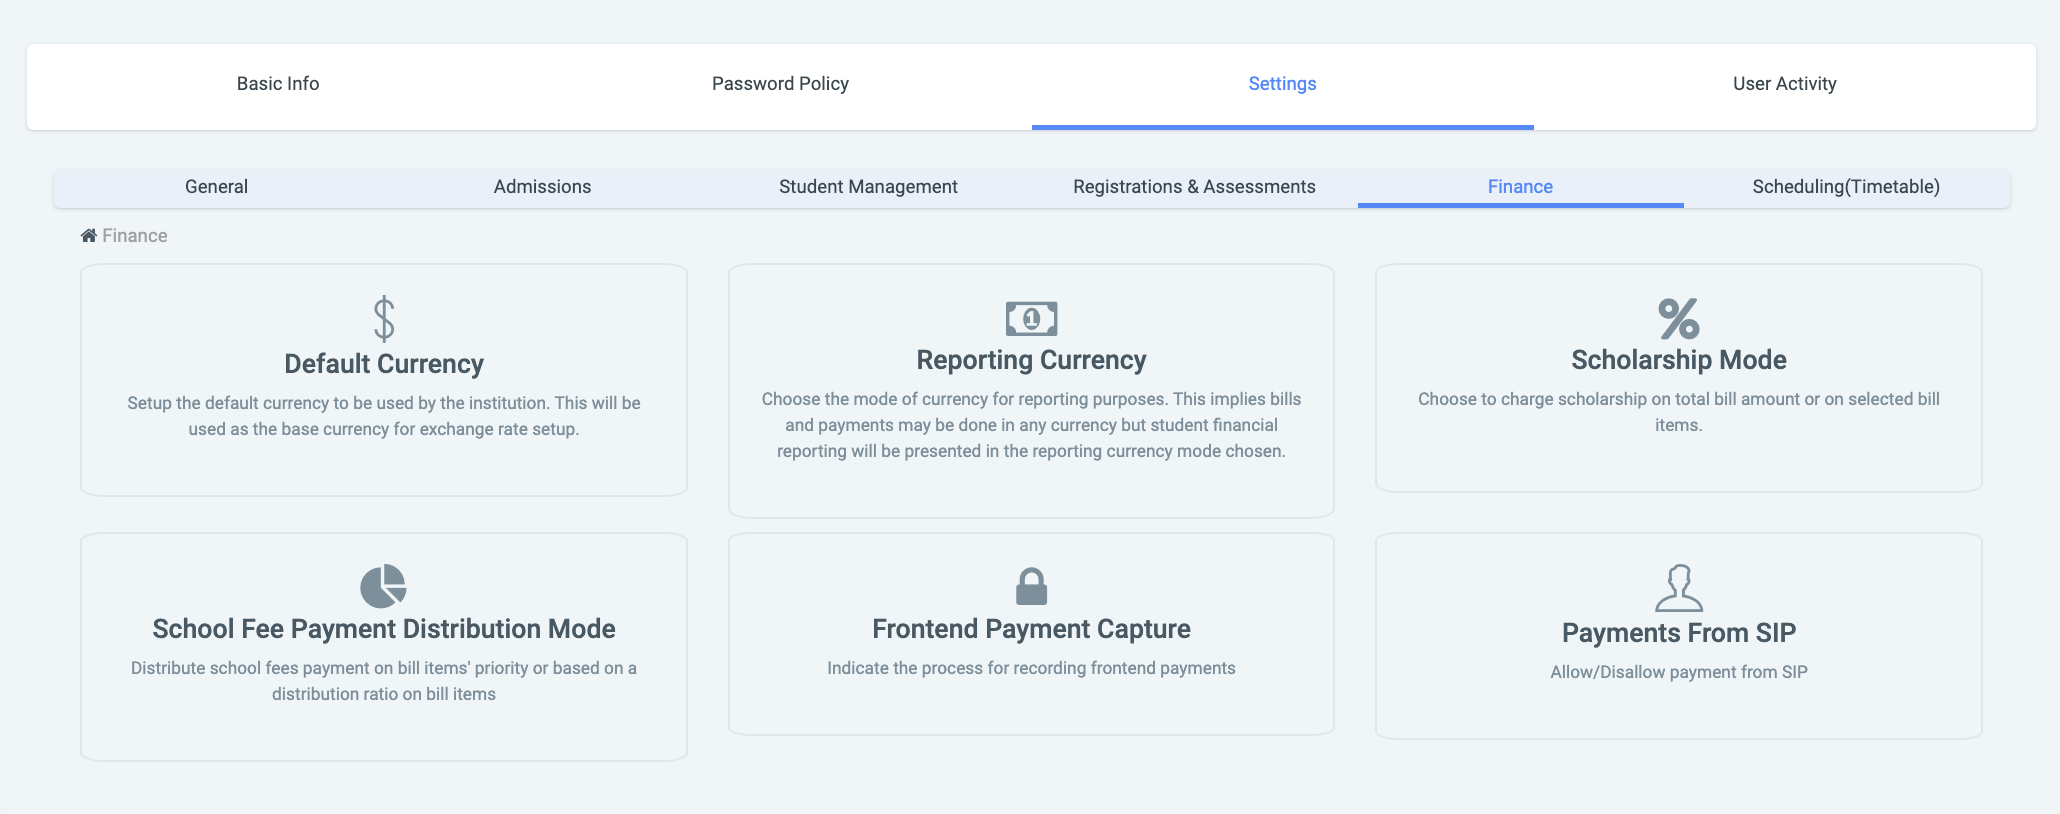
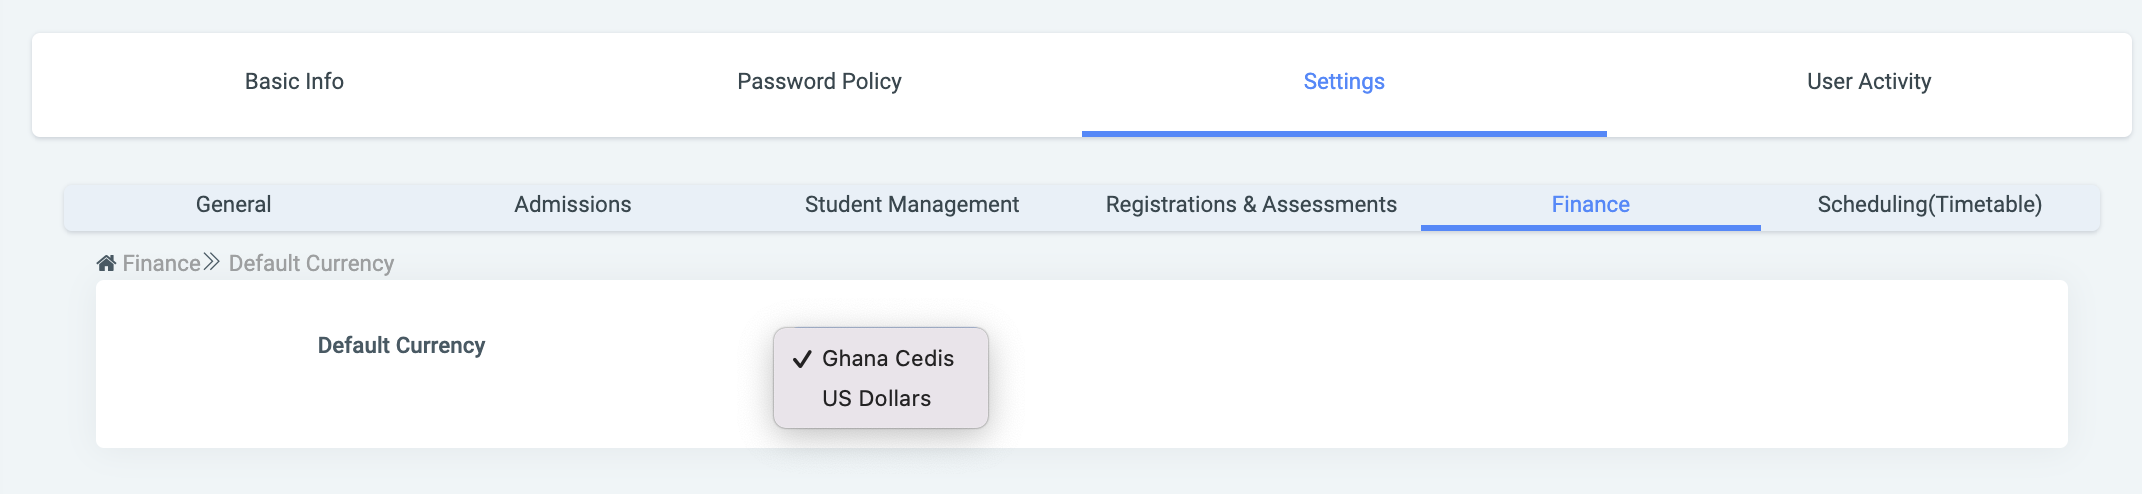
Default currency: This setting allows the school to set up its default currency. This would be used as the base currency for their exchange rate setup.
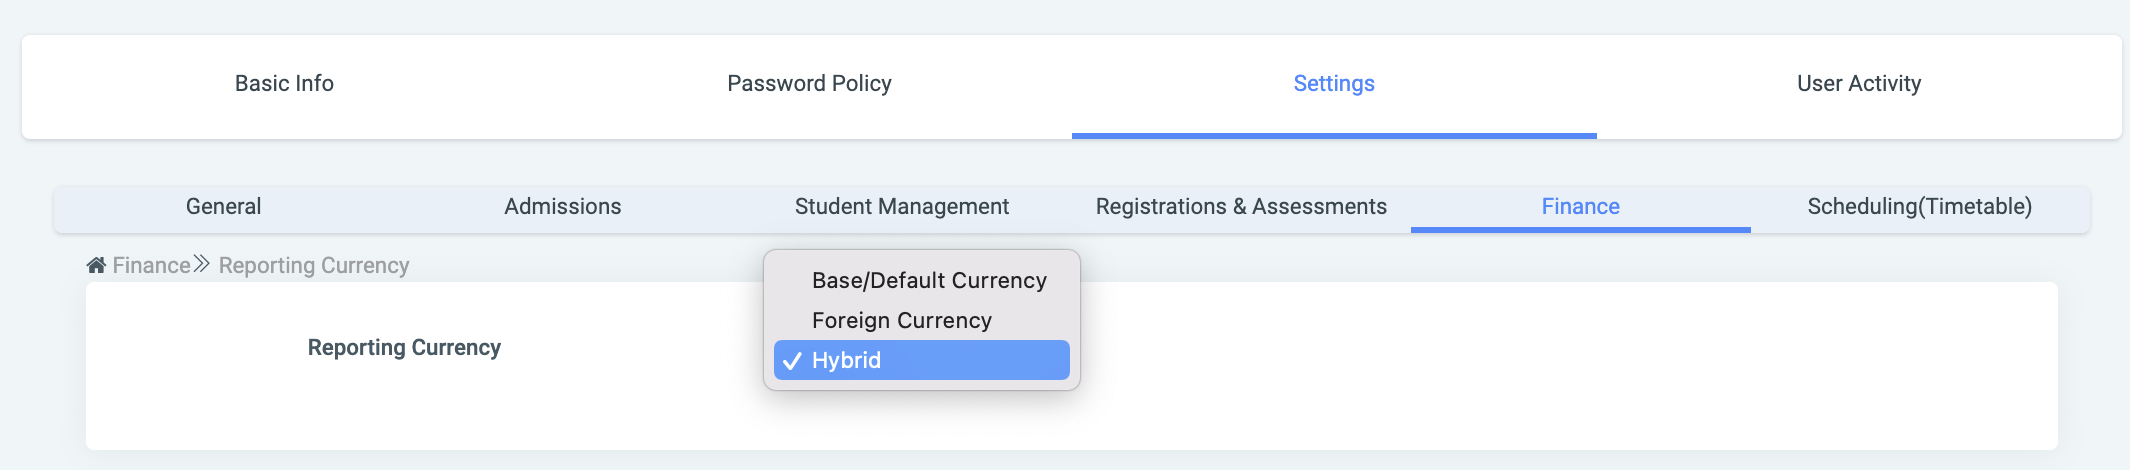
Reporting Currency: This setting allows schools to configure what types of currencies they want to be displayed on the various financial reports.
Scholarship Mode: This configuration helps to decide whether to deduct scholarship charges from total bill amounts or on selected bill items.

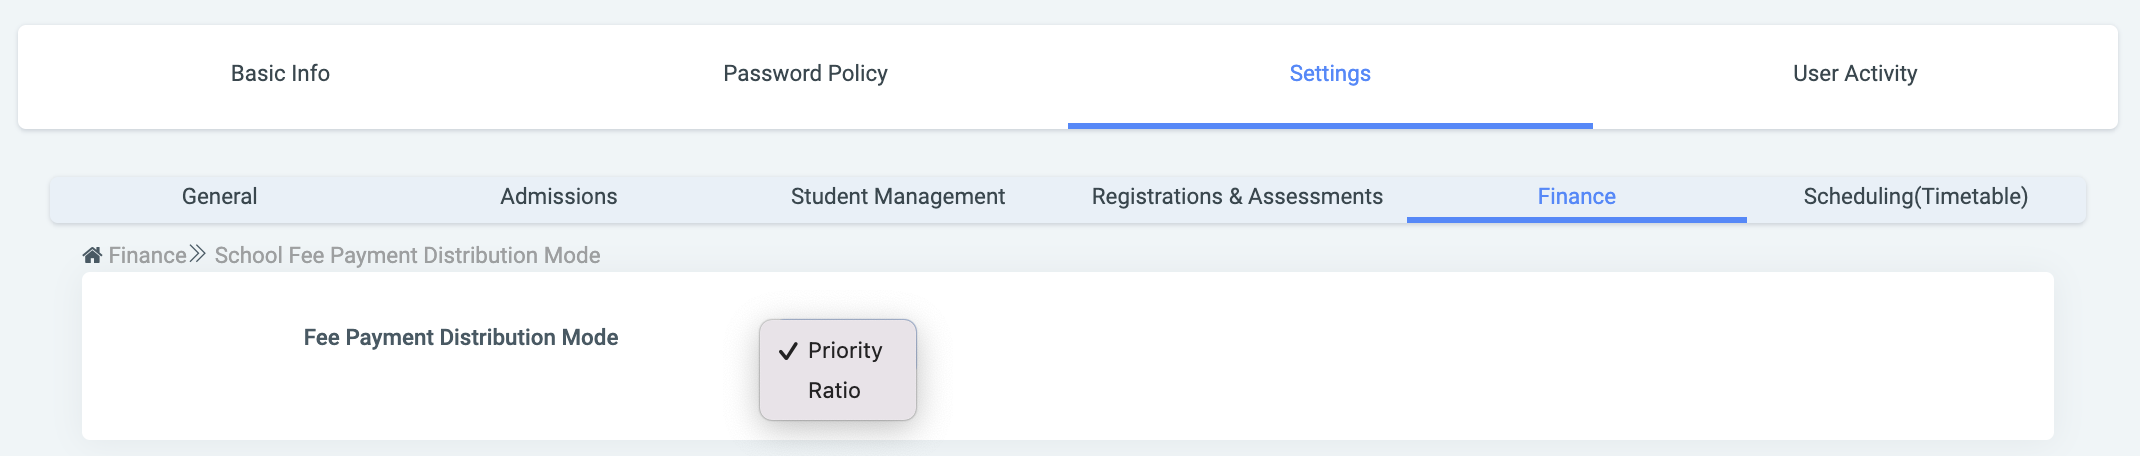
School Fee Payment Distribution Mode: This configuration allows the institution to decide on whether to distribute school fee payment on bill items’ priority (1-2-3…) or based on a distribution ratio on bill items.
Frontend Payment Capture: This setting, when enabled activates the review and approval stages when a frontend payment request is made.

Payments From SIP: Turn this setting on to enable payment collections from SIP.

Scheduling(Timetable):
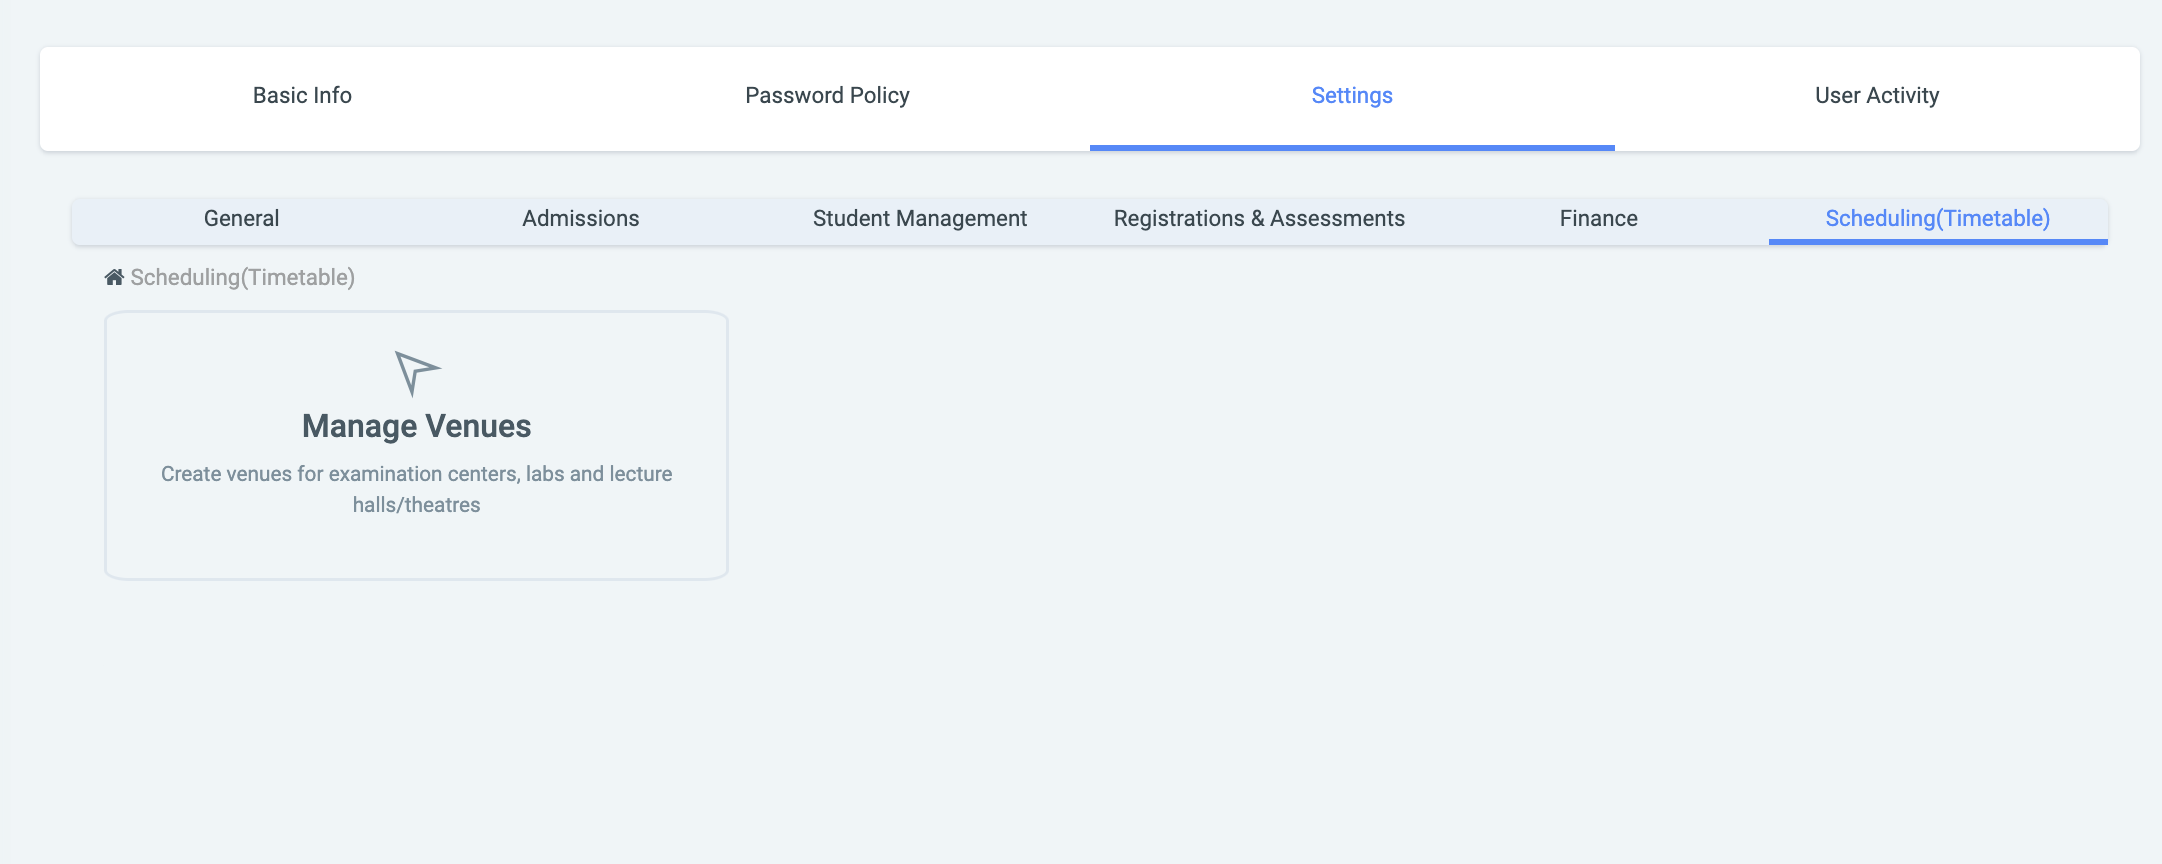
Manage Venues: This configuration helps to set up and manage venues.
✑ Click the Add New Venue button to add a venue to OSIS. The Add Venue modal comes with the following;
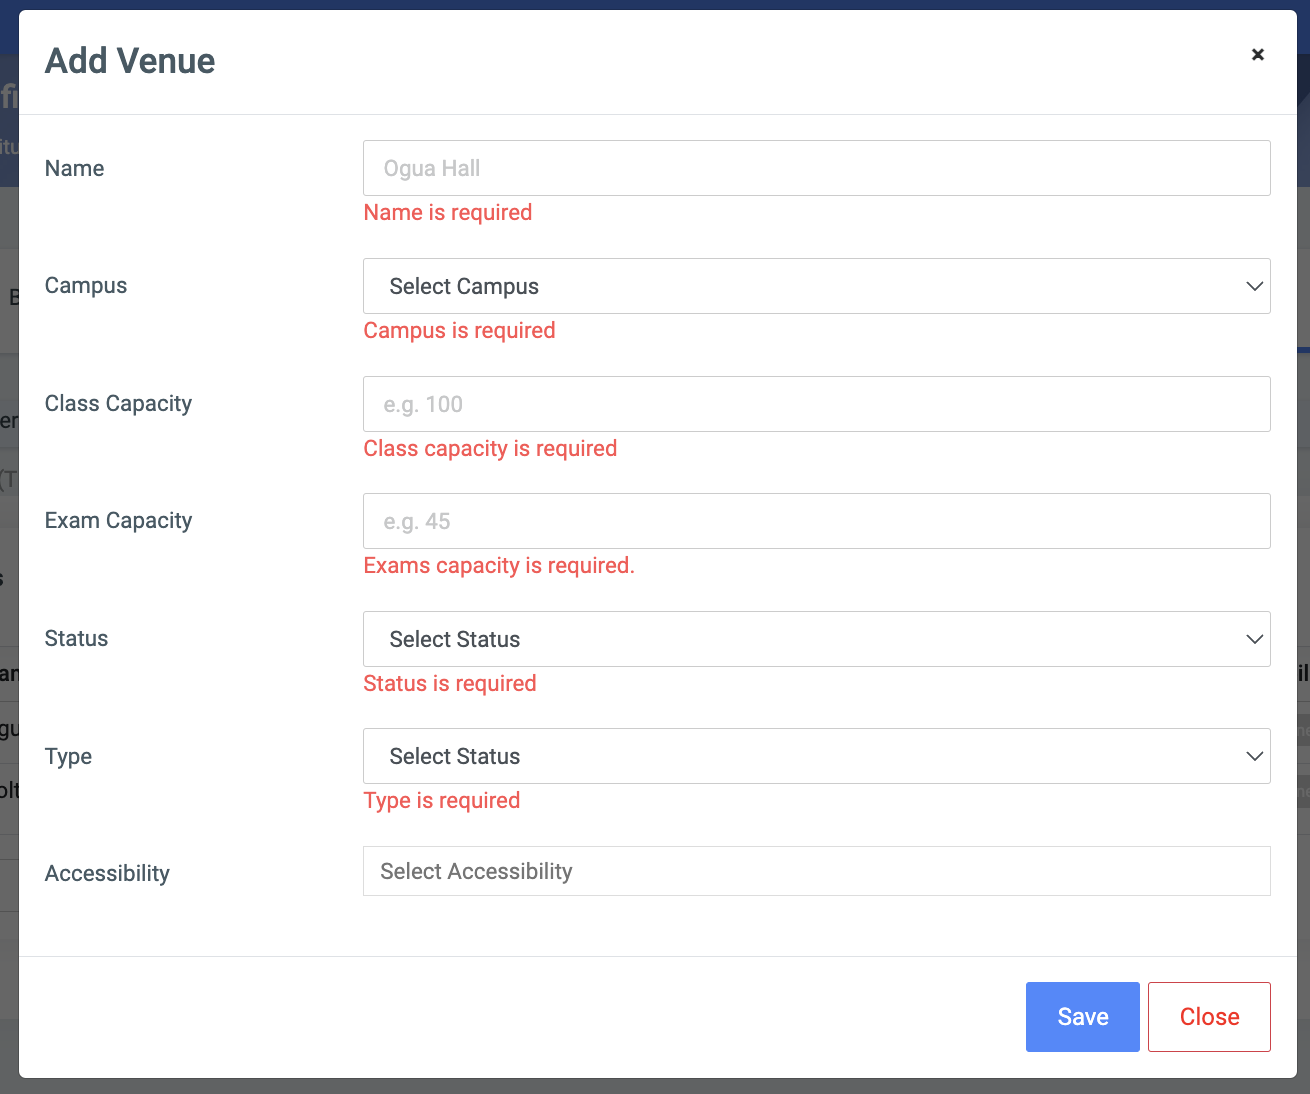
- Name: Input the name of the new venue.
- Campus: This provides a dropdown of all campuses to select which campus the venues are in. NB: The campus dropdown is populated from Manage Campuses.
- Class Capacity: The total number of students the venue can take. Eg. 50 students
- Exam Capacity: The total number of students best for exams in that venue. Eg. 25 students
- Status: A dropdown to select whether the venue is Active and Dormant.
- Type: A dropdown to select whether the venue is a Laboratory or Lecture hall.
- Handicap Account: Not required but if the venue can take any type of handicap, select from the dropdown.
✑ Click on Save to confirm actions.
✑ To search for a particular venue, Click on the Find Venue button and fill in the details for that venue by;
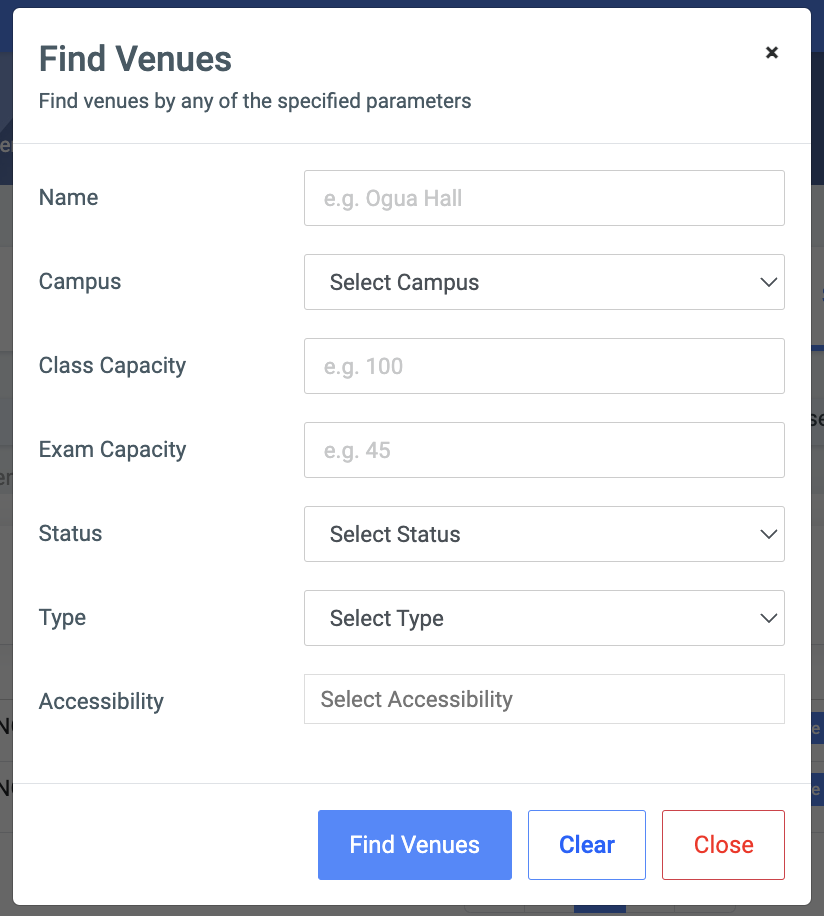
- Name.
- campus.
- Class Capacity.
- Exam Capacity.
- Status.
- Type.
- Handicap Account
✑ Click on the Find Venues button to confirm your actions
✑ Click on Clear to clear all fields,
✑ Click on Close to close the modal.
☛ Find Venue fields are optional. Fill in as many as can help in narrowing down and click the Find Venue button. Clicking the Find Venue button with no entries will show all existing Venues.
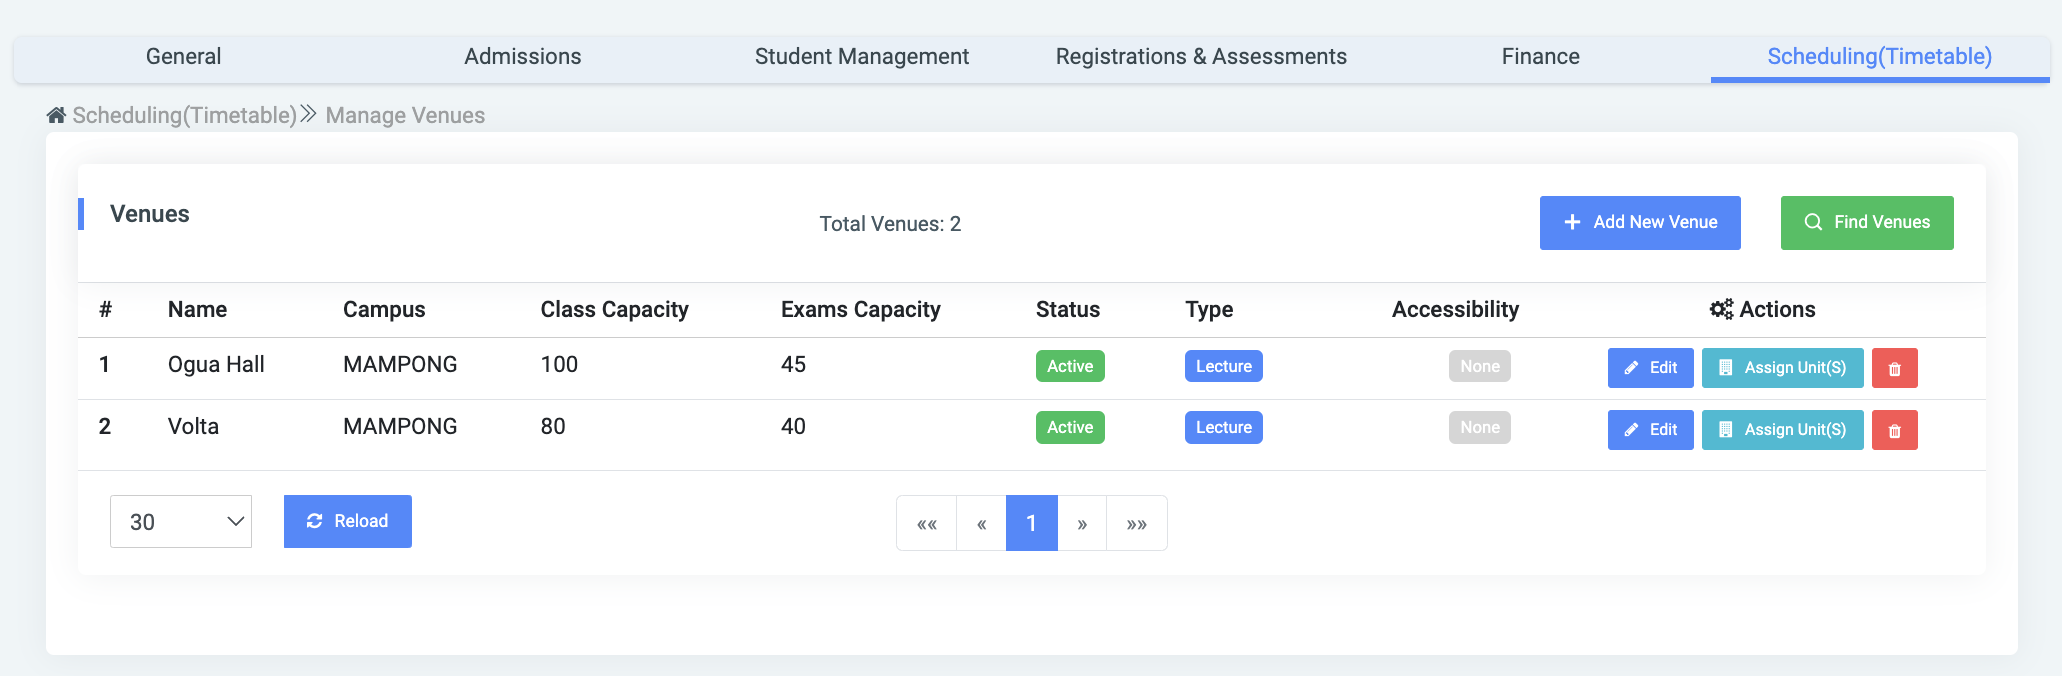
For each added venue, the user can Edit, Delete, and Assign a Unit.
✑ To Edit a course, click on the Edit button. 

Change the old entries from the Edit Venue form and click on the Save button.
✑ To Delete a course, click on the Delete button icon. 
✑ Click on the Delete Venue button from the modal popup to confirm your actions.
✑ To assign a venue to a particular Unit, click on the Assign Unit button. 
This displays an Assign Venue to Unit form which has the following;
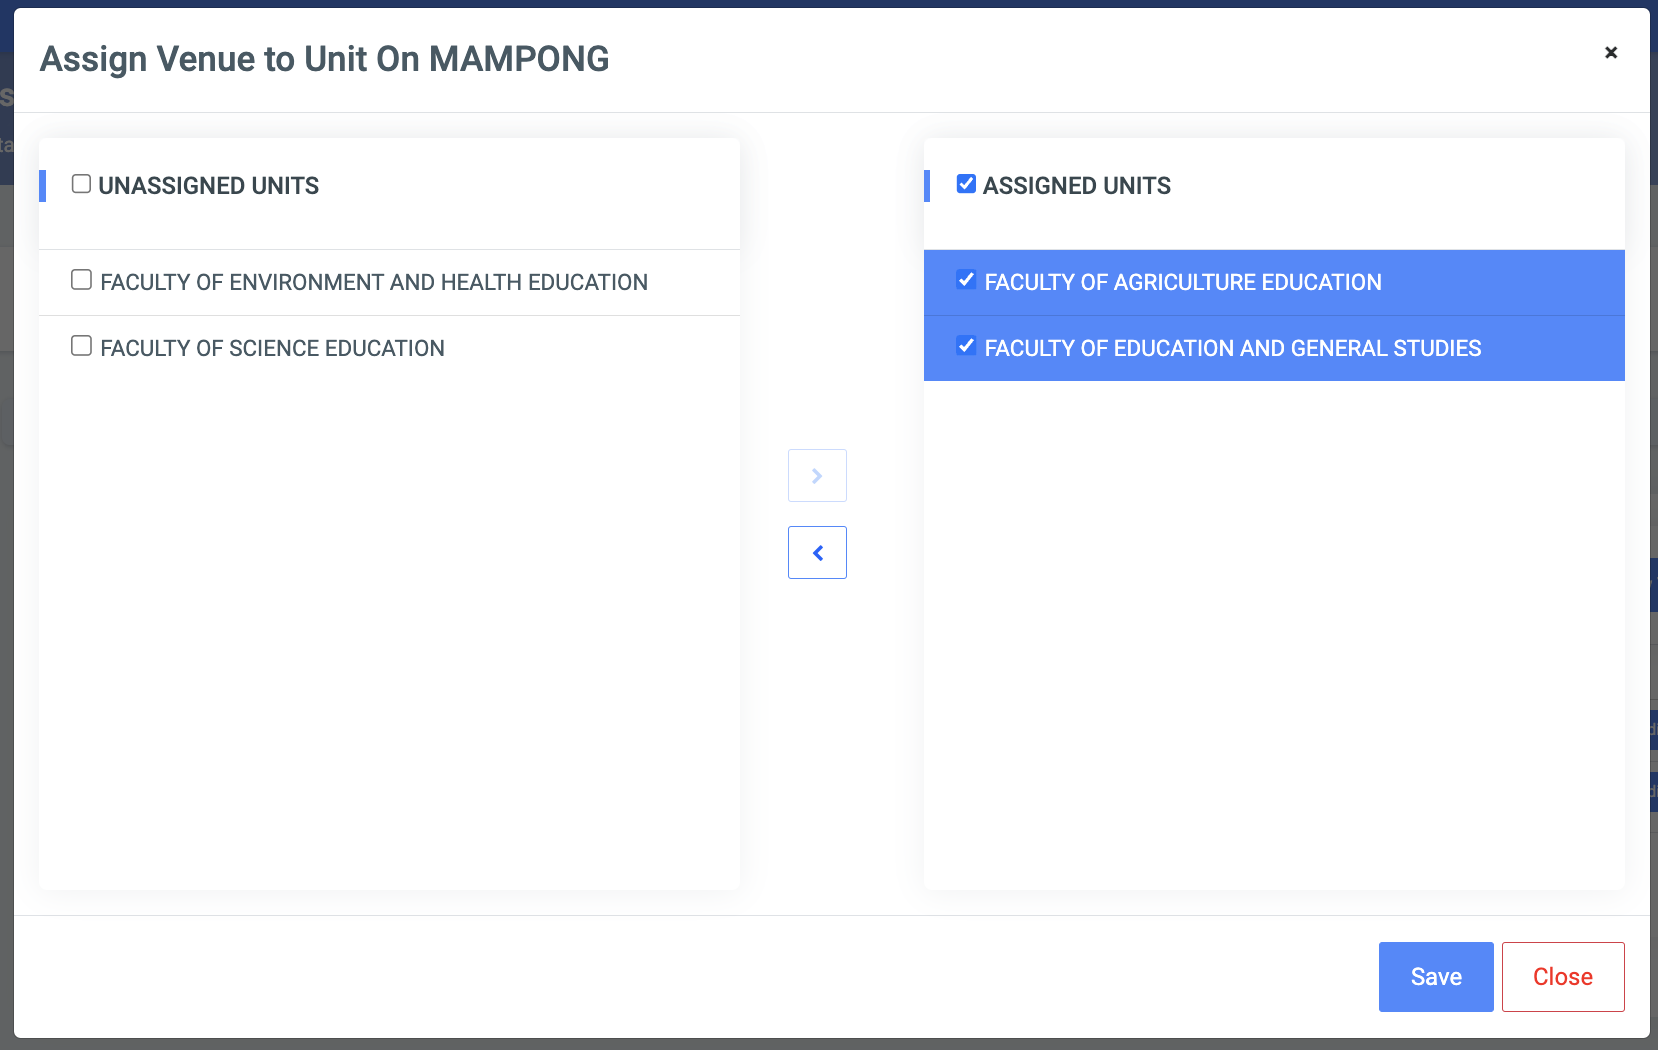
✑ Click on the Unassigned Faculties checkboxes to select preferred faculties, then click on the Greater Hand Sign to move faculties to Assigned Faculties.
✑ Click on Save to confirm actions.
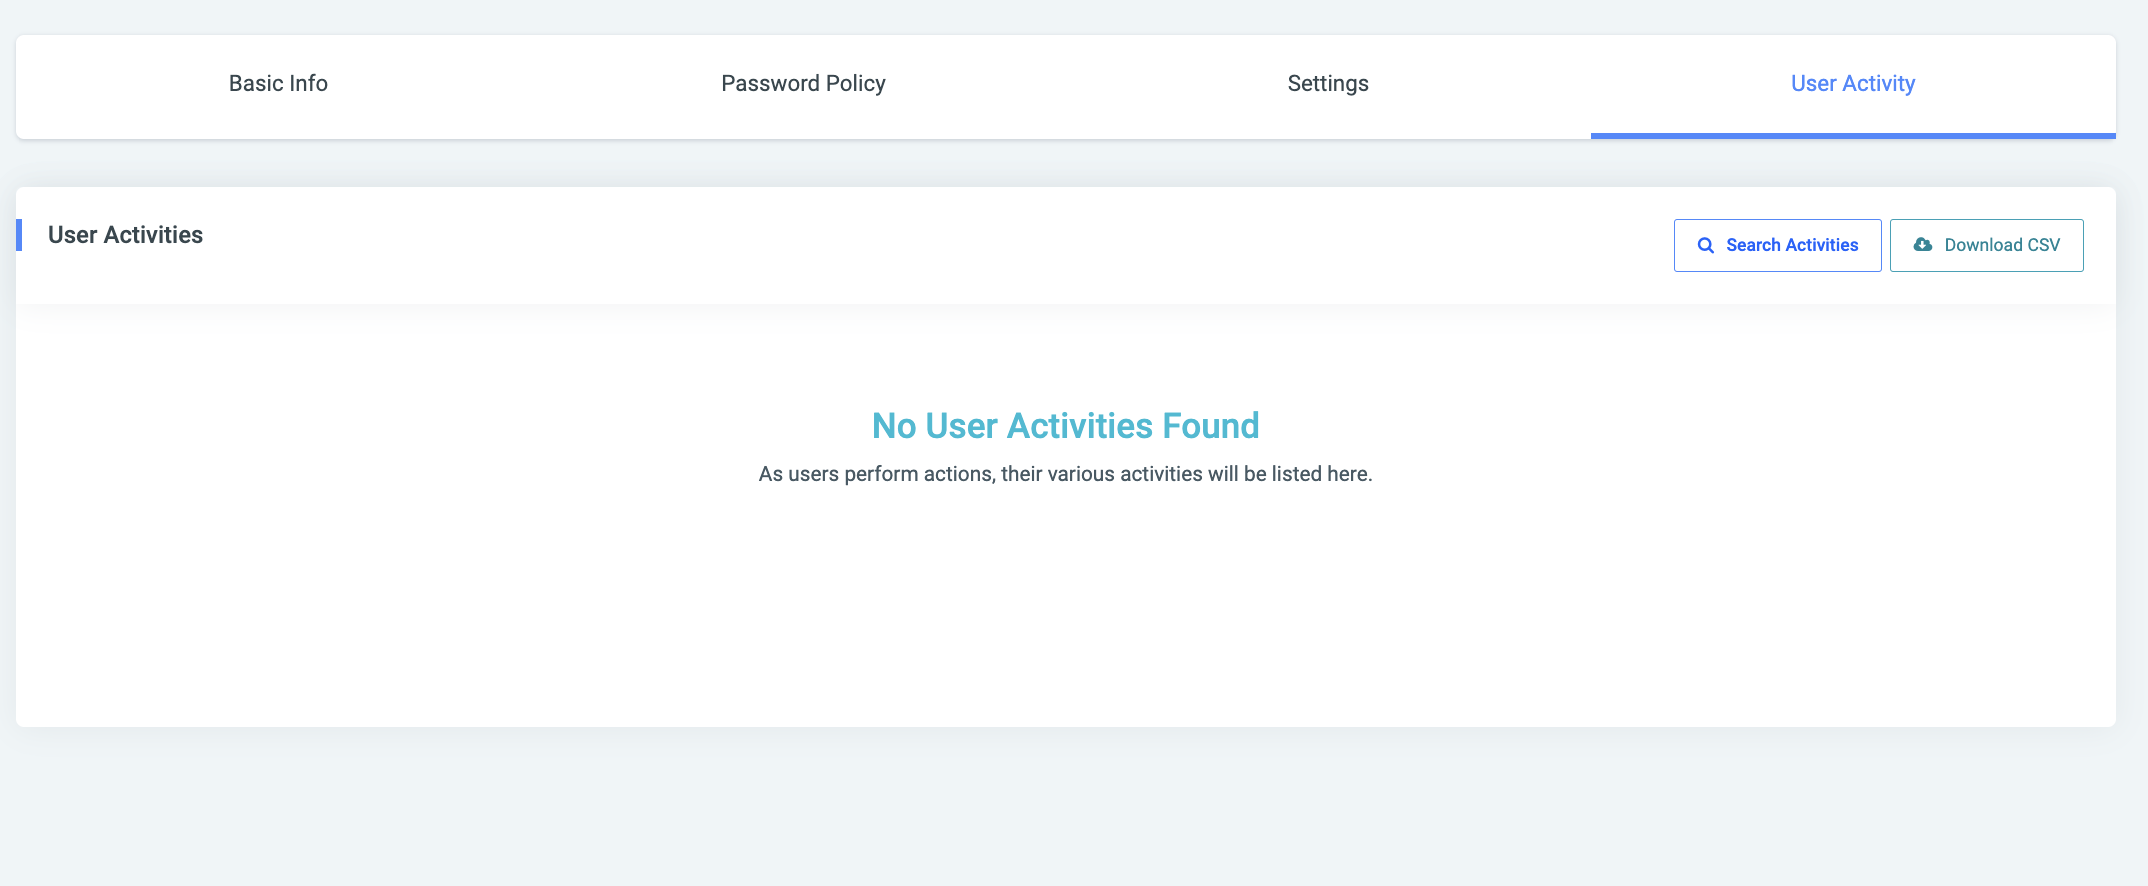
D. User Activity: This tab simply shows all activities of logged-in OSIS users. It helps keep track of whatever users do in OSIS. It provides you with a Search Activities button, where authorized OSIS users can search by the following fields:
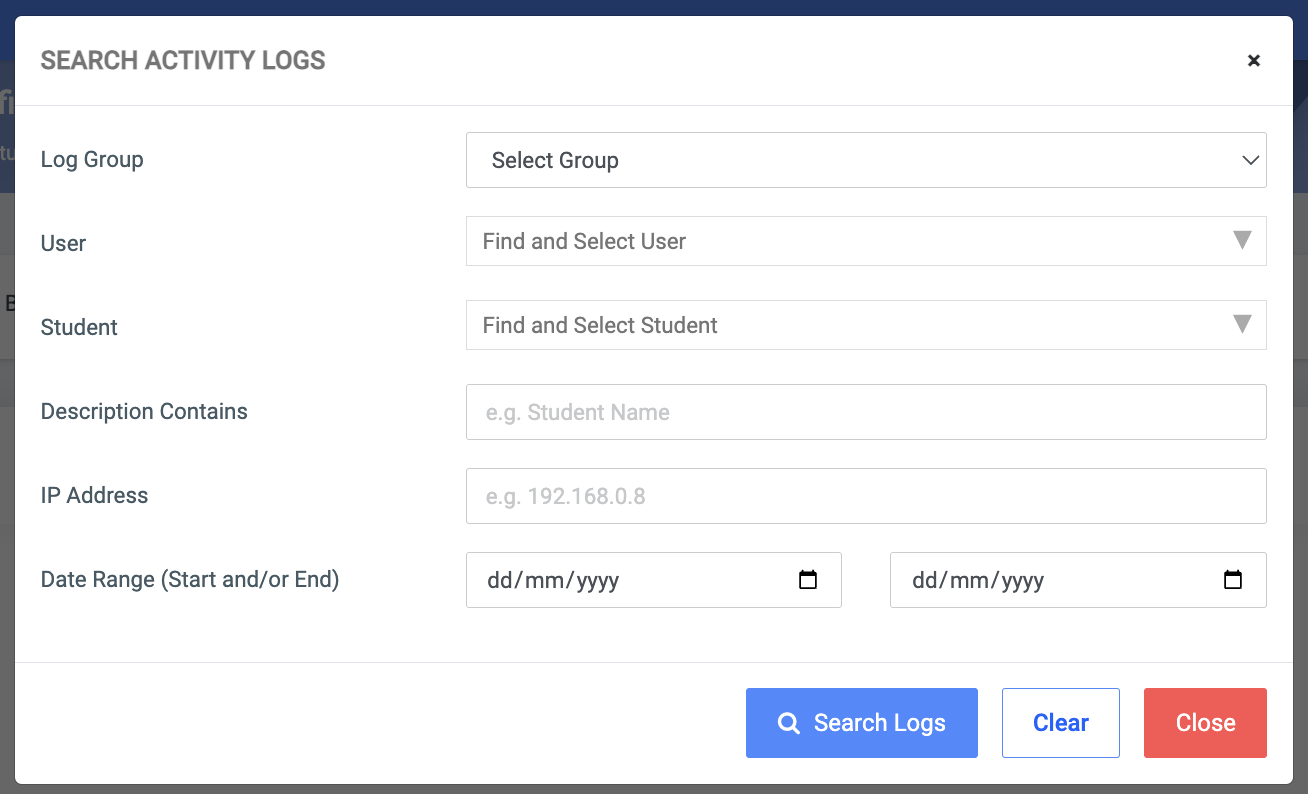
- Log Group: A dropdown list of OSIS major categories to find from. eg. Finance
- User: A dropdown list of all OSIS users to help search a specified user activity.
- Student: Helps filter specific student data logs.
- Description Contains: Helps filter by specific text contents.
- IP Address: Helps track the exact IP or machine that logged in to OSIS.
- Date Range (Start and/or End): Helps filter all activities by range giving the Start Date and End Date.
✑ Click on Search Logs to confirm actions.
Use the Download CSV button to download your search results.
☛ Search fields are optional. Fill in as many as can help in narrowing down and click the Search Logs button. Clicking the Search Logs button with no entries will show all OSIS logs’ activities from the current date activities to past date activities.