
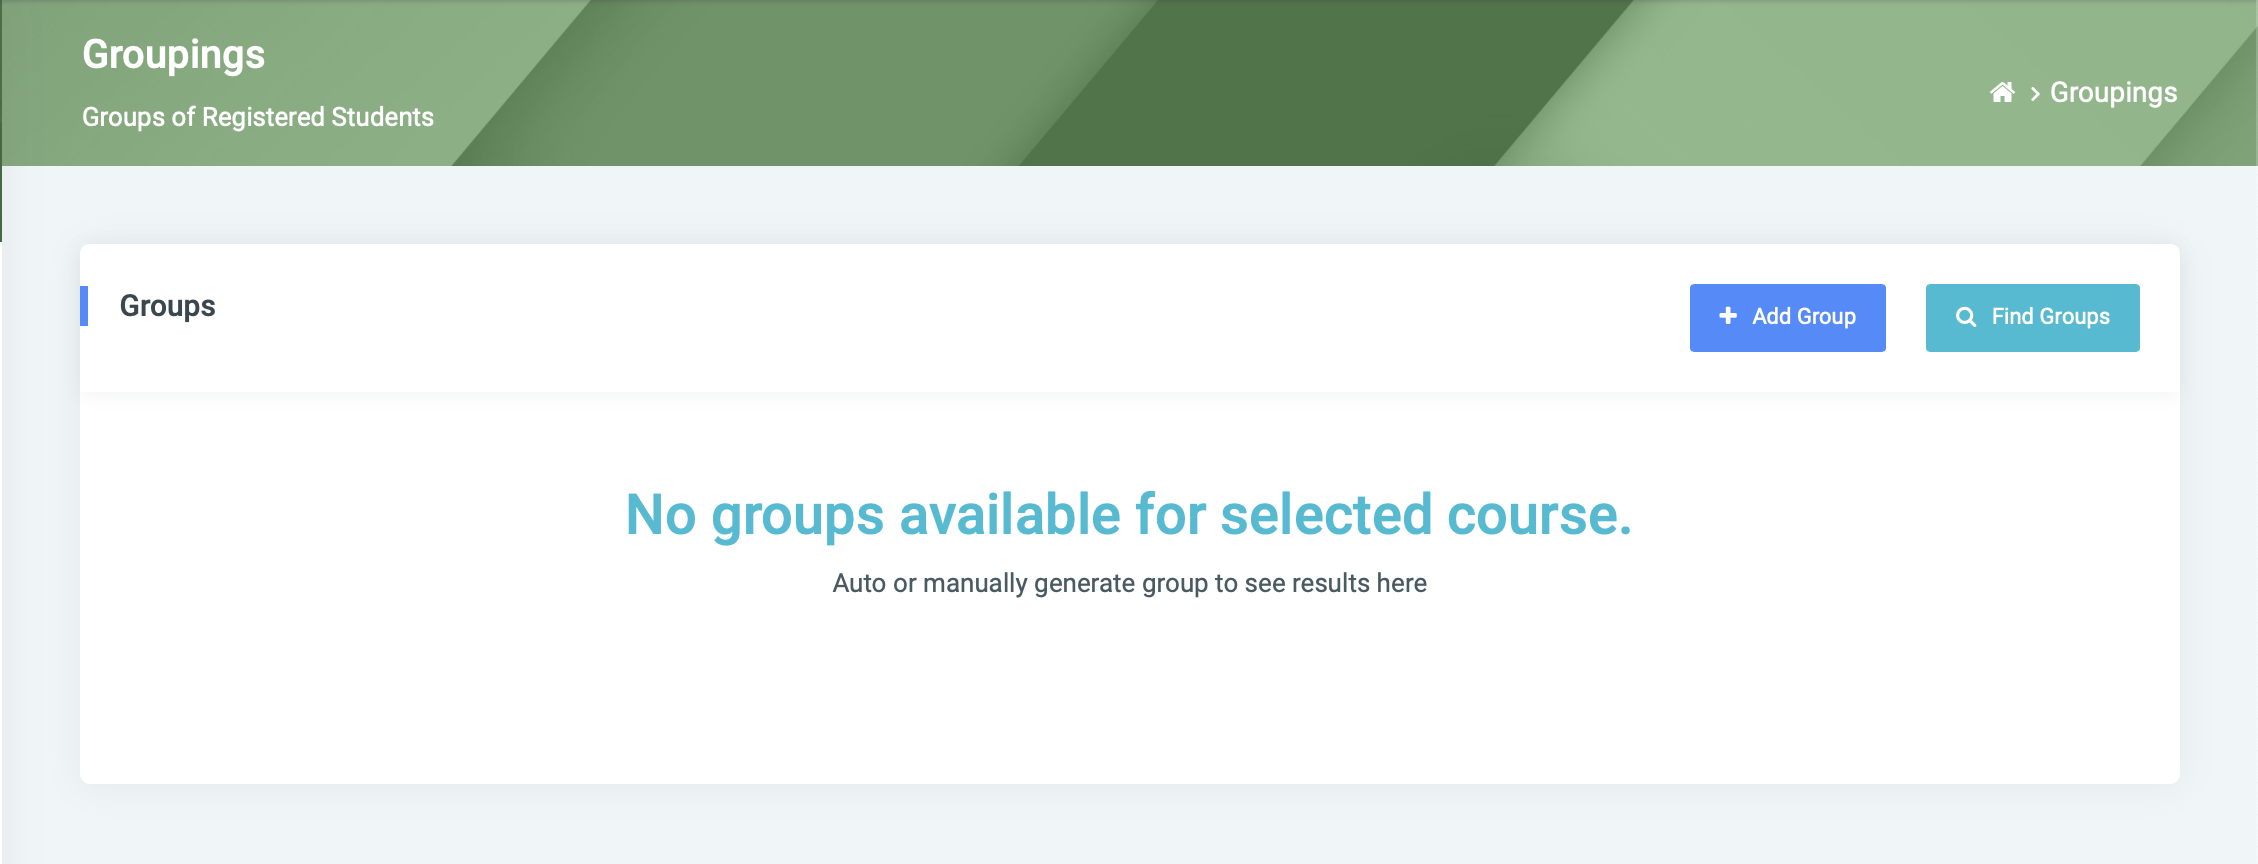
Groupings
This feature helps in creating Groups for courses.
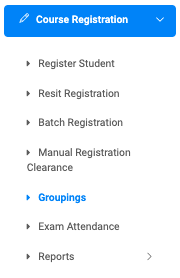
✑ From the OSIS sidebar, Click on the Groupings link under Course Registration.
From the top right of the Groupings page, you will see two(2) buttons, Add Group button, Find Group button.
✑ To add a new group, click on the Add Group button. The add group button comes with the following;

- Semester: This is a dropdown list of semesters.
- Course: Select course from dropdown search.
- Group Name: Enter the name of the group.
✑ Click Save Changes to confirm actions.
✑ To search for a particular course group, Click on the Find Group button and fill in the details for that course group by;
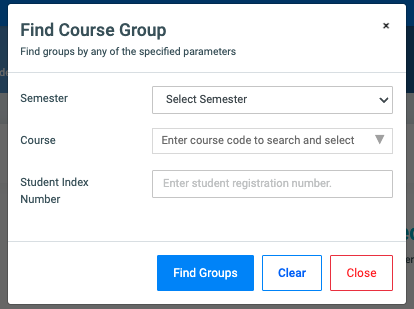
- Semester
- Course
- Student Index Number
✑ Click on Find Group button to confirm your actions, on Clear to clear all fields, and on Close to close the modal.
All Find Groups fields are optional. Fill in as many as can help in narrowing down and click the Find Group button. Clicking the Find Group button with no entries will show all existing course groups.
For each added Course group, the user can Regroup and View Students.

A. Click on the View Students button to show the details of students in that group. The details are as follows;
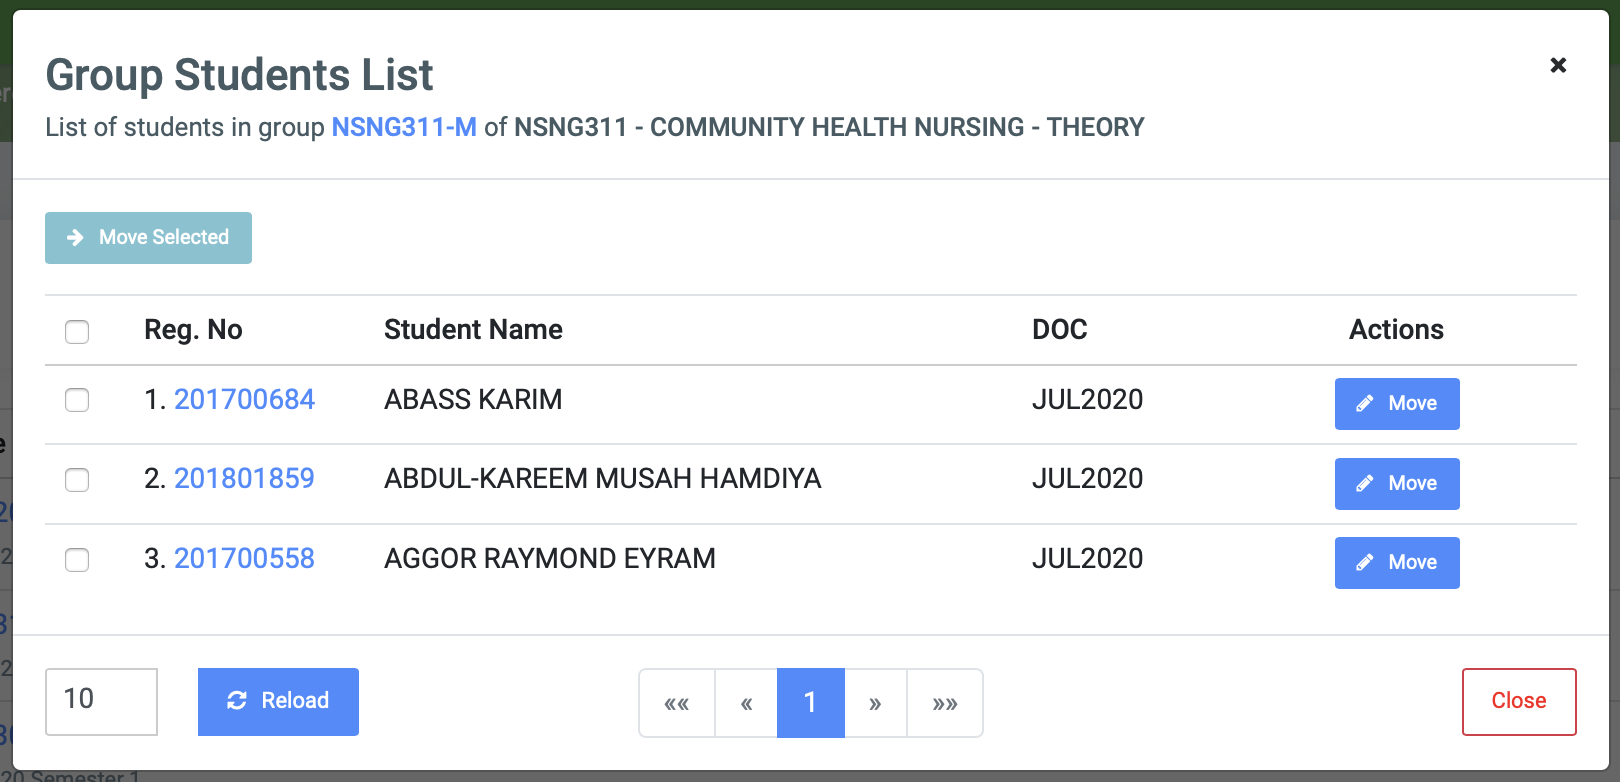
- Reg No,
- Student Name
- DOC
- Action: This field has a Move button for the purpose of moving selected students(Click the checkbox to select) to another group.
Users can move multiple Students, by checking the students’ checkboxes and clicking the Move Selected button at the top of the modal.
The process of moving students by clicking the Move or Move Selected button opens another modal with a dropdown list of other groups to move to.
✑ Click the Move Selected button to confirm actions.
✑ To edit a course group, click on the Edit button.
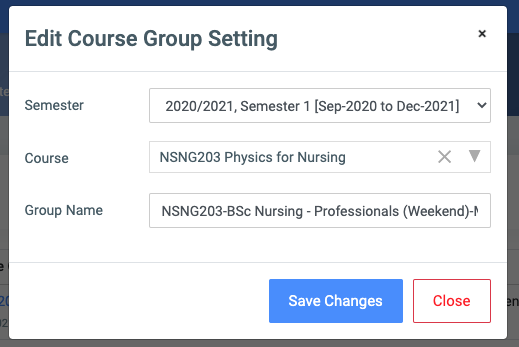
Change the old entries from the Edit Course Group Setting form and click on the Save Changes button.