Bulk upload of Applicant Records
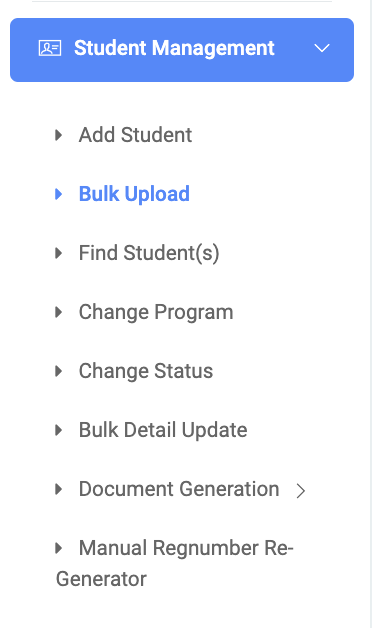
✑ From the OSIS sidebar, Click on the Bulk Upload of Applicant Records link under Assessment Management.
On the Bulk Upload Of Applicant Records page, there is a button, Upload Bulk Applicants on the top right.

☛ In other to upload bulk applicant records into data into OSIS for it to work perfectly, the upload needs to be in a certain format and structure.
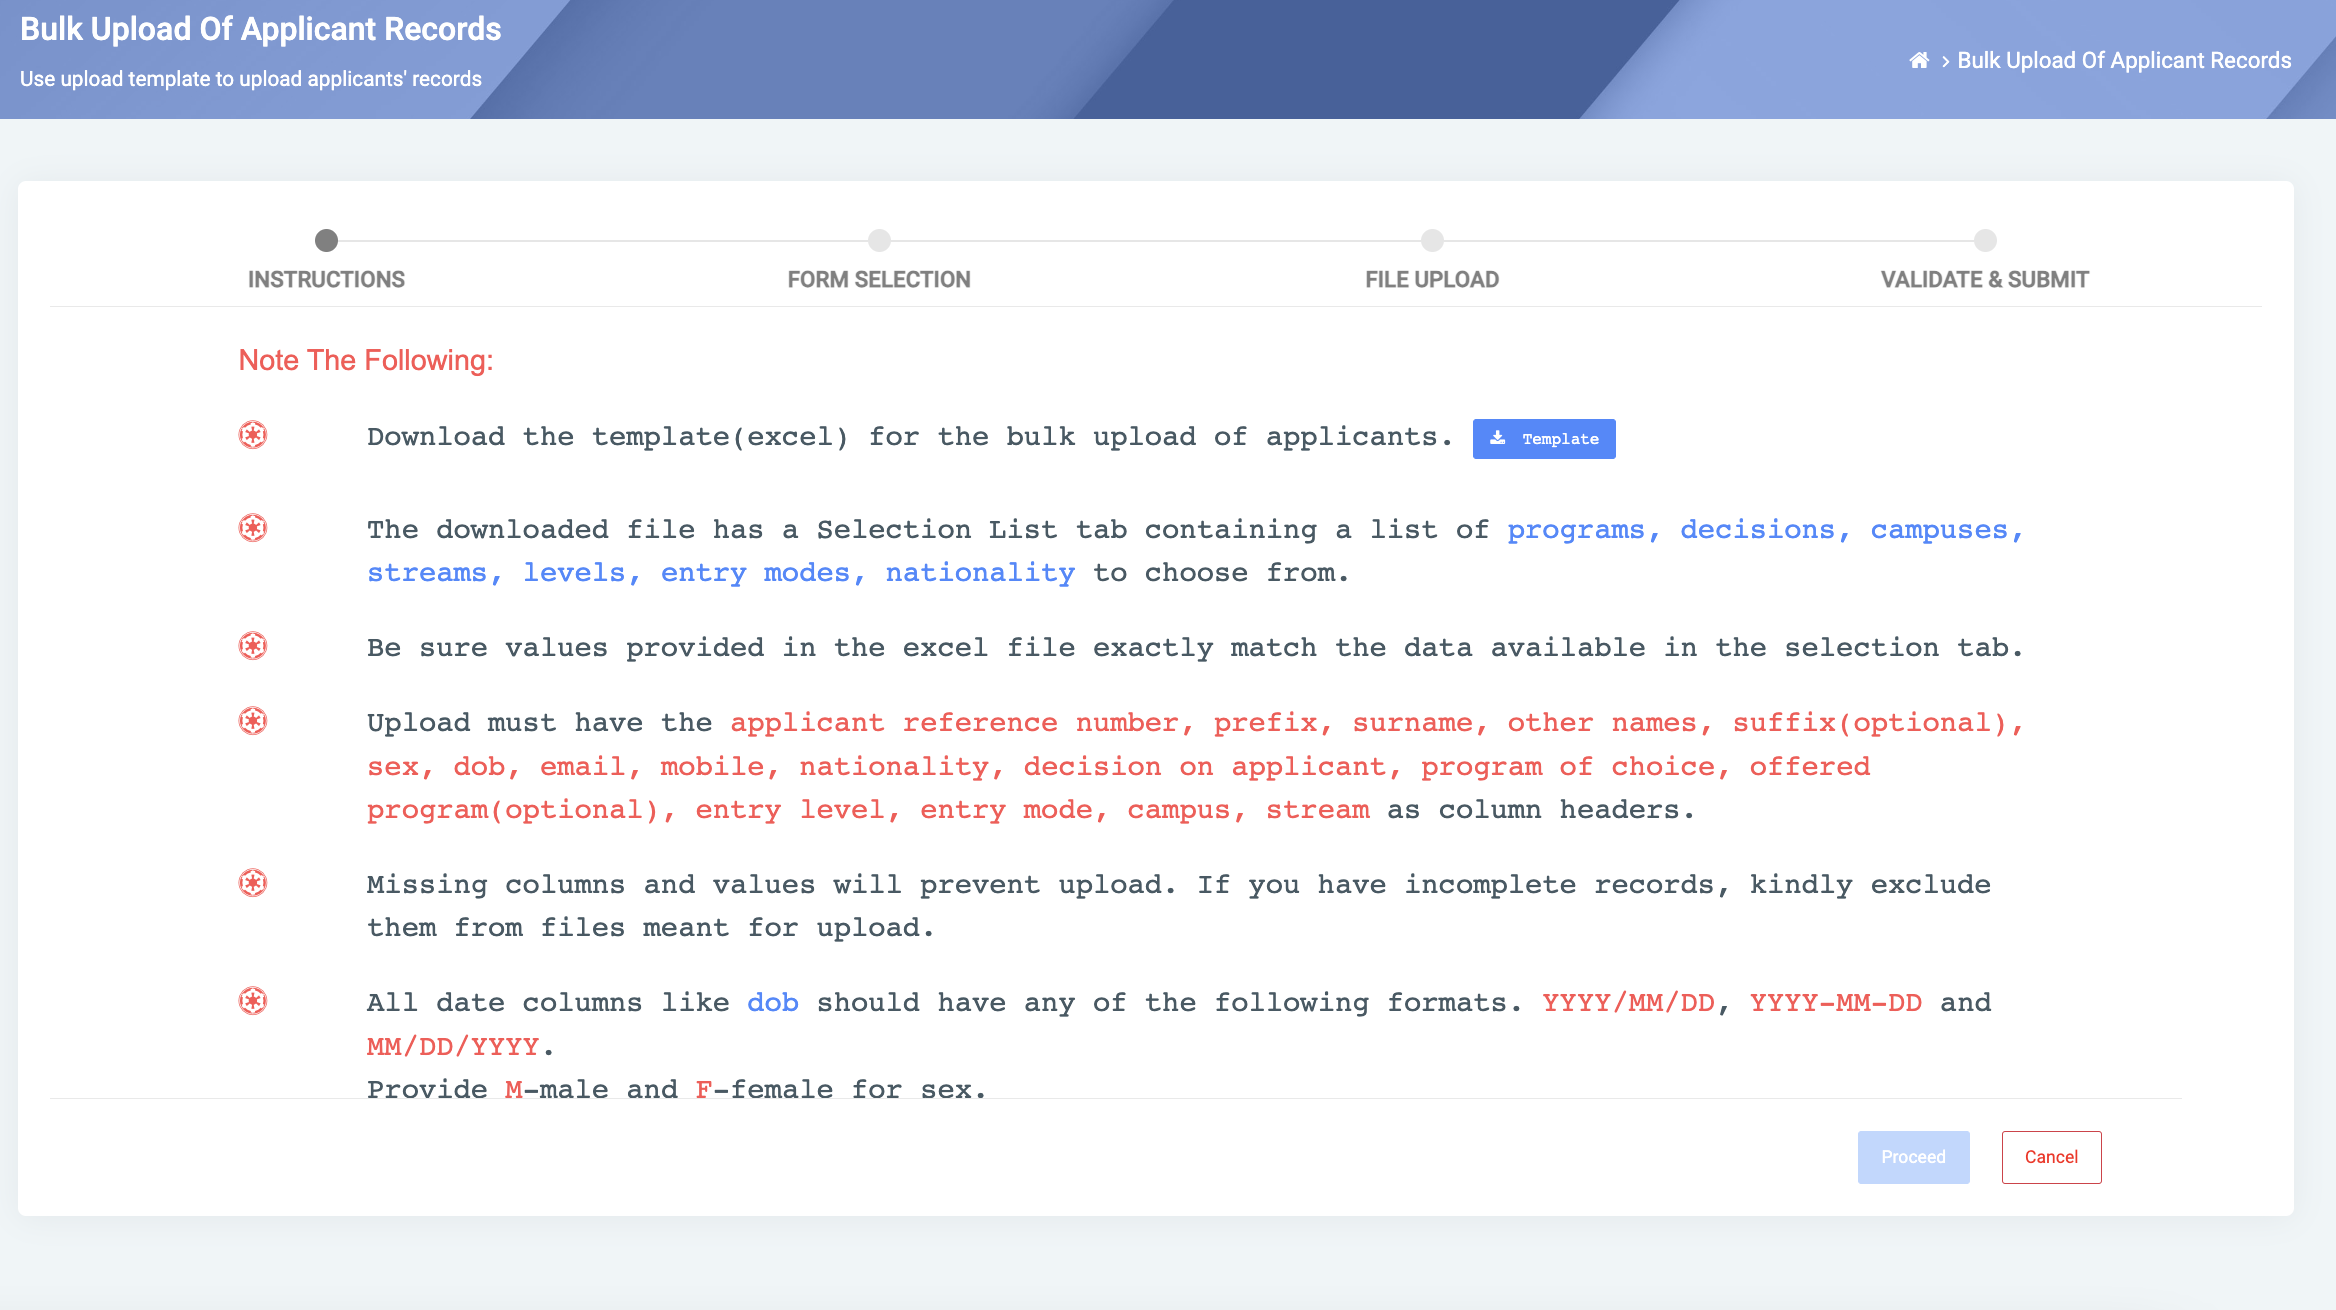
✑ To get the format and structure click on the Upload Bulk Applicants button.
This provides one with a window containing a set of instructions. Proceed to click on the Template button.
The OSIS Structure looks like this:
- Applicant reference number: Provide the applicants reference number/Identification number in this row.
- Prefix: Provide applicants title. Eg. Mr, Mrs, Miss, etc.
- Surname: Provide the applicants surname in this row.
- Othernames: Provide applicants other names in this row.
- Suffix: Provide extra info that follows applicants names. Eg. Sr. and Jr. and I, II, III, etc.
- Sex: Provide the gender of the students. Eg. M for males, F for Females.
- DOB: Provide applicants birth date in format YYYY, MM, DD. Eg. 2004-01-08
- Email: Provide the applicants email address.
- Mobile: Provide applicants mobile number, ignore the first zero. Eg. 2051277330
- Nationality: Provide the nationality of the applicants Eg. Ghanaian.
- Decision on applicant: Provide the final decison that has been taken on the applicants. Eg. Admit, Admitted, Denied, Awaiting Results, Invited for Interview, etc.
- Program of choice: Provide the program the applicants are wanting to take.
- Program offered: Provide the program the school is offering the applicants.
- Entry Level: Provide the entry level of the applicants Eg. 100, 200.
- Entry Mode: Provide the entry mode of the applicants Eg. Direct, Mature, etc.
- Campus: Provide the campus name of each applicant.
- Stream: Provide the stream of each applicant. Eg. Morning.
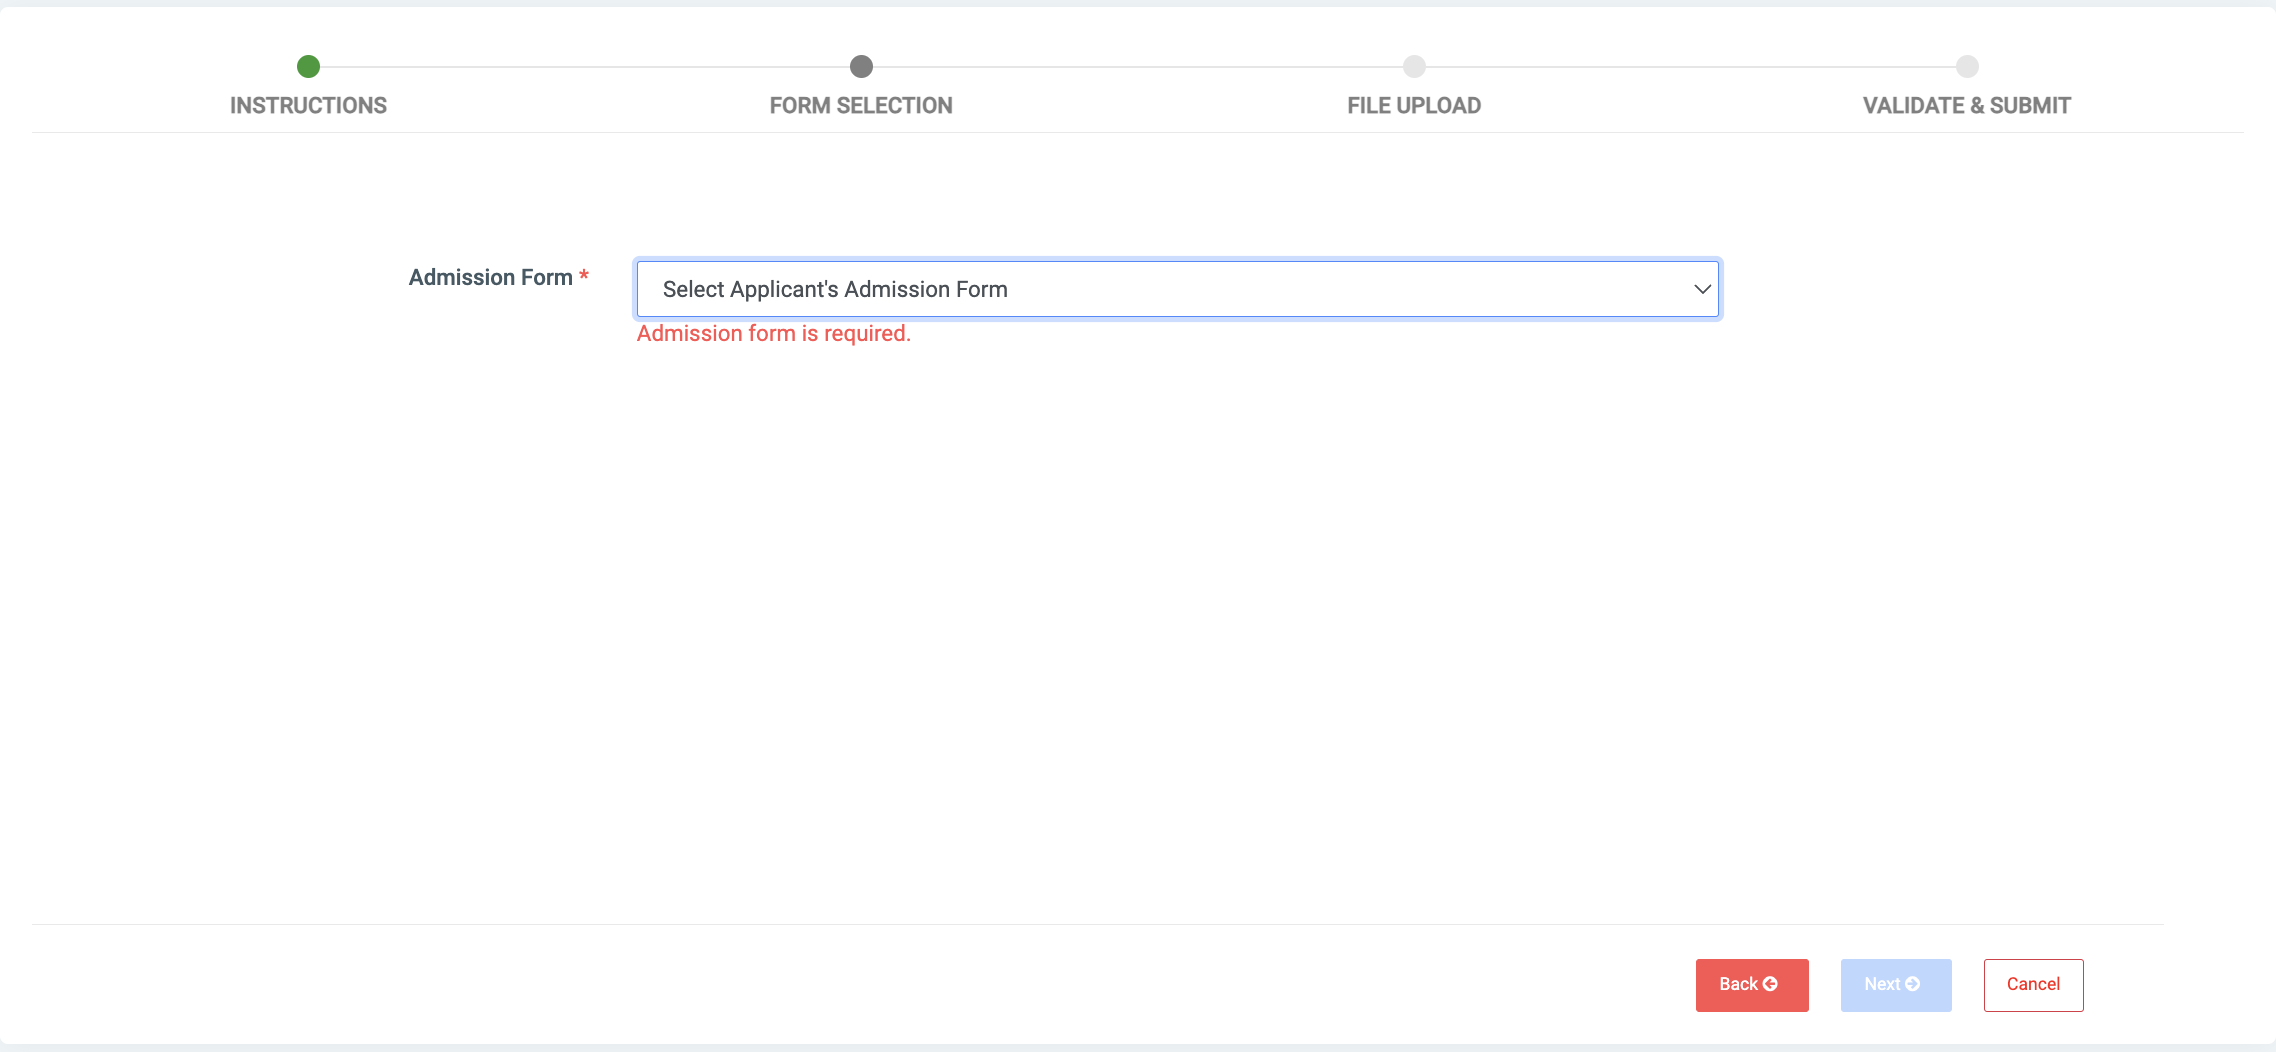
After filling the Downloaded Template correctly, select the Admission Form you want to work with and click on the Next button.
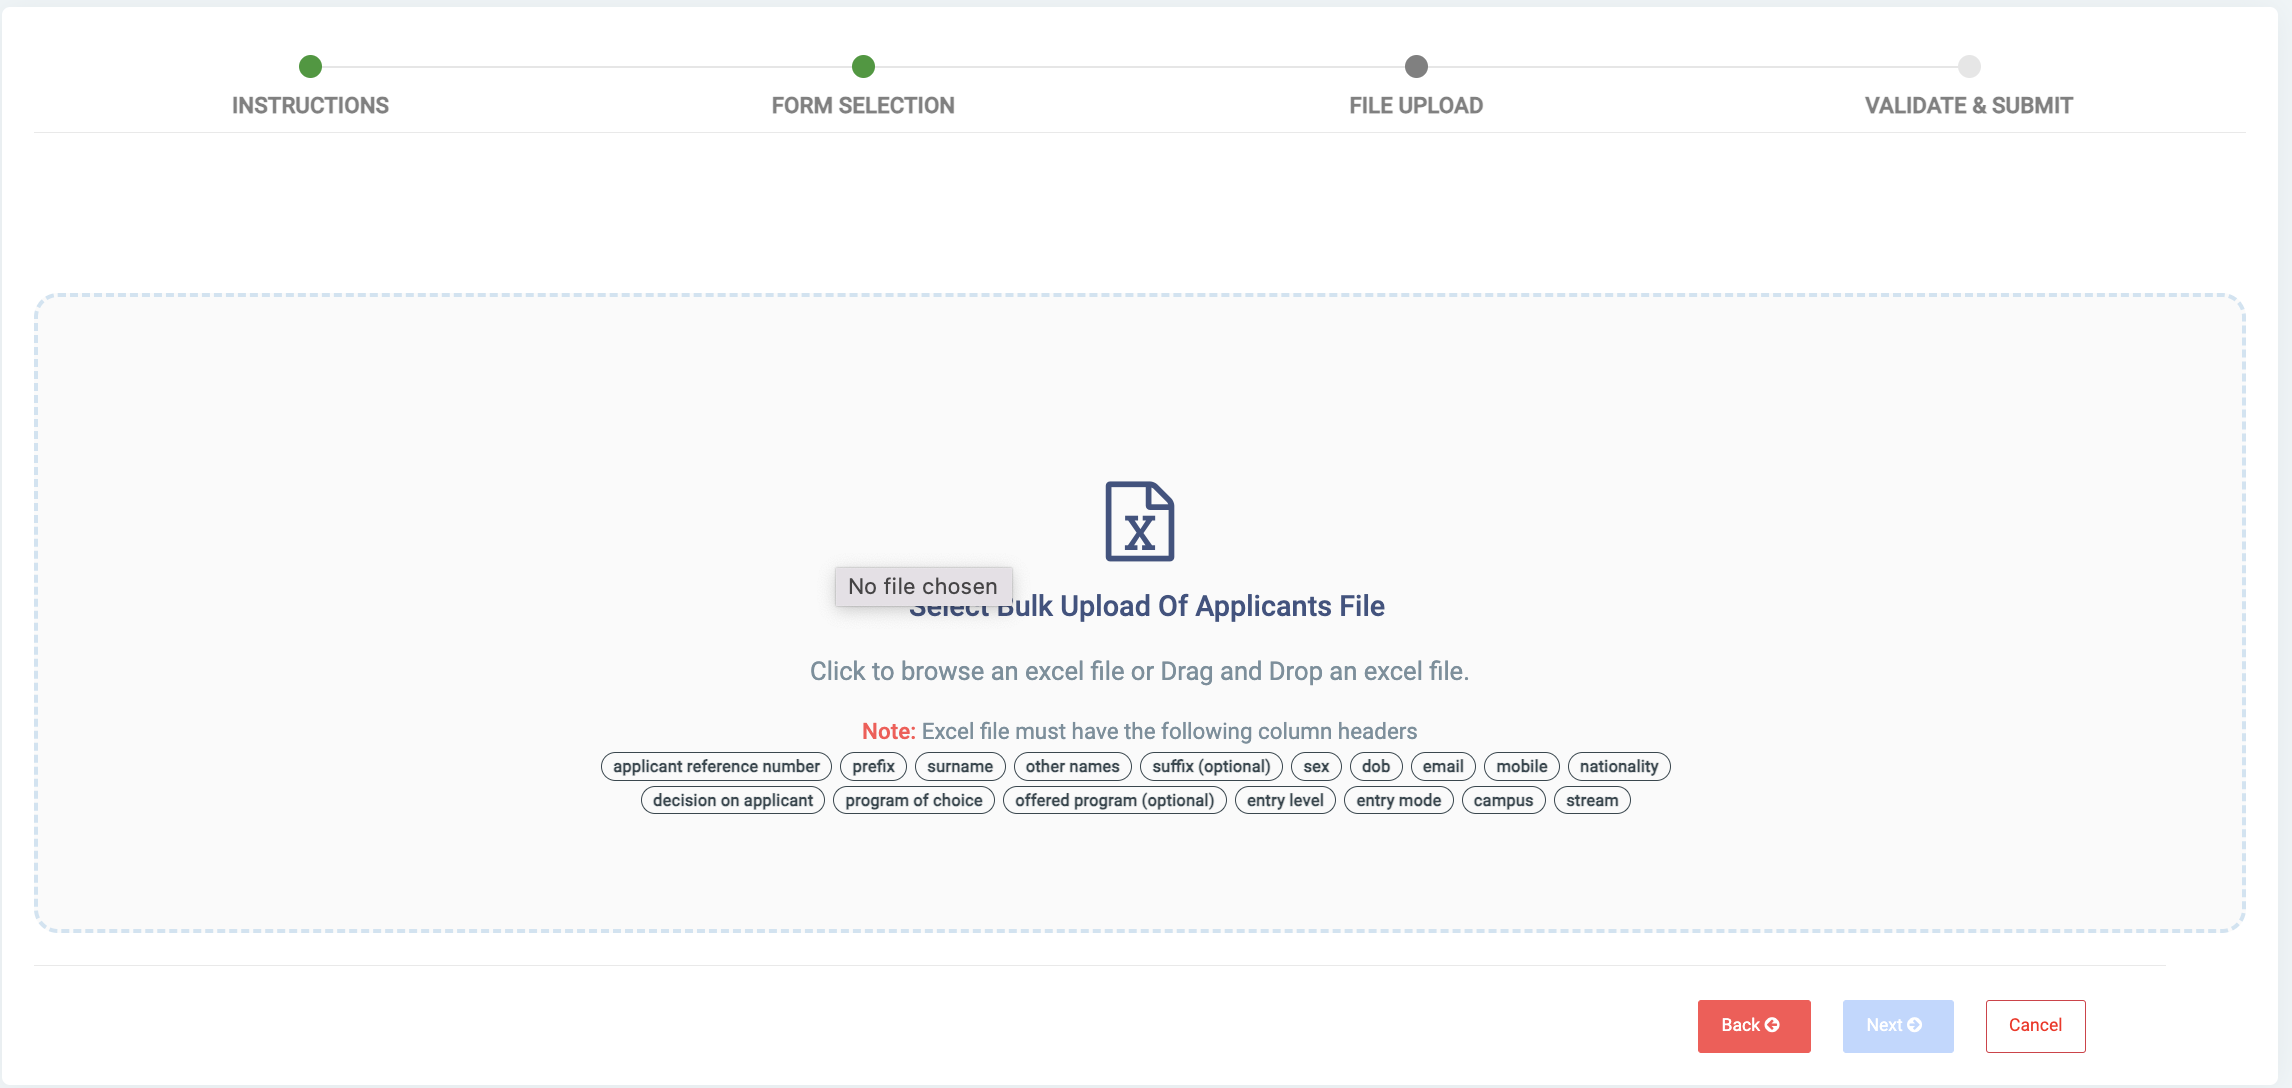
Select the filled template from your computer or drag the file onto the interface to preview it.
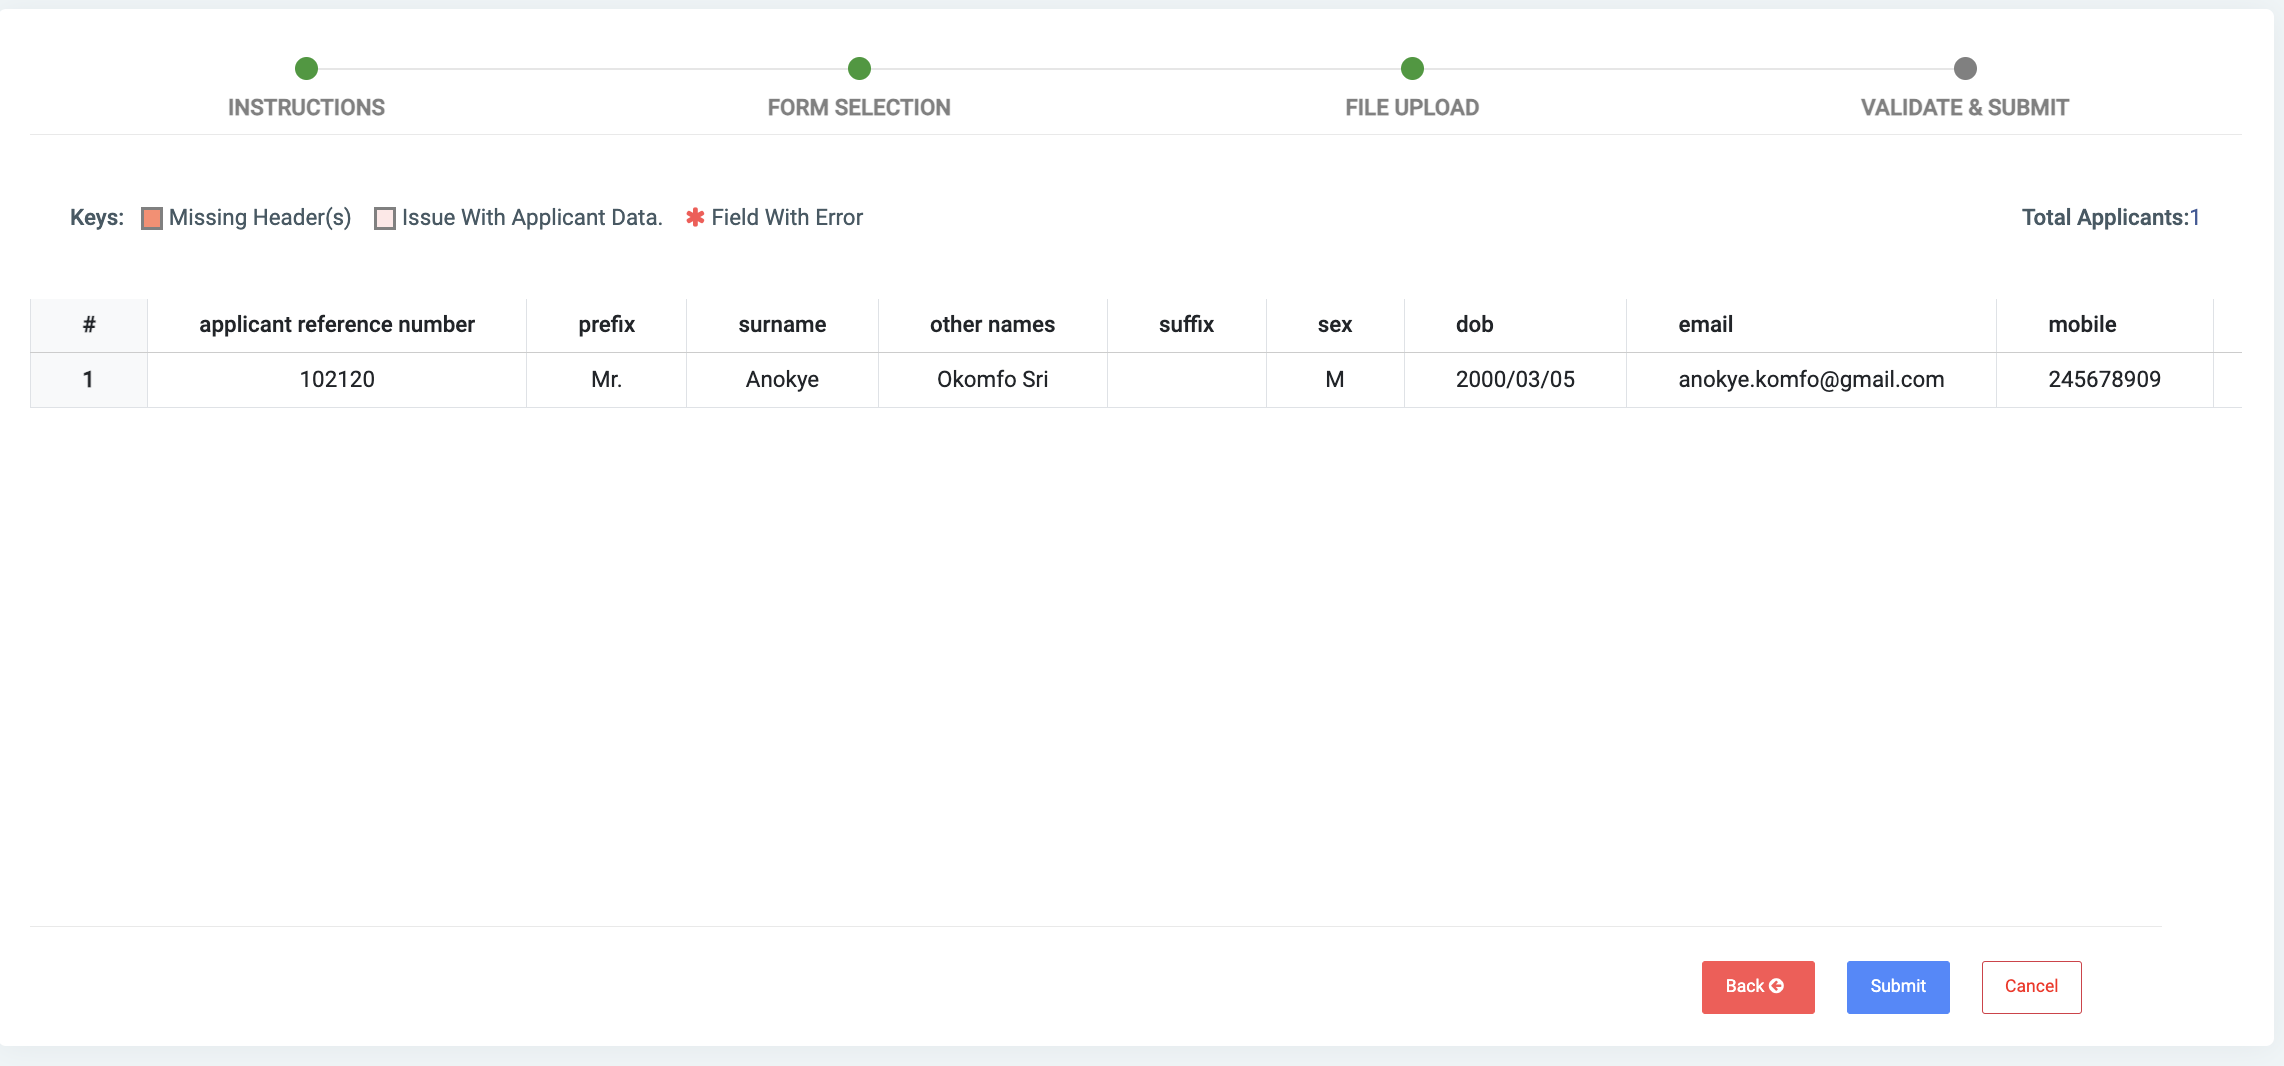
On the preview page, there are a number of points to take note of. They are:
- Missing Header(s): If there are any missing or misspelled header(s), OSIS will highlight the column it is expecting the header (s) to be at with the color by the Missing Header(s) condition.
- Issue with Applicant data: If there is any issue with the data on the sheet, OSIS will highlight the entire row on the sheet with the color by the Issue with Applicant data condition.
- Field with Error: If there is any field with an error on the sheet, for example: incorrect date of birth provided, OSIS will highlight the particular field with the color by the Field with error condition.
NB: If there are no issues with the file, no fields will be highlighted in the file. This would be an indication that the file can be submitted successfully without errors.
✑ To submit the file, click on the Submit button.
Once the file has been submitted, the status of the file will be in the pending state. Upon completion, the user will be sent a report on the status of the file upload via email.
