
Bulk upload
✑ From the OSIS sidebar, Click on the Bulk Upload link under Student Management.
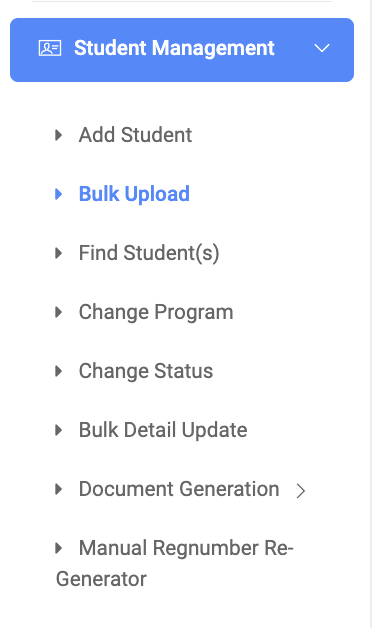
On the Bulk upload page, there are three (3) tabs, Student Upload, Student Photo Upload, and Affiliation Upload.

☛ Starting with the Student Upload Tab
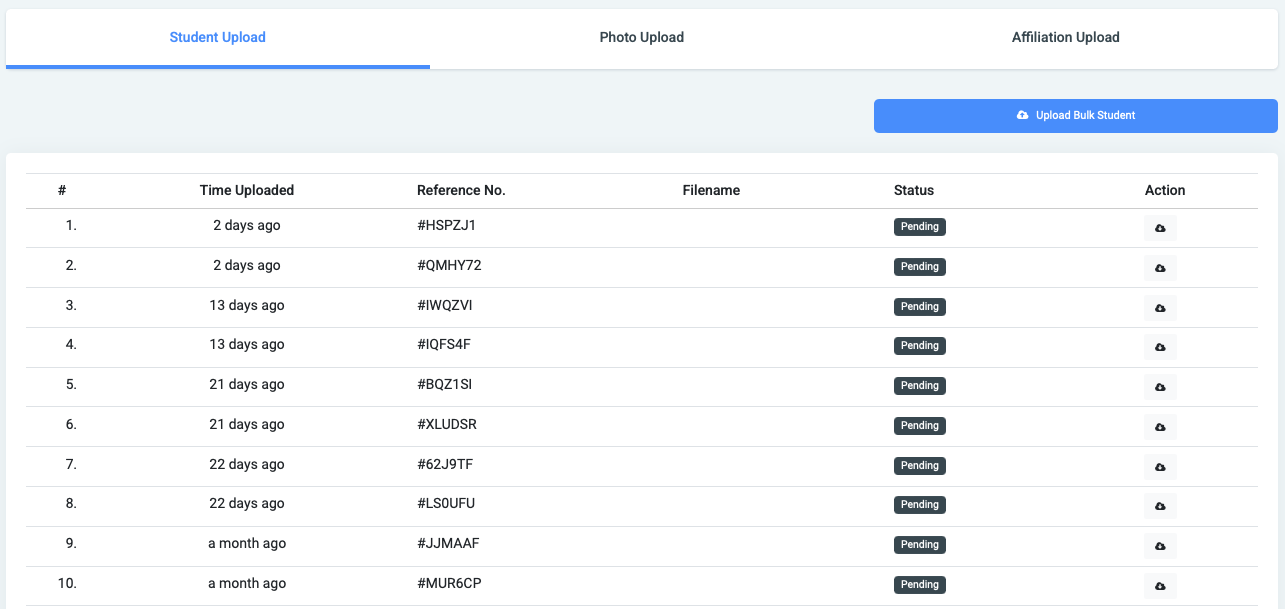
By default, the page will be loaded with the Student Upload tab selected.
Click the Upload Bulk Student button to start the upload process.
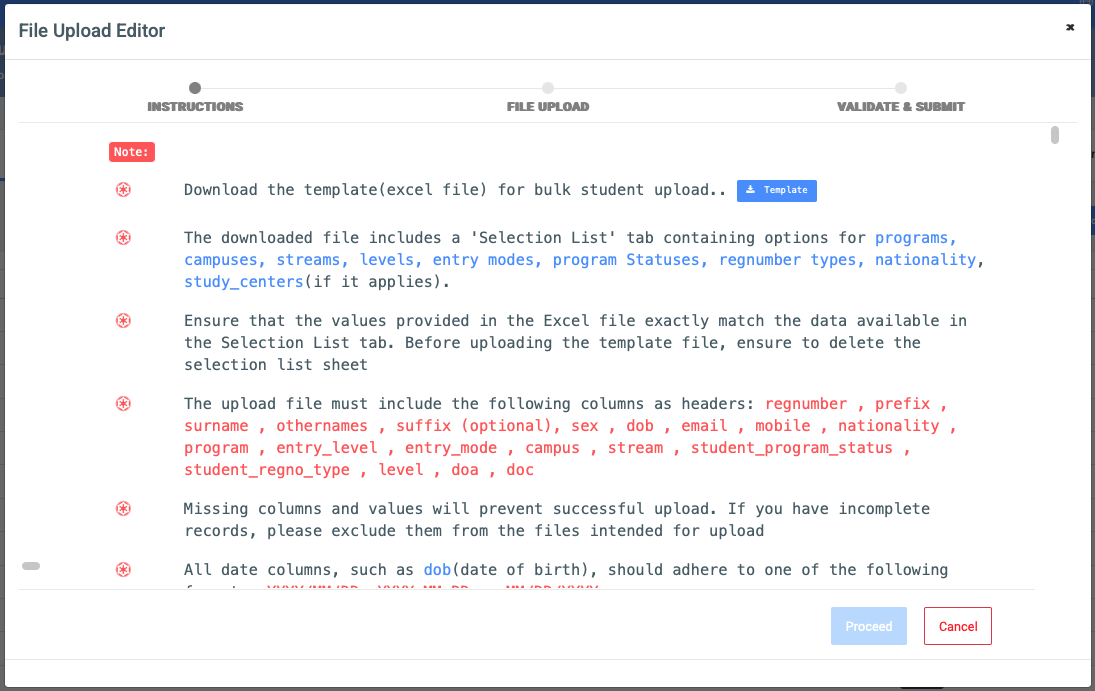
The upload modal will pop up with a set of instructions to follow in order for the process to result in a success.
Click the ‘Template’ button to download the Excel template.
Fill out the Excel template with the required student(s) information.
Save the completed file as a CSV (Comma-Separated Values) file.
Return to the modal and check the box to confirm you have read the instructions.
Click the ‘Next’ button
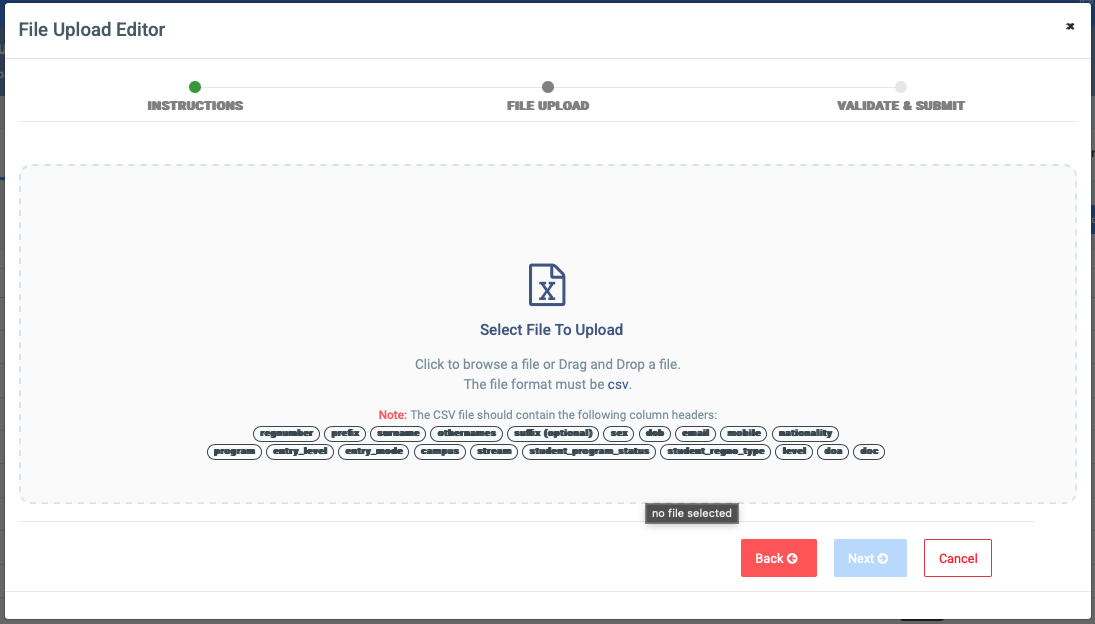
Click the ‘Select File to Upload’ button, select the CSV file you saved, and hit the next button.
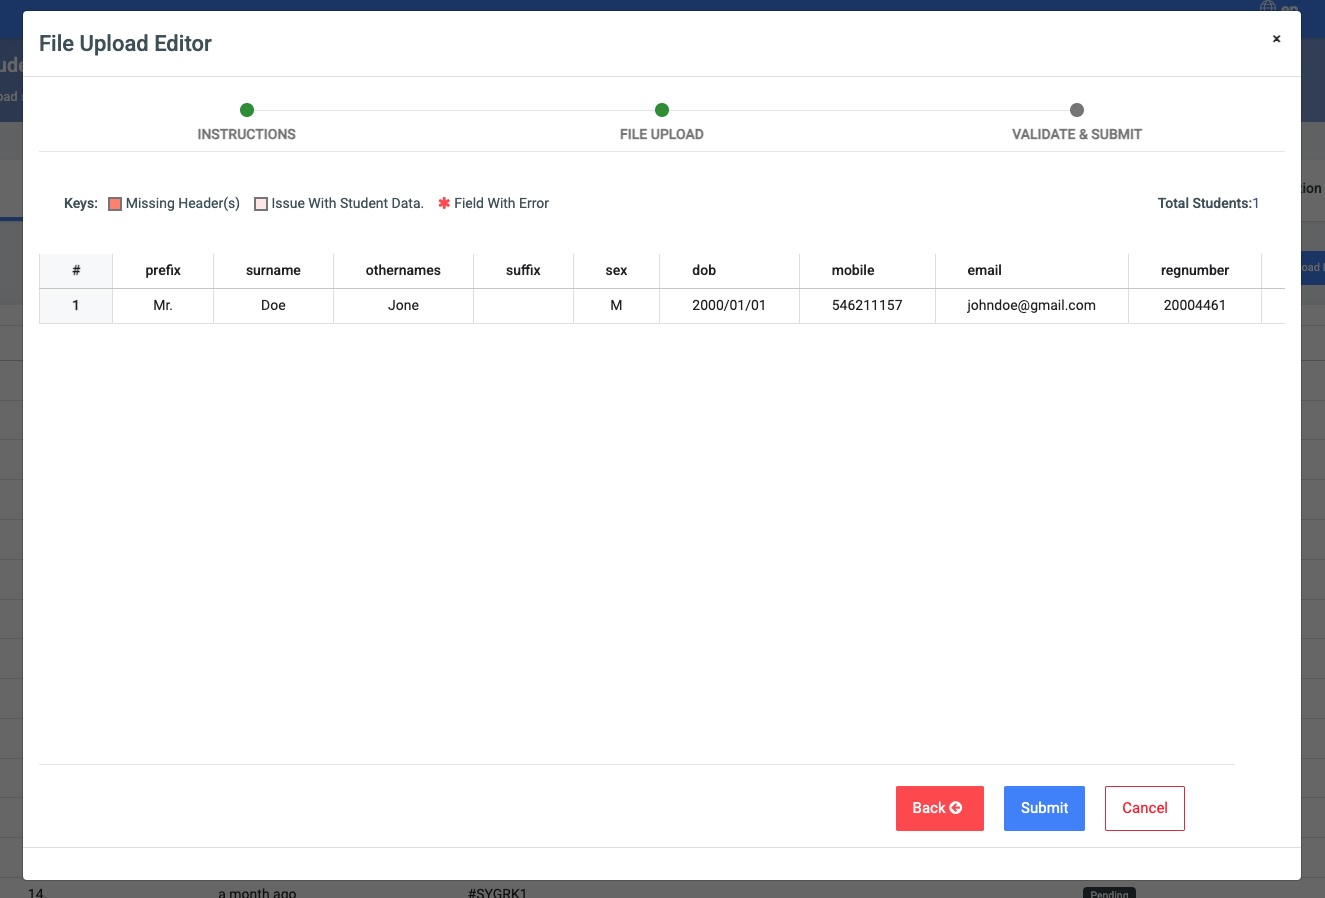
If there are no errors in the uploaded file, click the ‘Submit’ button to confirm the student data upload.
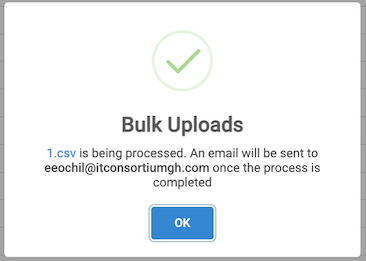
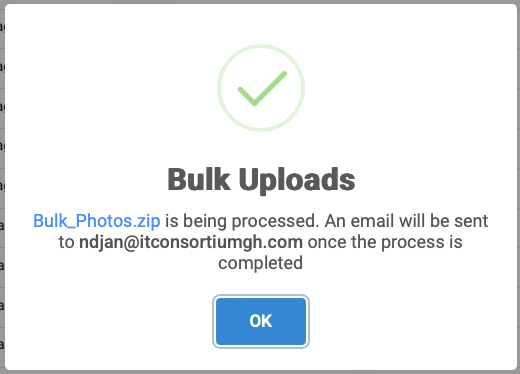
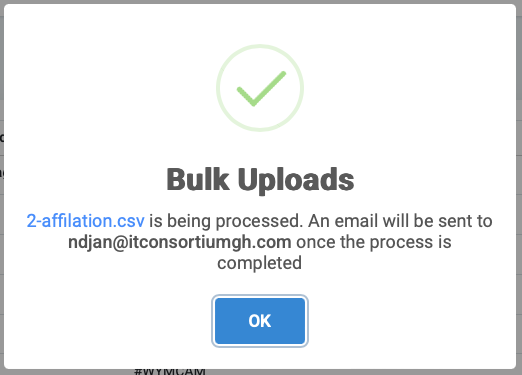
A confirmation pop-up will appear, and you will receive an email notification when the student data update is complete.
☛ The Photo Upload Tab
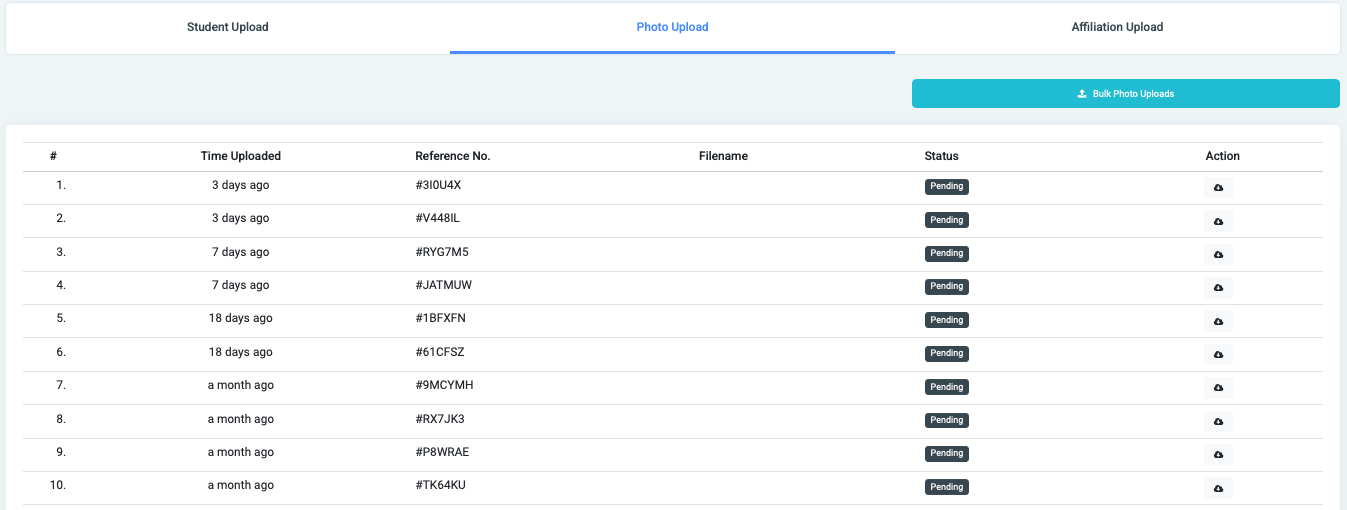
After clicking on the photo upload tab, you will be able to view a list of previous photo uploads. Click the Upload Bulk Photo button to start the upload process.
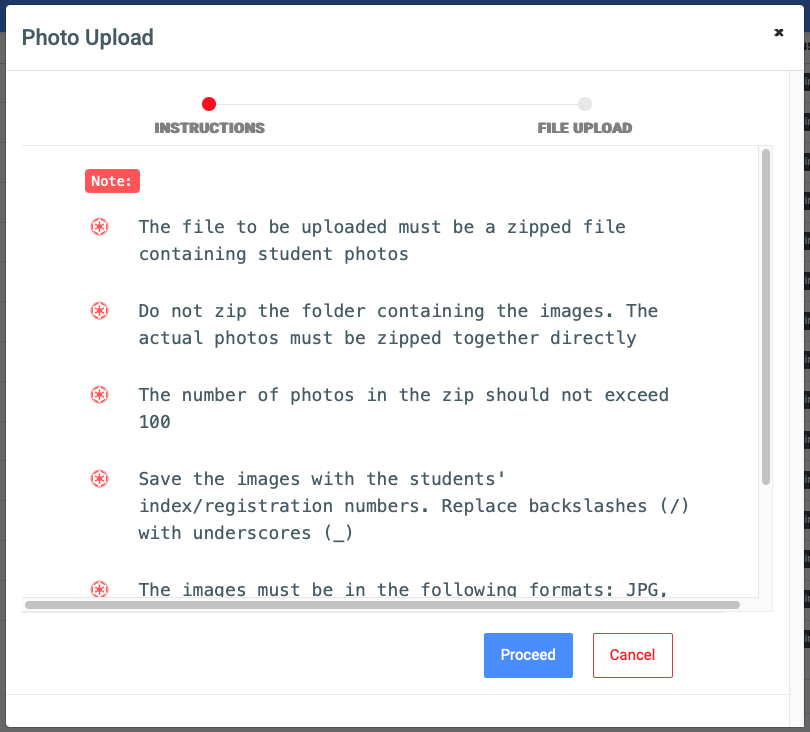
The photos are to be uploaded by zipping them in a zip file.
The zip file can contain a maximum of 100 photos.
The photos should also be zipped directly and not in a root folder.
Each photo should be named in this format; index/regnumber.jpg
- Replace all slashes (‘/’) with underscores (‘_’)
- The compatible photo formats are .jpg and .png
Once all instructions are adhered to and the zip file of photos is ready for upload, check the ‘I have read the instructions’ check box to proceed to upload the zip file.
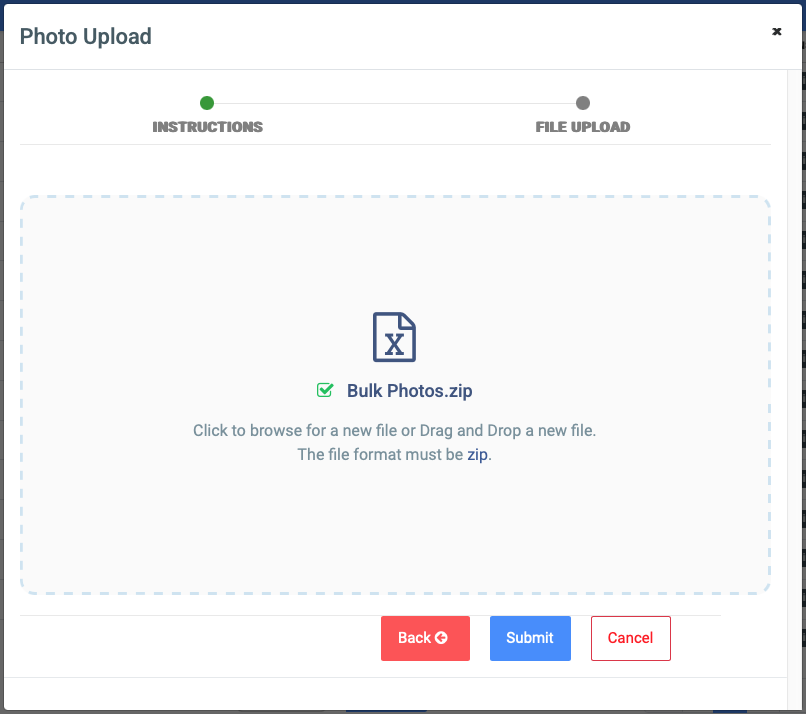
Proceed to upload the zip file and you can proceed to complete the upload process.
After uploading, the data will be validated and if no errors are encountered, the bulk upload will be a success and the photos for the students in question will be uploaded and updated.
☛ Finally the Affiliation Upload Tab
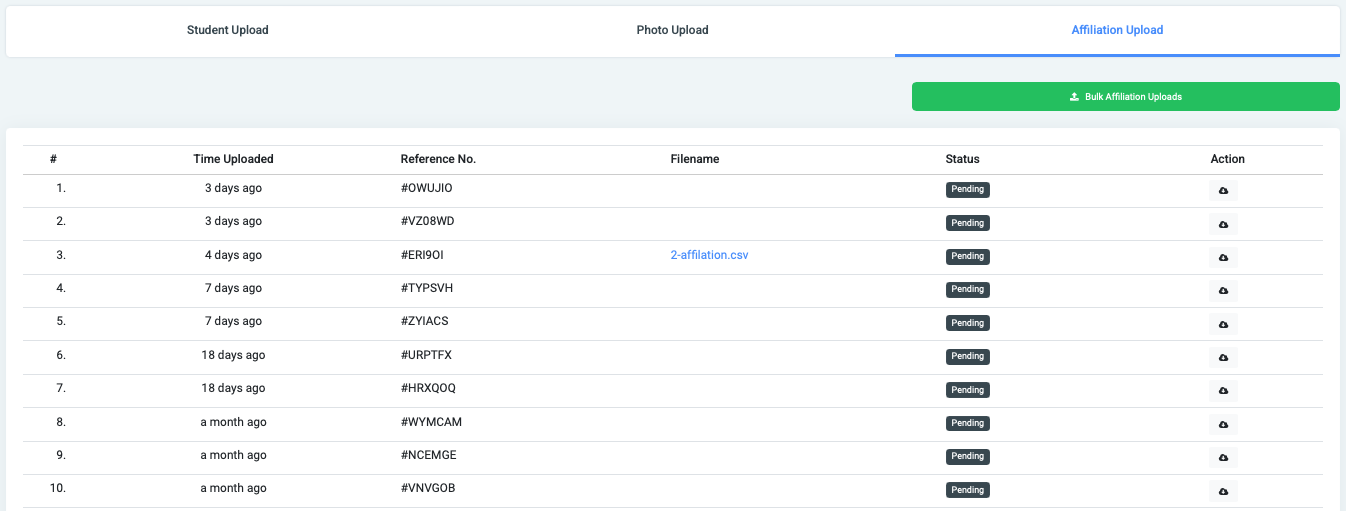
Just like the two previous tabs, you will be greeted with a view page of the past uploads and a button that allows to you make a new upload.
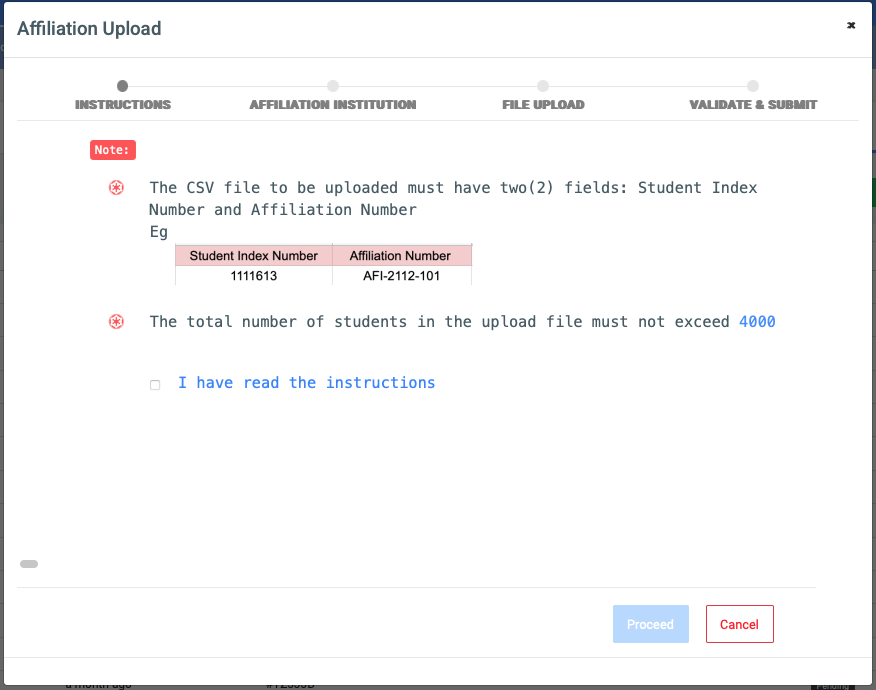
The first checkpoint in the affiliation upload modal is the ‘Instruction’ section.
The upload file must be in this format:
- It must be a CSV file
- The file must contain only two columns; ‘Student Index Number’ and ‘Affiliation Number’
- The number of records cannot be greater than 4000
After reading the instructions, you can go ahead to check the checkbox to proceed.
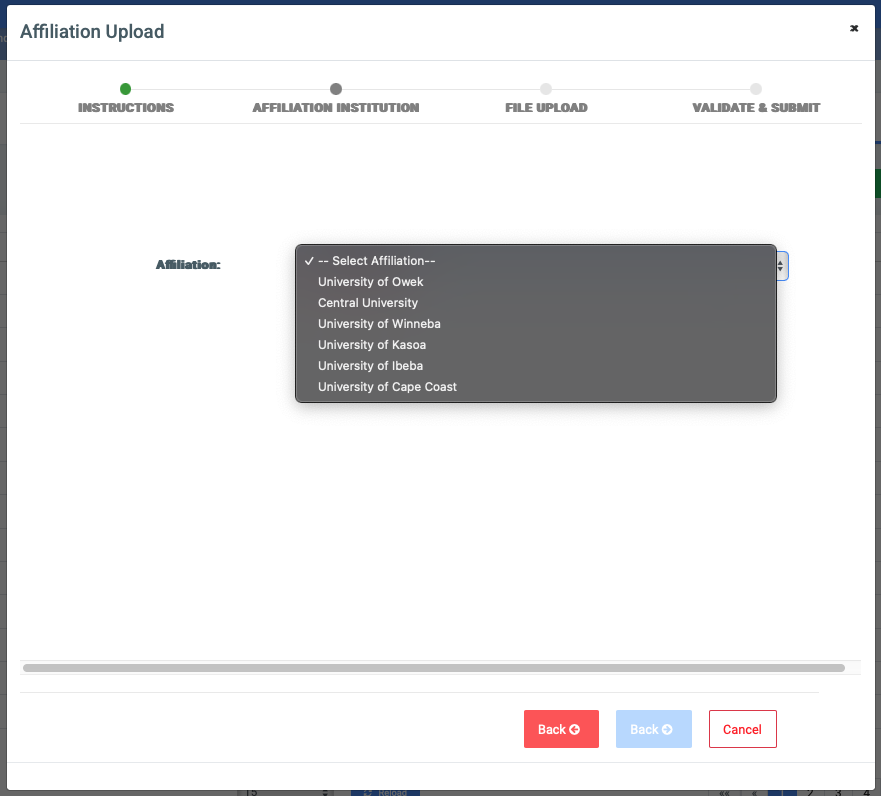
This is where you will select the institution that the students in question are affiliated with.
After selecting you can proceed to the next section.
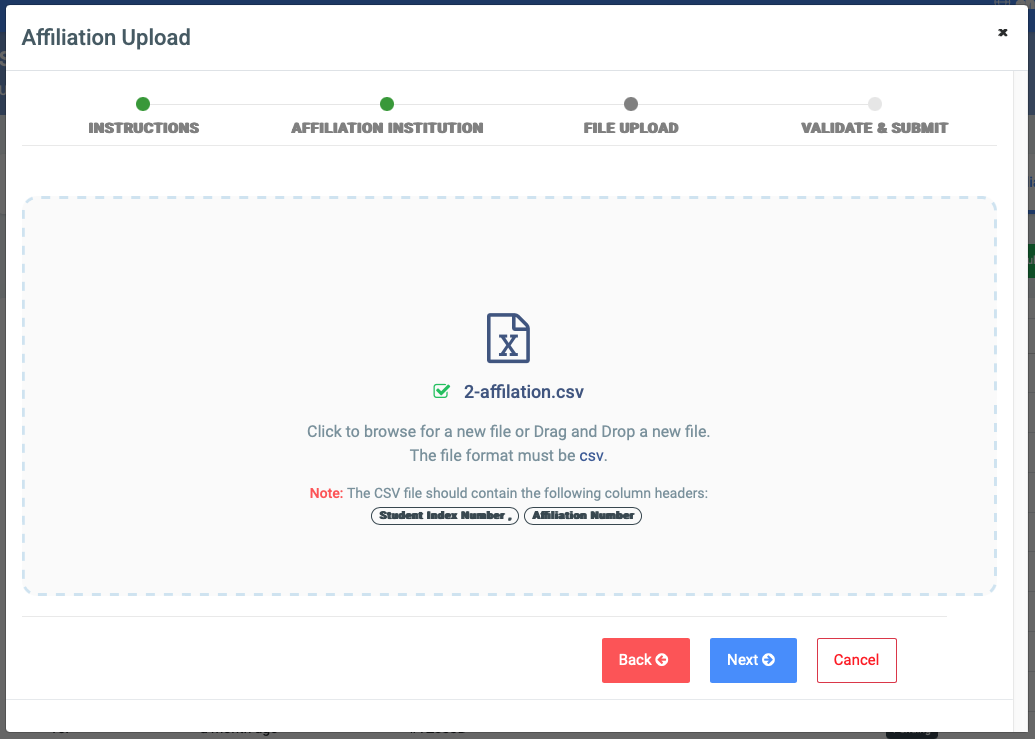
The next section of the upload process is the file upload section. This is where you will select the file you want to upload, remember it has to be a .csv file.
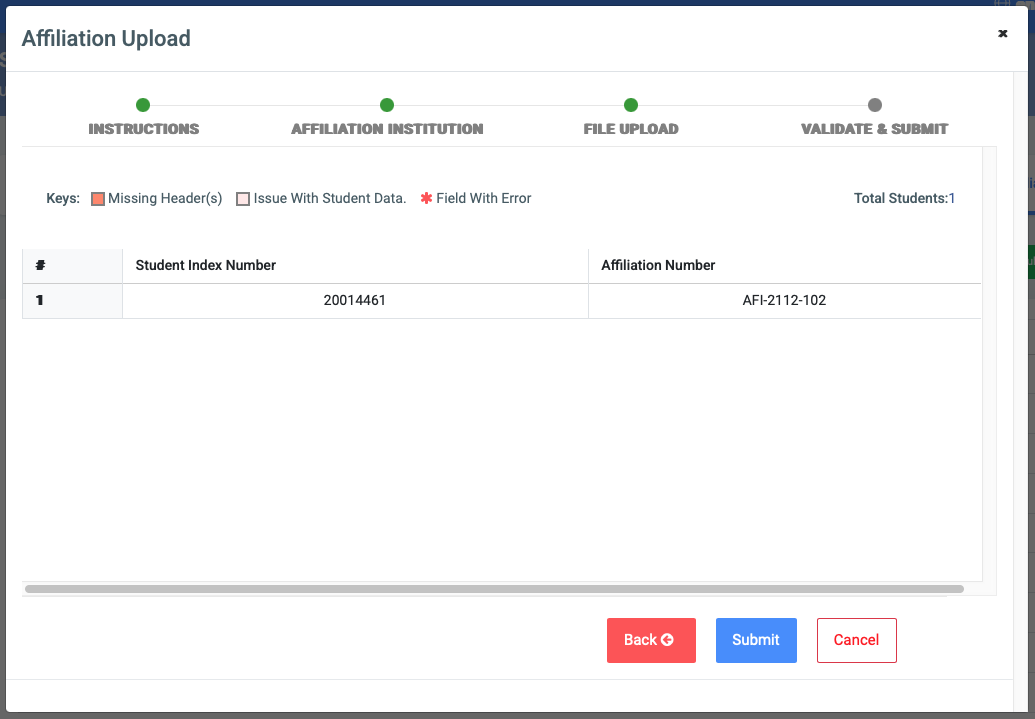
The contents of the uploaded file will be displayed and checked for errors. If no errors are present, you will be able to proceed to submit the upload for the affiliation.
Once confirmed, the upload will be completed and the student affiliation will be created.
For each uploaded file (across the tabs) the user can Download them.
To download an uploaded file, click on the Download button icon. 
This will download the file to your computer from the cloud.