
Manage Units
✑ From the OSIS sidebar, Click on the Manage Units link under Campus Management.

From the top right of the Manage Units page, there are two (2) buttons, Add Unit and Find and Export

✑ Click the Add Unit button to add a unit to OSIS. The Add Unit modal comes with the following;
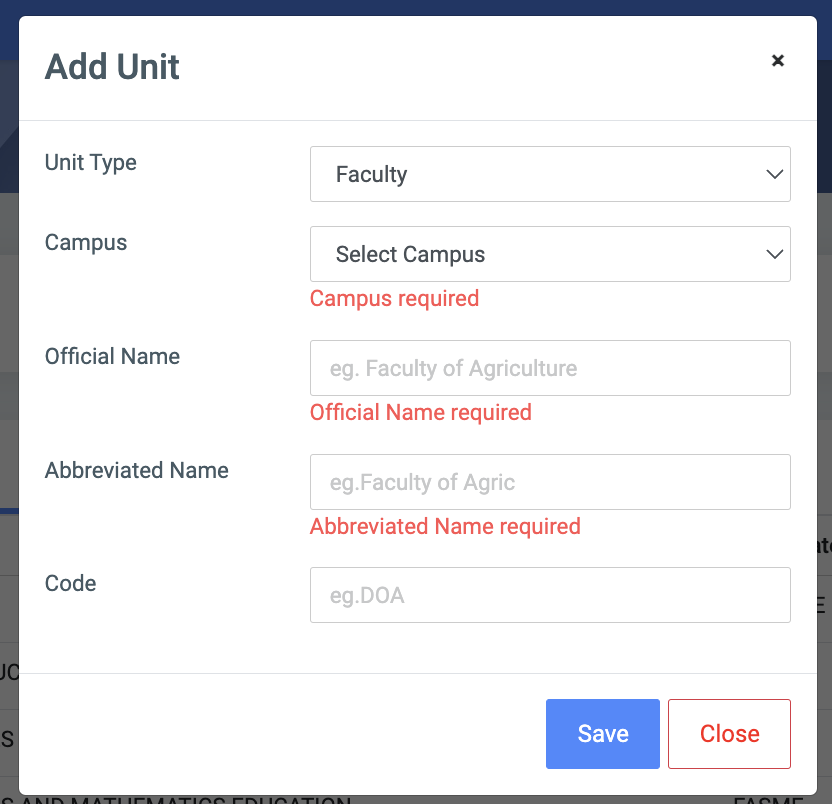
- Unit Type: This is a dropdown that allows a user to select a unit type setup in the general settings. Refer to the unit type on the Institution Profile page for more explanation.
- Campus: This provides a dropdown of all campuses to select which campus the venues are in. NB: The campus dropdown is populated from Manage Campuses.
- Official Name: Input the name of the new unit.
- Abbreviated Name: Short form of the official name. Eg. FASM
- Code: Code of the unit. Eg. ASM
✑ Click on Save to confirm actions.
✑ To search for a particular unit, Click on Find button and fill in the details for that venue by;
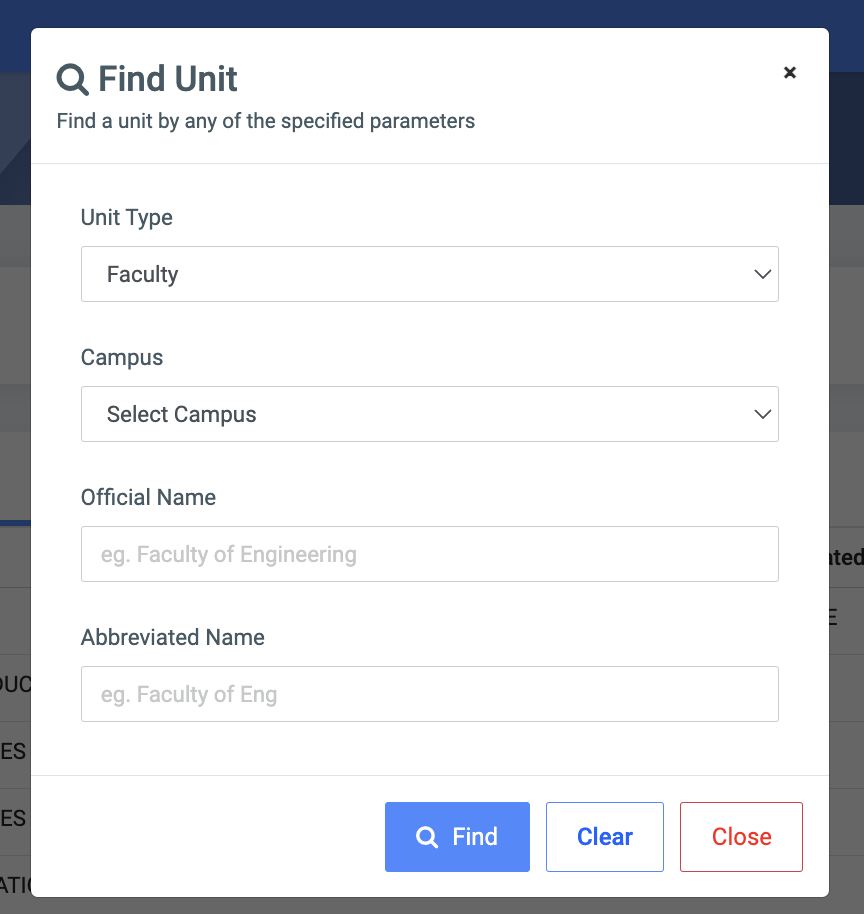
- Unit Type.
- Campus.
- Official Name.
- Abbreviated Name.
✑ Click on Find Units button to confirm your actions
✑ Click on Clear to clear all fields,
✑ Click on Close to close the modal.
☛ Find Unit fields are optional. Fill in as many as can help in narrowing down and click the Find button. Clicking the Find Unit button with no entries will show all existing Units.
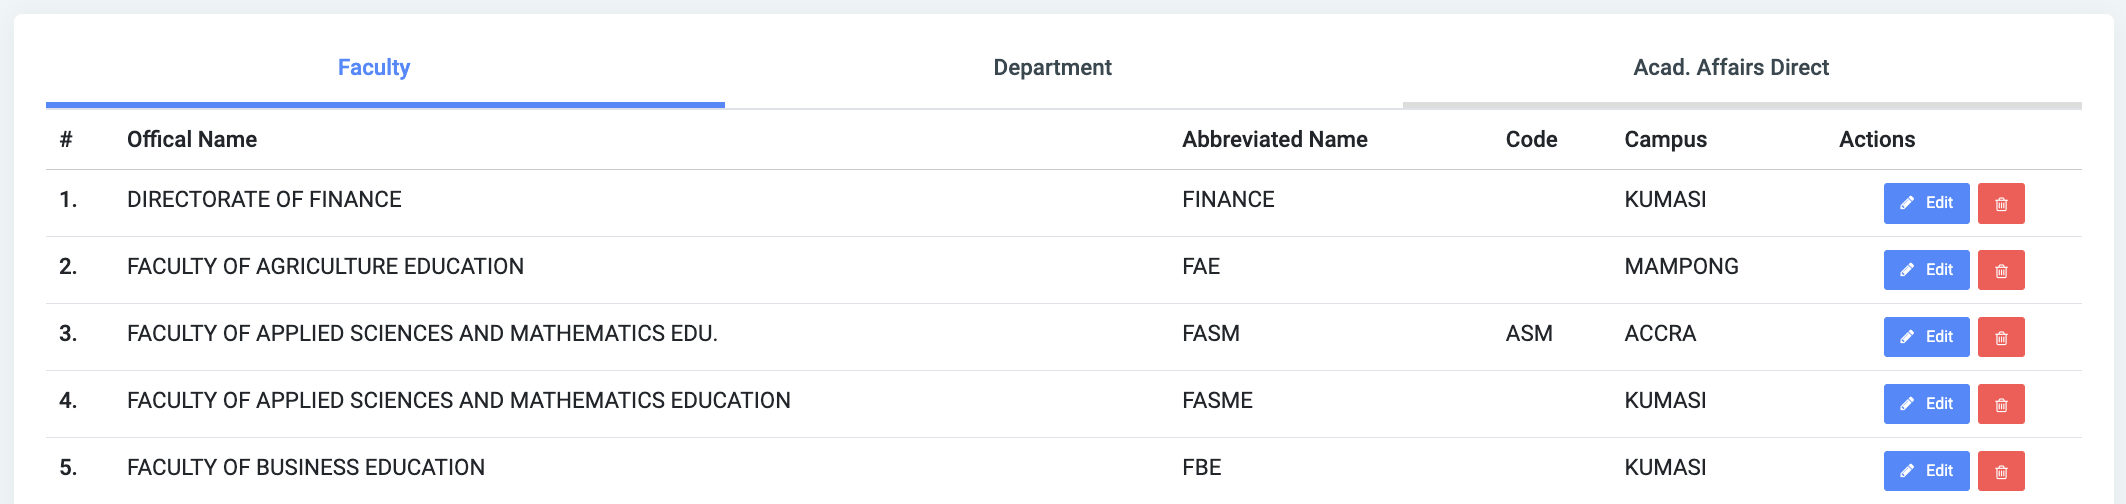
For each added unit, the user can Edit and Delete
✑ To Edit a unit, click on the Edit button. 
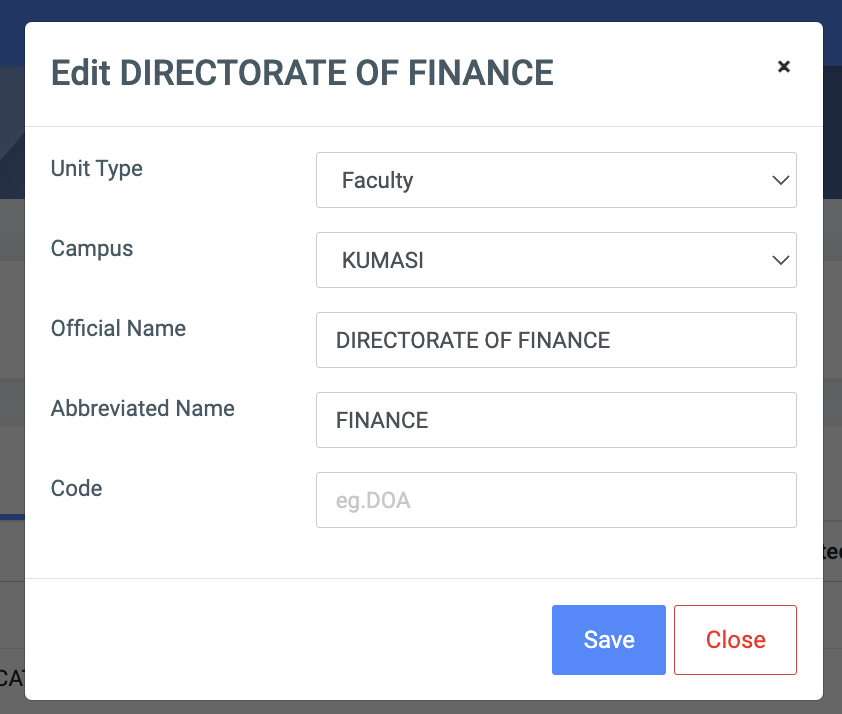
Change the old entries from the Edit Units form and click on the Save button.
✑ To Delete a unit, click on the Delete button icon. 
✑ Click on the Delete button from the modal popup to confirm your actions.