
Manage Venues
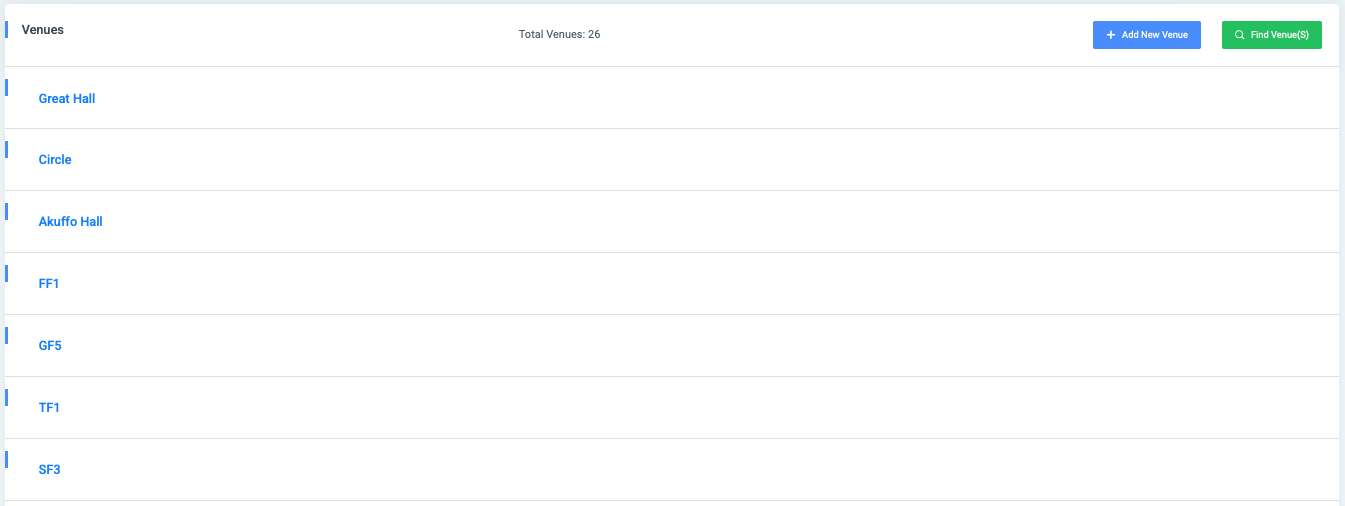
✑ When the Manage Venue page loads, a list of all venues within the institution is displayed. Users can search for a specific venue or add a new venue using the options in the header section.
✑ Clicking on the search button  opens a modal where users can find venues by any of the following parameters. None of these fields are mandatory:
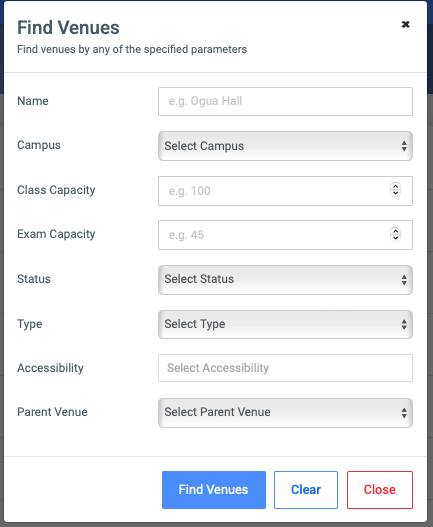
- Name (Text Input)
- Campus (Dropdown Selection)
- Class Capacity (Number Input)
- Exam Capacity (Number Input)
- Status (Dropdown Selection – Active/Inactive)
- Type (Dropdown Selection – Lecture/Laboratory/Other)
- Accessibility (Dropdown Selection – Physically Impaired, Visually Impaired, etc.)
- Parent Venue (Dropdown Selection – Select if applicable)
✑ Clicking on the Add Venue button  opens a modal with the following required fields:
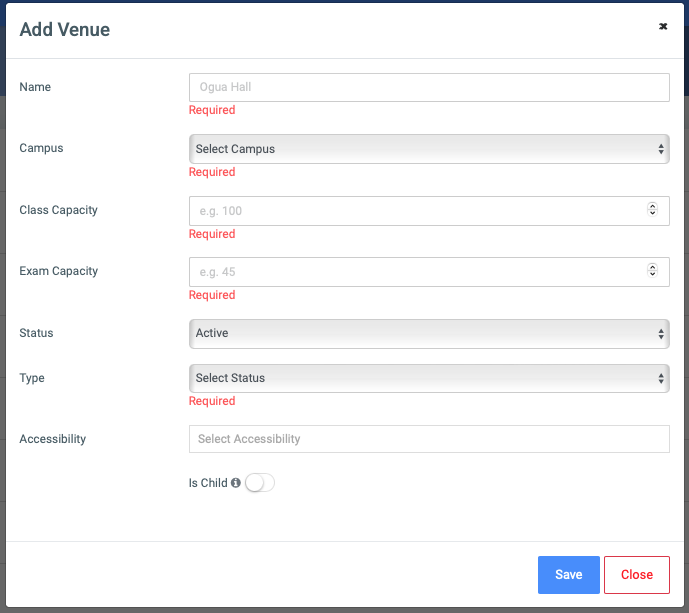
- Name (Text Input) – Required
- Campus (Dropdown Selection) – Required
- Class Capacity (Number Input) – Required
- Exam Capacity (Number Input) – Required
- Status (Dropdown Selection – Active/Inactive) – Required
- Type (Dropdown Selection – Lecture/Laboratory/Other) – Required
- Accessibility (Dropdown Selection – Optional)
- Is Child (Radio – Indicates if this venue is a sub-venue of another venue)
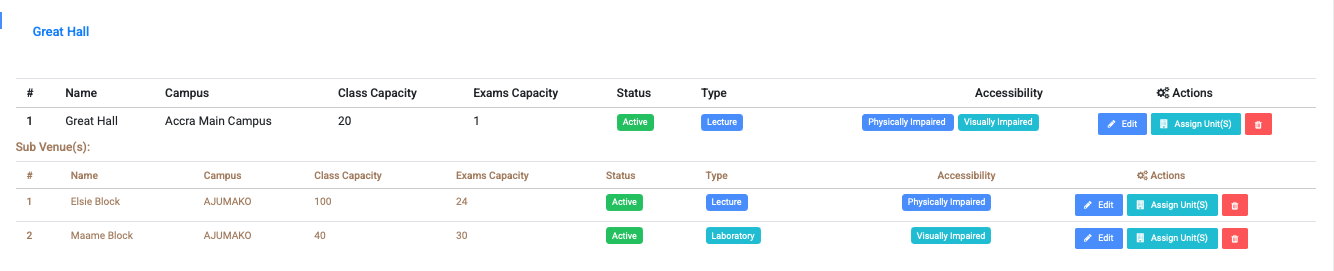
✑ Clicking on a venue expands an accordion displaying detailed venue information in a table format.
✑ Clicking on the Edit button  allows users to modify venue details. The fields are the same as in the “Add Venue” modal, but none of them are compulsory.
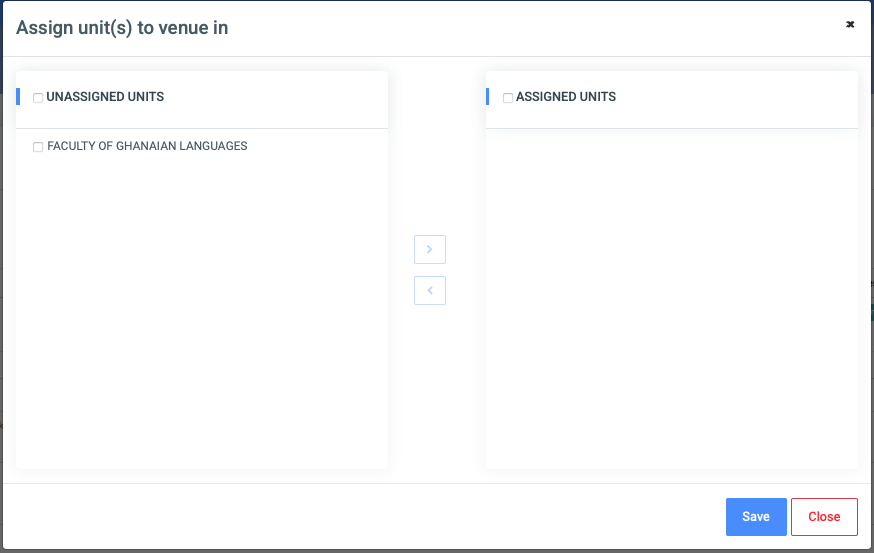
✑ The Assign Unit(s)  button opens a modal displaying unassigned units. Users can select units to assign to the venue.
✑ The Delete button  opens a confirmation modal asking the user to confirm venue deletion before proceeding.
0 Comments