
Account Statements
Account Statements of students showing a periodic summary of account activity with a beginning date and an ending date, showing students credits, debits, and balances. The account statement page also enables users to make payment transfers and also ad-hoc credits.
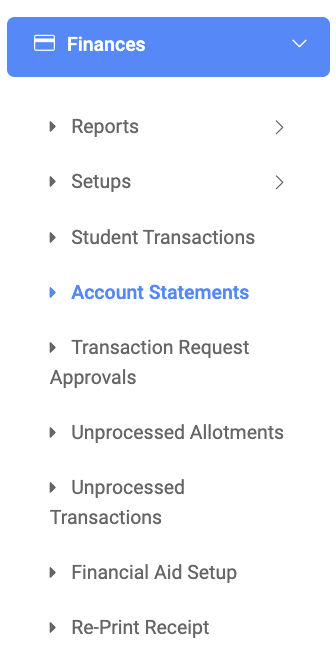
✑ From the OSIS sidebar, Click on the Account Statements link under Finance.
At the top right of the Student Account Statement page, you will find the following buttons, Payment Transfer, Adhoc Credit, Reconcile Account, Print Transactions, and a Search Filter to find a specific receipt.
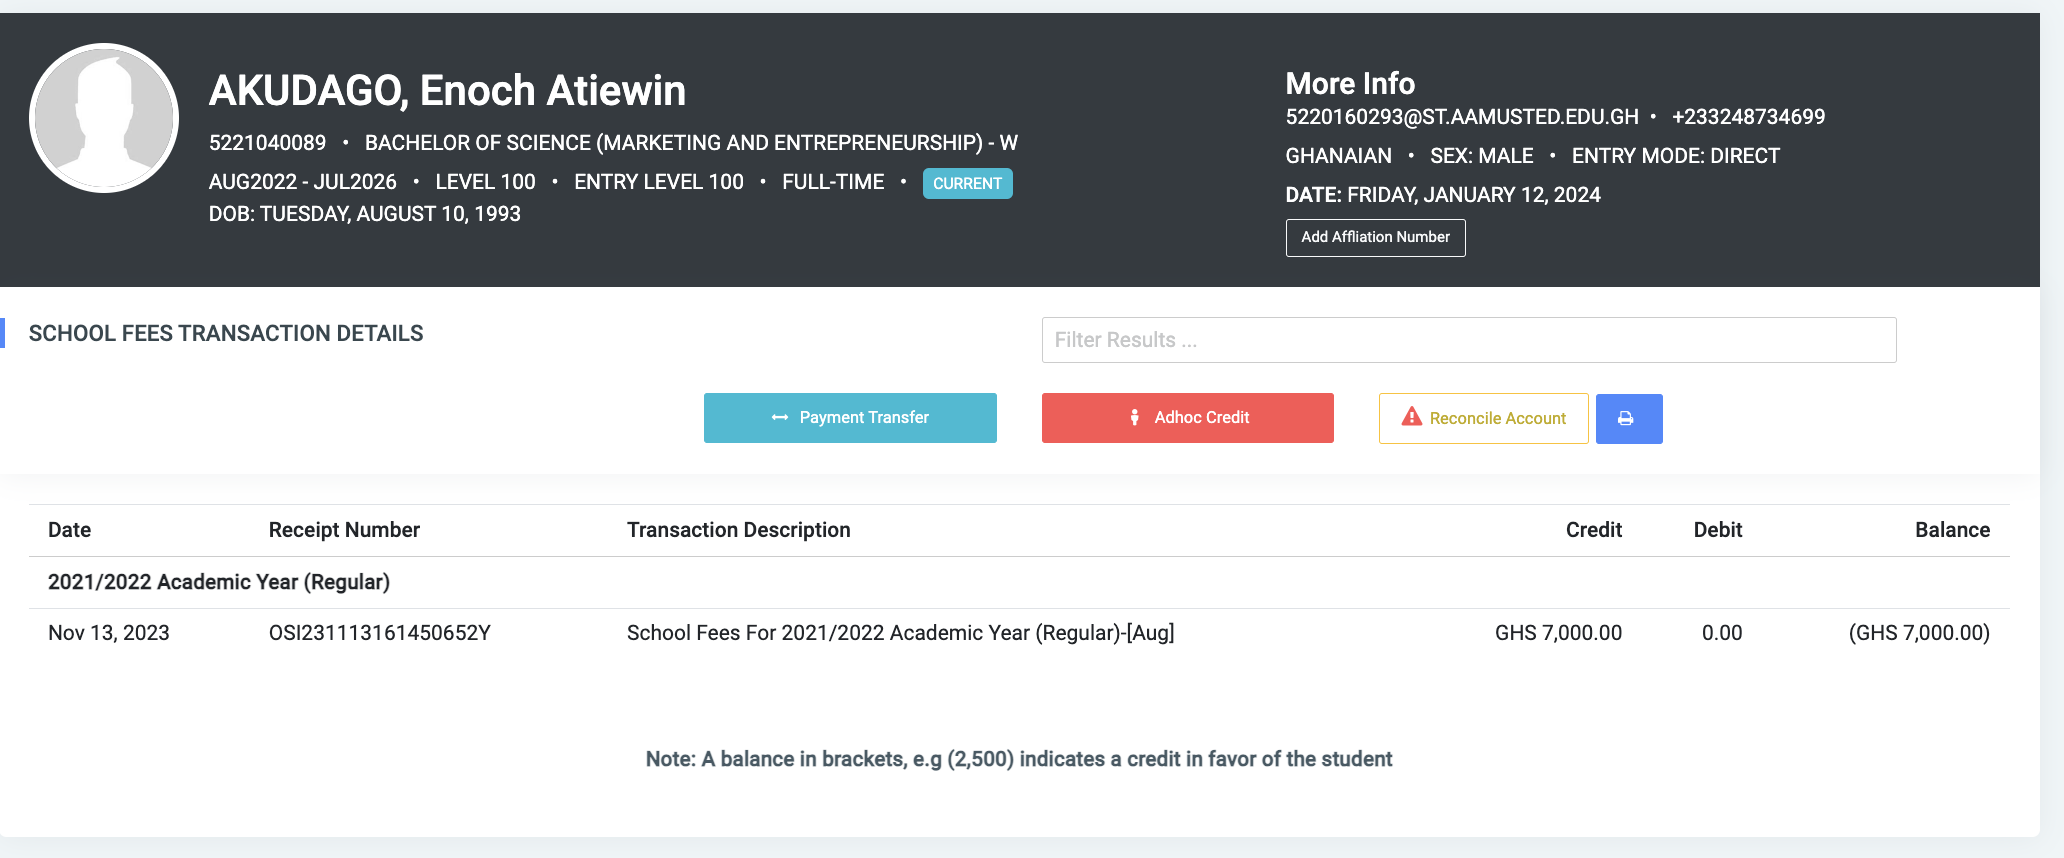
The Student Account Statement page displays the following;

- Date,
- Receipt number,
- Transaction description
- Credit,
- Debit
- Balance.
✑ To print the student account statement, click on the Print Account Statement button.
Payment Transfer
The Payment Transfer feature helps to transfer an amount of money from one student account to another. This can be done if only the student has a positive balance.
✑ To transfer payment from one account to another student account, click on the Payment Transfer button  . This will open a wizard modal with three(3) main steps namely:
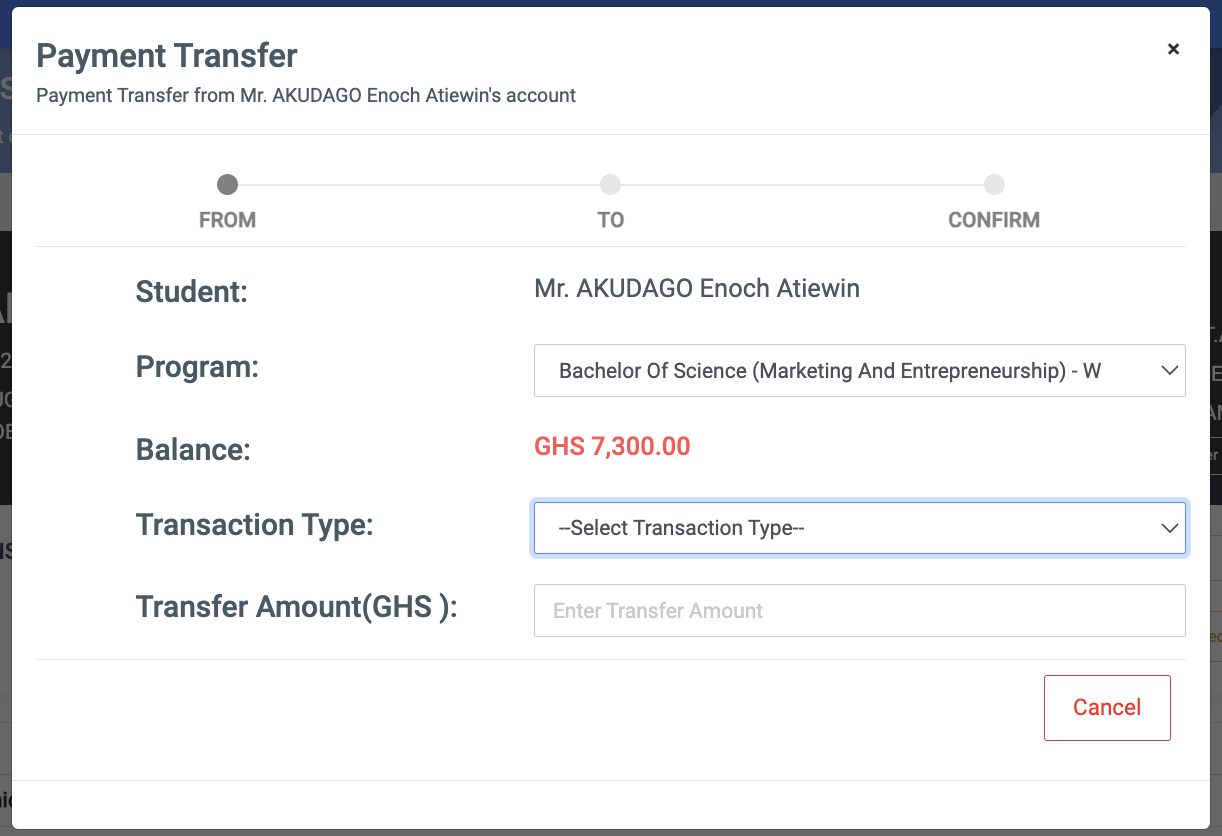
Step One(1) – From:
This step holds the information of the student you want to make the payment from, showing his Name, Program, Balance, and an input field called the Transfer Amount where the user can enter the amount they want to transfer.
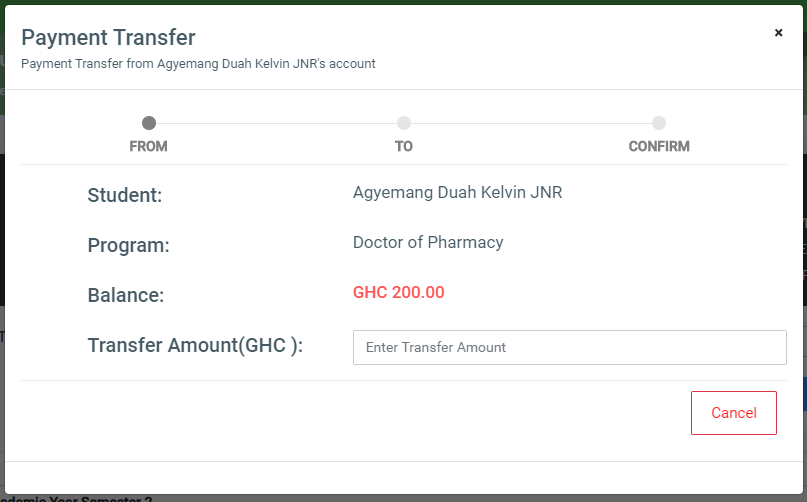
Enter the transfer amount and click on the continue button to the next step.
Step Two(2) – To:
This step provides a Program dropdown to select the program you want to transfer the money to.
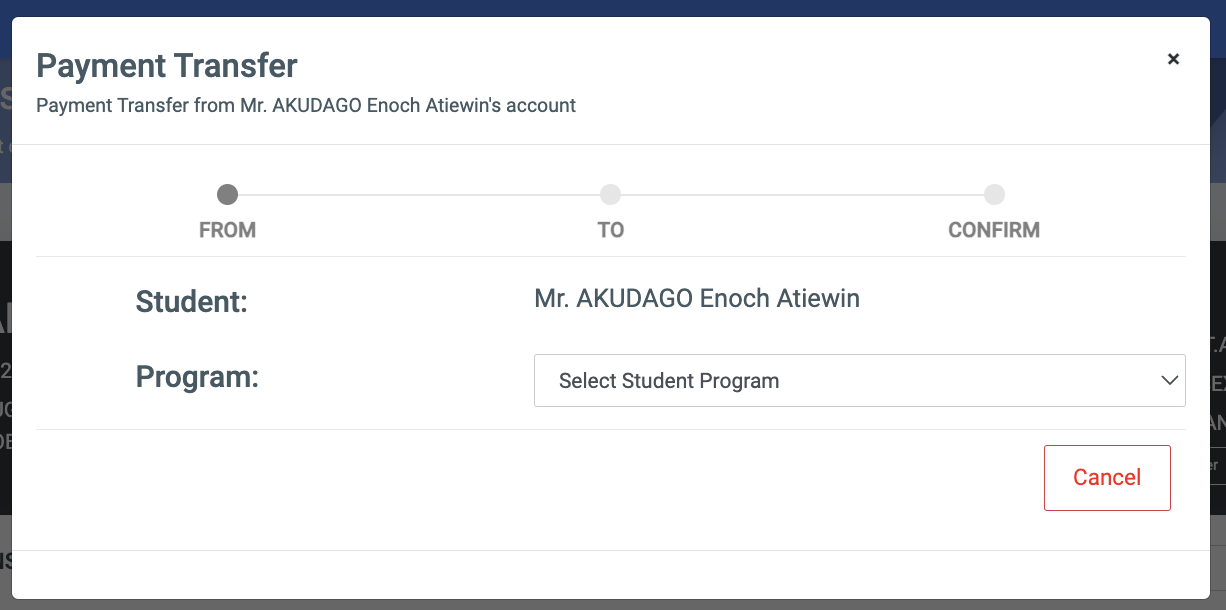
This displays more information namely; Balance, Transaction Type and Transfer Amount
✑ Click on the Back button to go back.
✑ Click on the Continue button to the final step.
✑ Click on Cancel to end the process.
Final Step(3) – Confirm:
This step simply displays the details of the payment transfer.
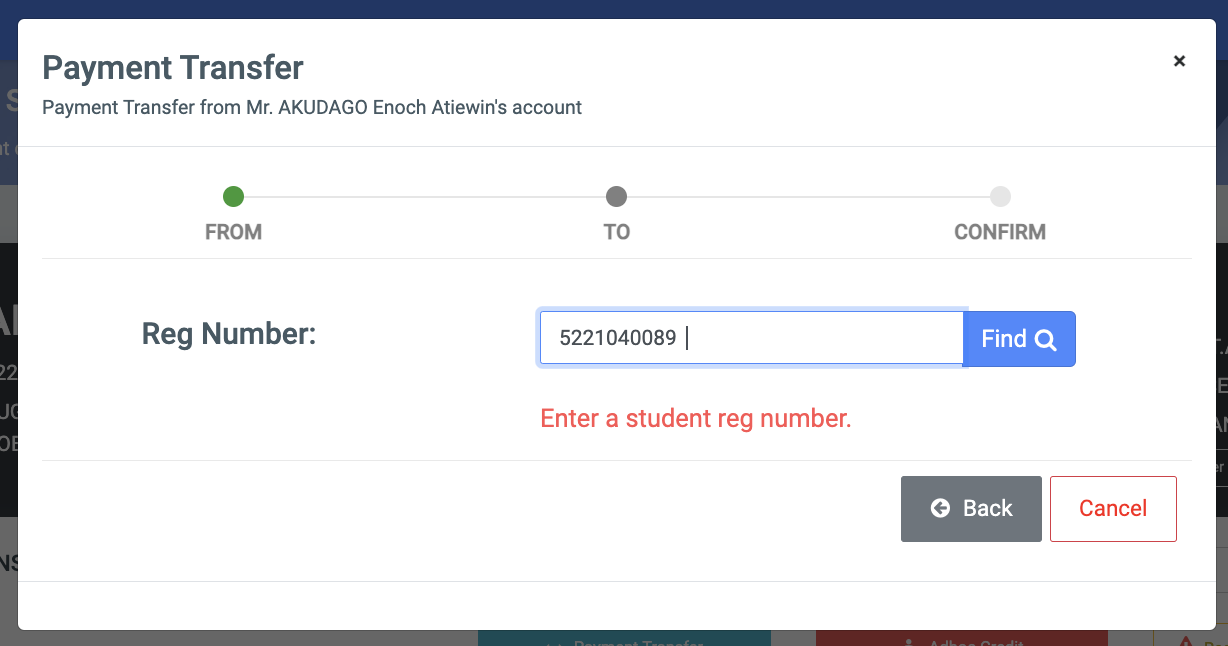
✑ Enter the student’s regnumber and click on the Find button.

Billing Period: Select from the dropdown the billing period you want to credit.
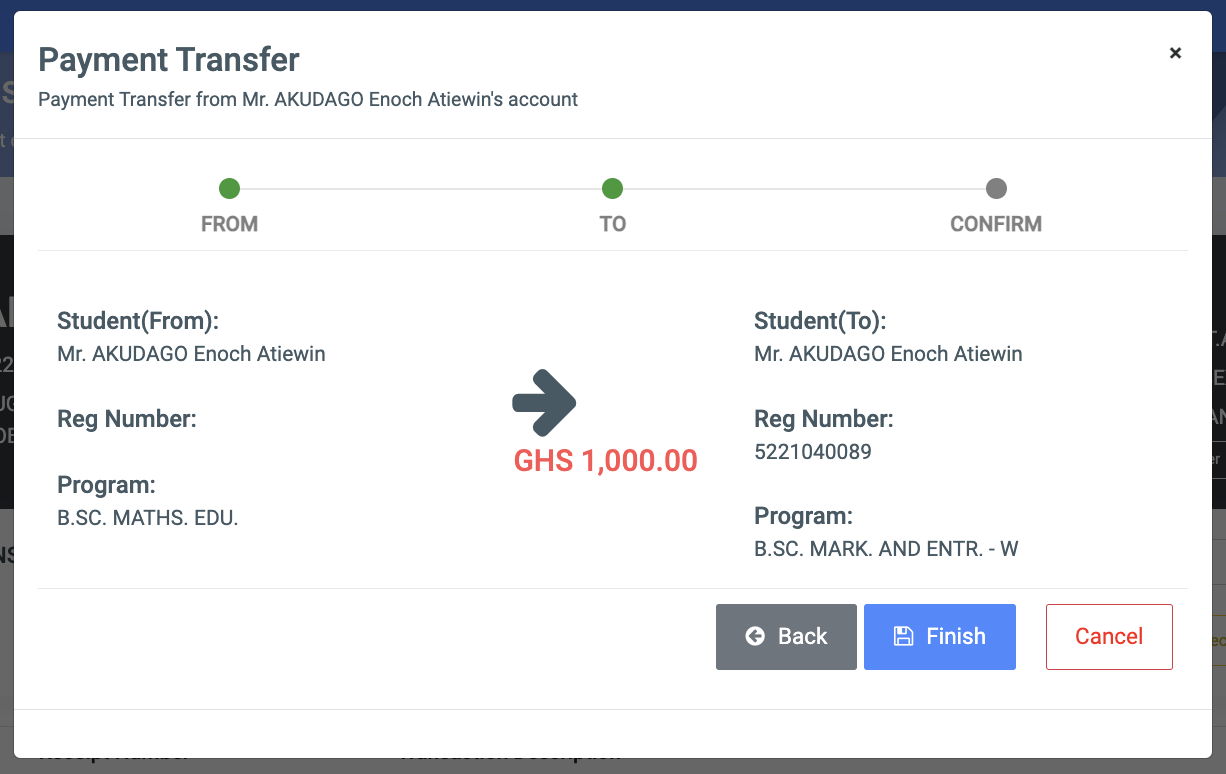
✑ Click on the Finish button to confirm payment.
Adhoc Credit
Adhoc Credit feature helps to credit student balance when necessary or needed.
✑ To credit the student account using Adhoc, click on the Adhoc Credit button  . This will open a modal with the following fields.
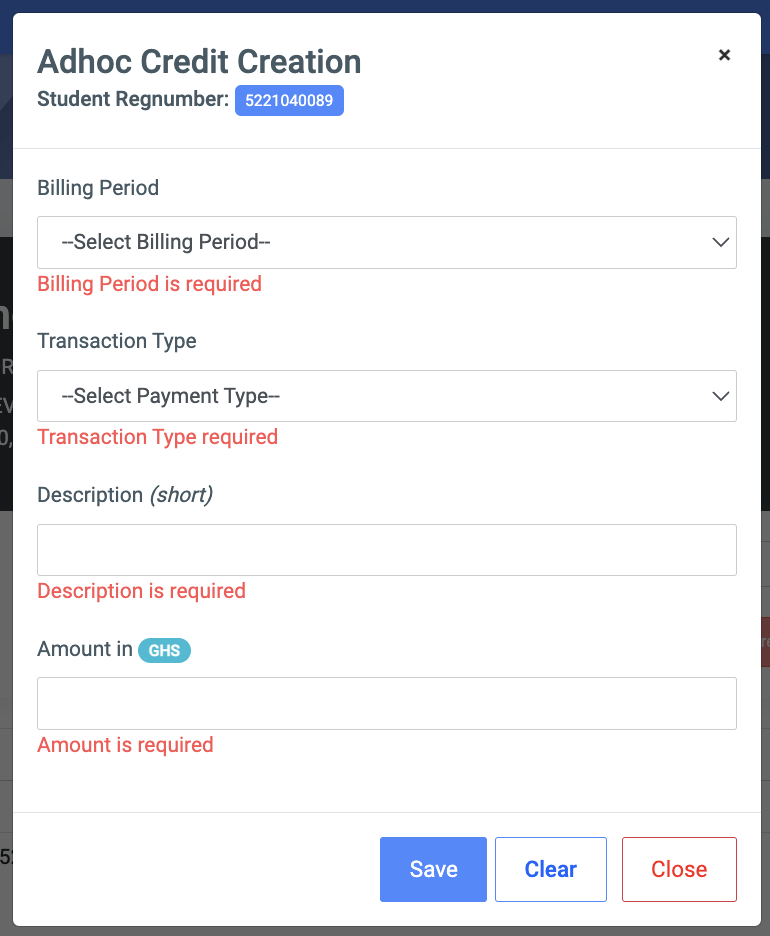
- Billing Period: Select from the dropdown the billing period you want to credit.
- Transaction Type: Select the type of transaction. Eg: School Fees.
- Description: Enter a short description of the ad hoc credit.
- Amount: Enter the amount, you want to credit.
✑ Click on the Save button to confirm your actions,
✑ Click on Clear to clear all fields,
✑ Click on Close to close the modal.
Reconcile Account
It is supposed to address reconciliation issues pertaining to student transactions. These may include wrong balances.
✑ To reconcile balances, click on the Reconcile Account button. This displays details under the following fields;
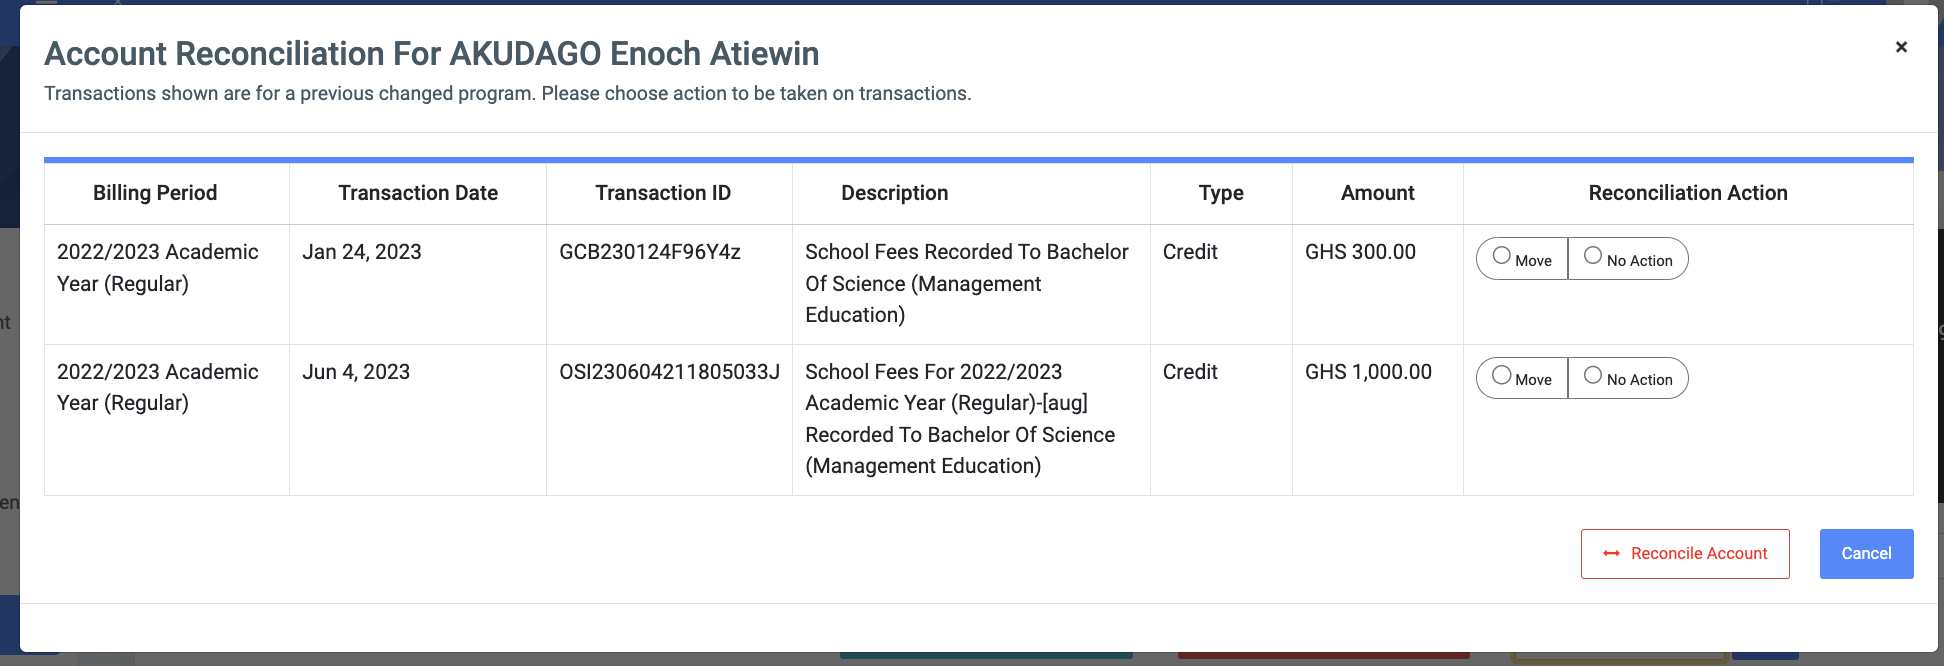
- Billing Period;
- Transaction Date;
- Transaction ID;
- Description;
- Type;
- Amount;
- Reconciliation Action.
✑ Click on Move to move the transactions to a new program or choose No action to keep transactions in the old program.
After, click on the Reconcile button to confirm actions.